Can I Use Active Yeast In A Bread Machine
Using active yeast in a bread machine is a great way to make fresh, homemade bread. It is an easy process that can produce delicious results. With the right ingredients and the right technique, you can make a delicious, freshly-baked loaf of bread in the comfort of your own home.
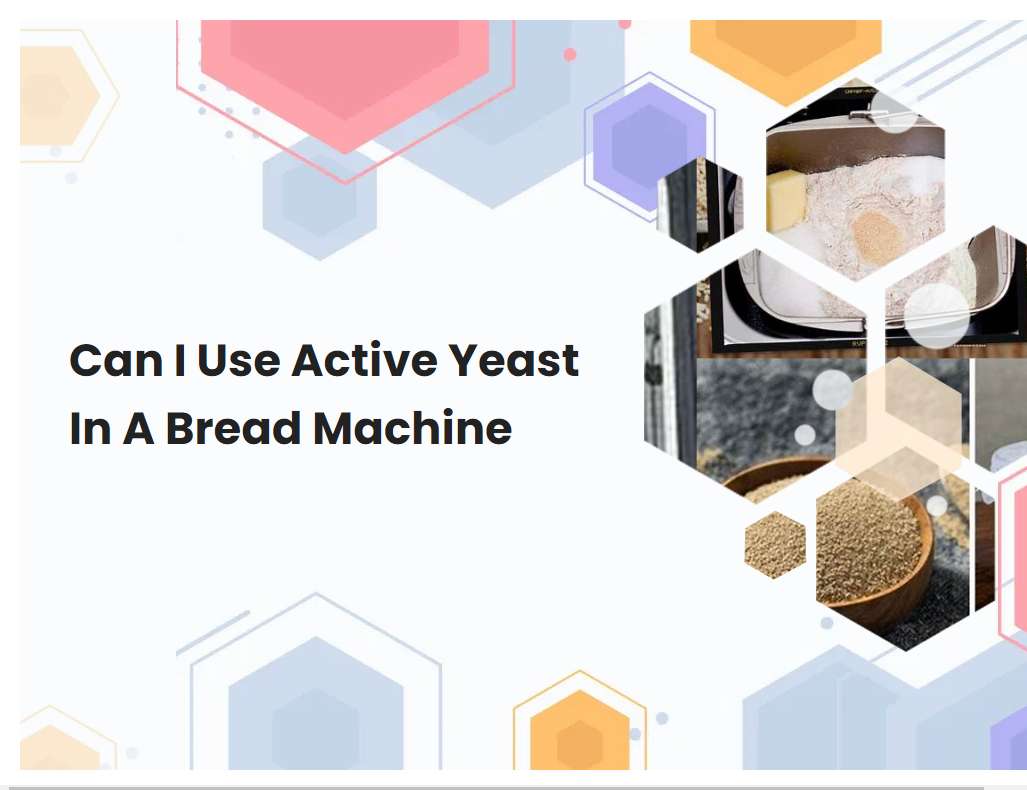
Active yeast is used in bread machines, but it should be added to the ingredients before the bread machine cycle begins.
Active yeast is an essential ingredient in bread machines as it helps the dough to rise and give the bread a light texture. When adding it to the ingredients, it should be placed in the dry ingredients list before the bread machine cycle begins. It is important to make sure that the active yeast is fresh and not expired, as outdated yeast can cause the dough to not rise properly.
Additionally, if the active yeast is not mixed with the other ingredients well enough, it will not be as effective in helping the dough rise. To ensure that the active yeast is properly mixed, it is best to add it to the dry ingredients first before adding any other ingredients. This will help ensure that the yeast is evenly distributed throughout the dough. Once all of the ingredients have been added to the bread machine, follow the instructions to get the best results.
Active yeast should be stored in a cool and dry place, such as the refrigerator, until it is ready to be used.
Active yeast is an essential ingredient for making bread, cakes, and other baked goods. It is available in both dry and fresh forms and should be stored properly to ensure its effectiveness. The best way to store active yeast is in a cool and dry place such as the refrigerator.
This will help prevent any moisture from affecting the yeast and causing it to become inactive. When ready to use, the yeast should be taken out of the refrigerator and allowed to reach room temperature before being added to the recipe. It is important to check the expiration date on the package of active yeast before using it, as expired yeast may not produce the desired results. Proper storage of active yeast will ensure that it remains fresh and active, providing the best outcome for your baking projects.
See also: Bread Machine Nut Compartment Doesn'T Open
When adding active yeast to a bread machine, dissolve it in warm water (105-115°F) with a teaspoon of sugar.
When adding active yeast to a bread machine, it is important to properly dissolve it before adding it in. To do this, fill a small bowl with warm water (105-115°F) and add a teaspoon of sugar. Then stir in the active yeast until it is dissolved.
Once the yeast is fully dissolved, pour it into the bread machine and proceed with the ingredients according to the recipe. It is important not to add too much or too little yeast when preparing bread in a bread machine, as it can affect the rise of the bread and the final texture. Additionally, using warm water helps to activate the yeast, ensuring that it will work properly when added to the bread machine.
See also: Where Can I Buy Bread Machine Flour
Let the yeast and sugar mixture sit for about 10 minutes before adding it to the other ingredients.
The yeast and sugar mixture should be left to sit for approximately 10 minutes before adding it to the other ingredients. This resting period allows the yeast to activate and begin to ferment the sugar, which will create carbon dioxide and small amounts of alcohol. During this time, small bubbles may form on the surface of the mixture as the yeast consumes the sugar.
Once this has happened, the mixture is ready to be added to the other ingredients and the dough can start to rise. Using this resting period will ensure that the dough will rise to its maximum potential and that the resulting bread will have a light and airy texture.
See also: How Does A Gluten Free Setting Work In Bread Machine
Be sure to use fresh active yeast for the best results.
Using fresh, active yeast is essential for achieving the best results when baking. Active yeast contains living organisms which are essential for the dough to rise and create a light and fluffy texture. The organisms become active when combined with water, so it's important to make sure that the yeast is still active when you buy it.
Look for yeast that is labeled active or instant, and check that it is within the expiration date. You can also check that it's active by combining it with warm water and a teaspoon of sugar. If it begins to foam, that means it's still alive and ready to use. When using active yeast, it should be added directly to the dry ingredients, not the wet ones. This will help prevent the yeast from being killed before it begins to do its job. With the proper care and attention taken when using active yeast, your baking will be sure to turn out perfect every time.
See also: Using A Bread Machine To Roast Coffee
If the bread machine has a pre-dough cycle, use it to give the dough time to rise before the baking cycle begins.
The pre-dough cycle on a bread machine is a great way to give your dough time to rise before the baking cycle begins. This cycle typically consists of a kneading, rising and kneading process that helps the dough to rise and develop its flavor. The length of time for the pre-dough cycle will vary depending on the type of bread being made, but it can range from one to two hours.
During the pre-dough cycle, the bread machine will knead the dough and then allow it to rise. This helps the gluten in the dough to develop, giving the bread a better texture and flavor. Once the dough has finished rising, it can be placed in the machine for baking. The pre-dough cycle ensures that your bread will have a light and airy texture and a delicious flavor that you won't find when baking bread by hand.
See also: Where To Buy Bread Machine Mix In Store
Do not open the lid of the bread machine while it is baking because this can cause the dough to deflate.
The bread machine is a great tool for making delicious homemade bread, but it's important to follow the instructions carefully. When using the bread machine, it is essential not to open the lid while it is baking, as this can cause the dough to deflate. This is because the steam and heat created by the machine will escape, causing the dough to lose its shape and volume.
If the dough does deflate, it may not rise properly and the texture of the finished loaf may be affected. To ensure the best results when baking bread in a bread machine, it is important to avoid opening the lid until the baking cycle is complete.
Let the bread machine finish its cycle before taking out the bread.
The bread machine is a great way to make delicious bread with minimal effort. Before taking out the bread, it is important to let the bread machine finish its cycle. This ensures that the bread is cooked evenly, and that the ingredients have been properly mixed together.
Depending on the type of bread being made, the cycle can take anywhere from 2 to 3 hours. After the bread machine has finished its cycle, the bread should be taken out immediately as leaving it in for too long can cause it to become dry and tough. It is also important to note that some bread machines require manual intervention to complete the cycle, such as opening the lid during the kneading cycle to add ingredients. If this is necessary, ensure that the lid is closed before continuing with the cycle. Once the cycle has finished, the bread can then be taken out and enjoyed.
Use a thermometer to test that the bread has reached an internal temperature of at least 190°F before taking it out of the machine.
Using a thermometer to test the internal temperature of the bread before taking it out of the machine is an important step to ensure it is done baking. The ideal temperature for bread should be at least 190°F, so using a thermometer to check the temperature before taking it out of the machine is key. A digital thermometer with an instant read is the best type of thermometer to use for this purpose since it can provide very accurate readings in a matter of seconds.
To use the thermometer, simply insert it into the center of the bread and wait for a few seconds until it displays the temperature. If the temperature is lower than 190°F, then the bread will need to bake for longer. Once the internal temperature reaches 190°F or higher, it is safe to take the bread out of the machine.
Let the bread cool completely before slicing, as this will help ensure that the bread has finished cooking properly.
Once the bread has finished baking, it is important to allow it to cool completely before slicing. This is an important step because it will help to ensure that the bread has finished cooking all the way through. If the bread is cut too soon, it may not have cooked evenly and could contain uncooked doughy parts.
Furthermore, allowing the bread to cool will also help it to maintain its shape and not crumble when you cut into it. Letting the bread cool thoroughly also helps to ensure that the bread has a soft, light texture and a delicious crust. Once the bread has cooled completely, it is then time to slice and enjoy!


