Should I Remove Bread From Bread Machine Immediately After Baking
Baking bread in a bread machine is a convenient way to quickly and easily create homemade loaves. After the baking process is complete, it is important to remove the bread from the machine in a timely manner to ensure the best results. In this article, we will discuss the best practices for removing bread from a bread machine after baking.
Read the manufacturer's instructions before removing the bread from the machine.
Before removing the bread from the machine, it is important to read the manufacturer's instructions. To do this, open the lid of the machine and locate the instructions manual. Once the instructions are located, it is important to read them carefully.
This will help ensure that the bread is removed properly and safely. The instructions will typically include steps such as unplugging the machine from the power source, turning off the power switch, and allowing the machine to cool for a few minutes before attempting to remove the bread. Additionally, it may be necessary to remove any excess dough from the pan or blade before attempting to remove the bread. Following these steps will help ensure that the bread is removed without any damage or injury.
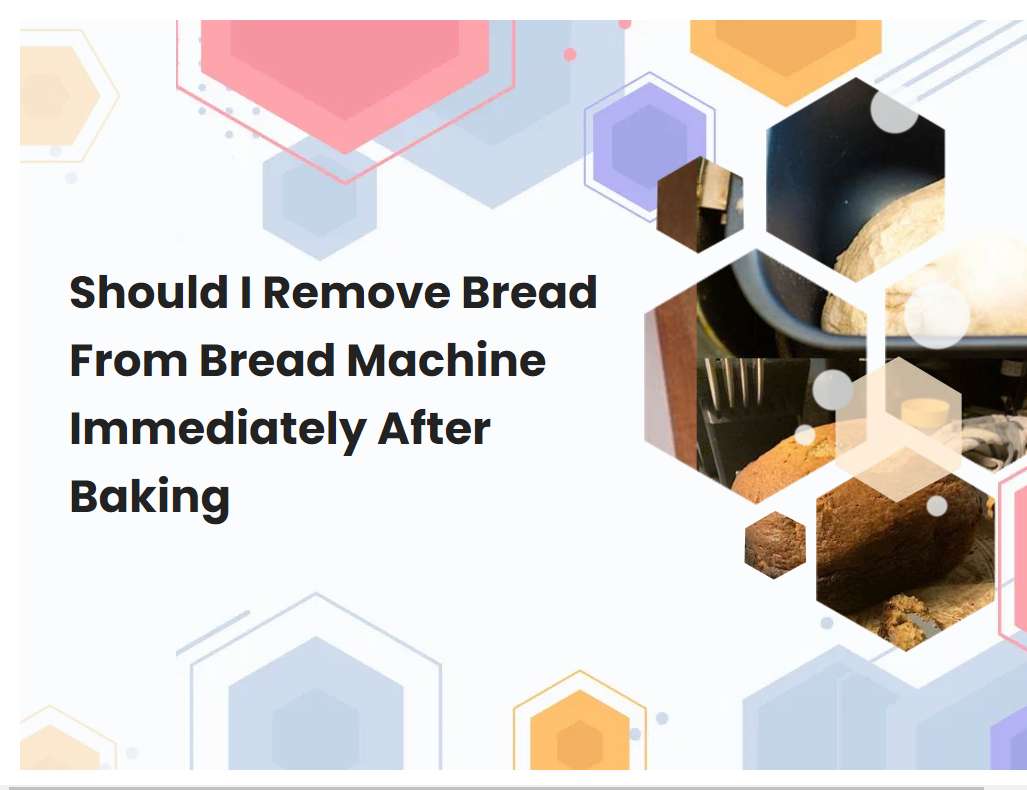
Allow the bread to cool before attempting to remove it.
Before attempting to remove the freshly baked bread from the pan, it is important to let it cool. Allowing the bread to cool will ensure that it does not tear or crumble when attempting to remove it. The cooling process also allows for the crust to become firm, which makes it easier to remove it from the pan without damaging the shape of the loaf.
When the bread has cooled, it is important to use a non-stick spatula to help lift and release the loaf from the pan. Be sure to gently work around the edges of the pan and carefully lift the loaf out. If the loaf has cooled properly, it should come out in one piece. Once removed, transfer the bread to a cooling rack and allow it to cool completely before slicing.
See also: Quick Bread Bread Machine Order Of Ingredients
Use oven mitts or gloves to protect your hands from burns.
When using the oven, it is important to protect your hands from potential burns. Oven mitts and gloves are essential pieces of kitchen equipment for this purpose. Oven mitts are made from thick, insulated material such as cotton or silicone and are designed to protect the hands against extreme temperatures.
They come in a variety of different sizes and colors to suit the needs of each user. Oven gloves are similar to oven mitts but are longer in length to cover the arms. They are often made from heat-resistant materials such as Kevlar or Nomex. Both oven mitts and gloves should be kept clean and replaced when they become worn or torn to ensure that they are effective in protecting the user's hands.
See also: Cuisinart Bread Machine How Long Does It Take
Gently shake the pan to loosen the loaf from the edges of the pan.
To loosen the loaf from the edges of the pan, you should gently shake the pan. Start by placing your hands on both sides of the pan and give it a gentle shake from side to side. Make sure to move the pan in a slow and controlled motion so that the loaf does not become dislodged from the pan too quickly.
Once you have shaken the pan for a few seconds, you can then check the edges of the loaf to see if it has come away from the sides of the pan. If not, repeat the shaking motion until the loaf is completely detached from the sides of the pan. This method should be gentle and careful to ensure that the loaf does not become damaged during the process.
See also: Easy Sprouted Whole Grain And Honey Bread Machine Bread
Carefully remove the pan from the machine.
When removing the pan from the machine it is important to use caution and be aware of the possible dangers. First, turn off the power to the machine and unplug it to avoid any potential electric shock. Next, wear heat-resistant gloves to protect your hands from hot surfaces.
Carefully lift the pan from the machine and place it on a heat-resistant surface. If necessary, use a potholder or oven mitt to assist in lifting the pan from the machine. Finally, use caution when moving the pan away from the machine to avoid spilling any hot contents. Following these simple steps will ensure that you remove the pan from the machine safely and without injury.
See also: Fresh Ground Whole-Wheat In My Bread Machine
Gently lift the bread out of the pan.
Gently lifting the bread out of the pan requires a few simple steps. First, remove the pan from the oven and place a cooling rack on a flat surface. Next, grab two oven mitts and carefully slide them onto your hands.
Place your hands on either side of the pan and slowly lift it up and away from the bread. Finally, turn the pan over onto the cooling rack, giving the bread a gentle shake to release it. Once it has been released, place it on the rack to cool before slicing or serving. It is important to be careful and gentle when removing the bread from the pan in order to avoid any breakage or crumbling.
See also: Bread Machine Instant Yeast Vs Instant Yeast
Place the bread on a cooling rack or cutting board.
When cooling freshly baked bread, it is important to use a cooling rack or cutting board. A cooling rack is a metal grate with thin bars that allow air to freely circulate around the bread and cool it quickly. This prevents the bottom of the bread from becoming soggy.
A cutting board is an alternative option, as the flat surface allows air to reach both sides of the bread. The key to cooling bread properly is to allow air to circulate freely and prevent steam that could cause the bread to become soggy. Allow the bread to cool for 10-15 minutes before slicing or serving. If needed, you can also wrap the cooled bread in plastic wrap or foil and store it in an airtight container for up to four days.
Allow the bread to cool completely before slicing and serving.
Allow the bread to cool completely before slicing and serving. It is important to let the bread cool completely before cutting into it, as this will ensure that the bread will not be gummy or wet in the middle. The cooling process allows the moisture to be reabsorbed and evenly distributed throughout the bread.
If the bread is cut too soon, the middle may be gummy or wet. To ensure the bread is cooled completely, leave it out on a cooling rack for about an hour. Once cooled, slice the bread with a sharp serrated knife so that it will not become squished or mangled. The bread should then be served warm or at room temperature. Enjoy your freshly baked bread!
Store any leftover bread in an airtight container or bag.
Leftover bread should always be stored in an airtight container or bag to keep it fresh and prevent it from spoiling. This is especially important in humid environments since moisture can cause the bread to mold and spoil quickly. When storing the bread, make sure that the airtight seal is secure, and that the container or bag is well-ventilated.
It's also a good idea to wrap the bread in plastic wrap or wax paper for extra protection. For long-term storage, it's best to freeze the bread so that it will last for up to a few months. Make sure to label the container with the date it was stored so that you can easily monitor its freshness. With proper storage, leftover bread can be enjoyed for days to come.
Clean and maintain your machine according to the manufacturer's instructions.
It is important to ensure that your machine is cleaned and maintained regularly according to the manufacturer's instructions. This includes wiping down the exterior of the machine and all its components, such as the buttons and knobs, and removing any dust or debris. Additionally, you should check the internal components to ensure they are free from dust and other debris.
If your machine has a filter, it should be replaced regularly according to the manufacturer's instructions. You should also check all the connections to make sure they are secure, and if necessary, replace any worn or damaged parts. Finally, you should lubricate all moving parts as recommended by the manufacturer. By following these steps, you can ensure that your machine is in optimal condition for years to come.


