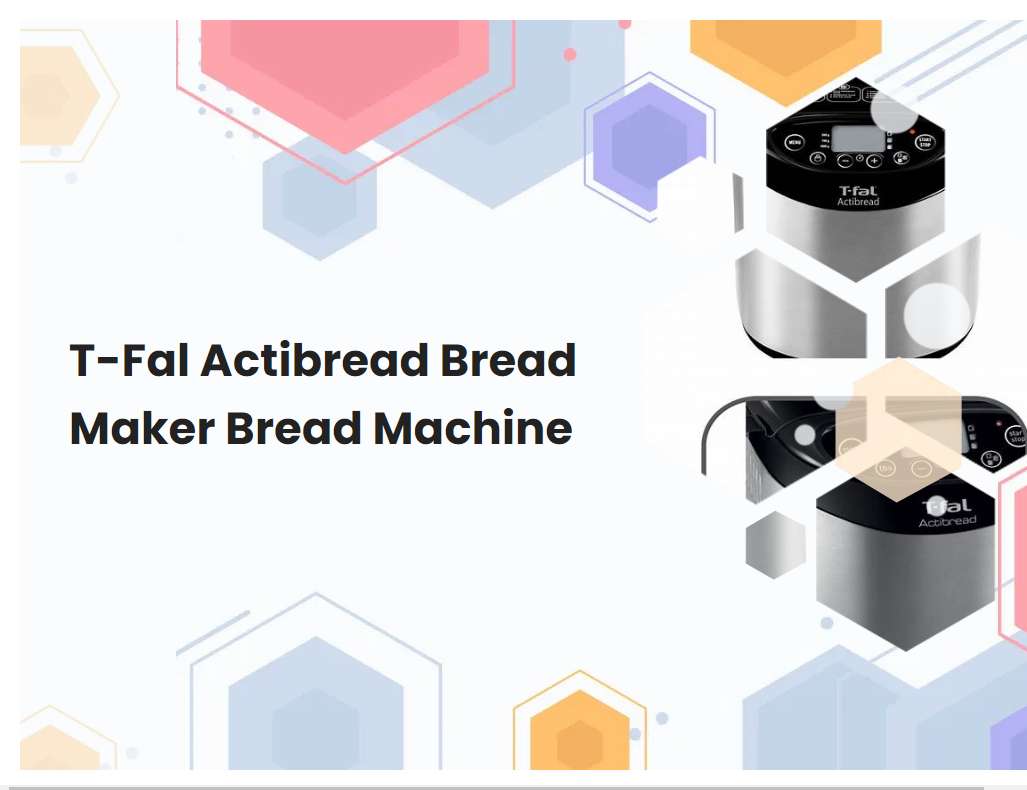
T-Fal Actibread Bread Maker Bread Machine
Baking bread from scratch can be an enjoyable and rewarding experience. With the T-fal Actibread Bread Maker, you can now easily make delicious homemade bread without all the labor and mess of traditional baking. This bread machine by T-fal is designed to make baking fresh bread easier and more convenient than ever before.
How to operate the T-Fal ActiBread bread maker
The T-Fal ActiBread bread maker is a great tool for making delicious homemade bread. It is easy to use and comes with an intuitive LCD display, making it easy to follow the instructions. To start, add the ingredients to the bread pan in the order listed in the recipes.
Then select the desired cycle and press start. The machine will knead, rise, and bake the bread. Once the cycle is complete, the machine will alert you to remove the bread from the pan. For best results, it is important to use the correct amount of ingredients and to follow the instructions as indicated in the recipes. Additionally, make sure to keep the machine clean and well-maintained to ensure a consistent quality of bread. With a little practice, you can make delicious homemade bread with the T-Fal ActiBread bread maker in no time.
What size and type of bread pan to use
When selecting a bread pan, size and type are both important considerations. Bread pans come in a variety of sizes, from mini-loaf pans to large pans that can accommodate multiple loaves at once. Depending on the recipe, a standard 9 x 5 inch loaf pan is often the most popular size.
However, if you are baking larger loaves or want a more traditional look, you may want to consider a larger pan such as a 10 x 5 inch pan. The type of bread pan is also important to consider. Metal pans are typically used for quick breads, while glass or ceramic pans are better for yeast breads. Non-stick pans are also popular for quick breads because the bread is less likely to stick. When selecting a bread pan, consider the size and type of bread you are making before making your purchase.
See also: Whole Wheat Pizza Dough Bread Machine Freeze
Which settings to use for different types of bread
For a light and fluffy white sandwich loaf, the ideal settings are to use a moderate temperature of 350-400°F with a longer bake time of around 30-35 minutes. When baking with a bread machine, the setting should be for a basic white loaf. The kneading and rising times should be set for a light texture, rather than extra kneading and rising times for a more chewy texture.
For a denser and heartier whole wheat loaf, the ideal settings are to use a higher temperature of 375-425°F with a shorter bake time of 25-30 minutes. Again, when using a bread machine, the setting should be for a basic whole wheat loaf. The kneading and rising times should be set for a longer time to allow for the extra time needed for the denser dough. For a crusty artisan loaf, the ideal settings are to use a higher temperature of 425-450°F with a shorter bake time of 20-25 minutes. When using a bread machine, the setting should be for a French or Italian loaf. The kneading and rising times should be set to maximum to ensure the dough has enough time to develop flavor and texture before baking.
See also: Using Discard Sourdough Starter In Bread Machine
How to measure and add ingredients correctly
Measuring and adding ingredients correctly is an essential part of any cooking or baking recipe. Incorrect measurements or amounts can result in a recipe not turning out as planned. To ensure success, it is important to measure each ingredient accurately and add them in the correct order.
When measuring ingredients, use a dry measuring cup or spoon for dry ingredients, such as sugar, flour, and baking powder. Wet measuring cups should be used for wet ingredients, such as milk, water, and oil. Measurements should be level with the rim of the cup or spoon, and any excess should be scraped off with a knife or spoon. When measuring liquid ingredients, it is important to read the measurement at eye level to ensure accuracy. When adding ingredients to a recipe, it is best to add them in the order listed in the recipe. Additionally, it is important to mix each ingredient completely before adding the next one. This will ensure that all the ingredients are evenly distributed throughout the mixture. Finally, when adding ingredients to a recipe that requires baking, be sure to preheat your oven before you begin preparing the recipe. This will help ensure that the food is cooked evenly and at the right temperature. Following these steps will help guarantee that your recipes turn out perfectly every time. Measuring and adding ingredients correctly is an essential part of successful cooking and baking, so it is important to take the time to do it right.
See also: Bread Isnt Completely Rising In Bread Machine
How to remove and clean the kneading paddle
Removing and cleaning the kneading paddle from your bread maker is an important part of maintaining the appliance. To remove it, first unplug your bread maker from the power source. Then open the lid of the bread maker and locate the kneading paddle.
Grasp the paddle handle and gently pull it out from the dough. Depending on the model, there may be a retaining clip that needs to be removed first. Once the paddle is removed, it should be washed with warm soapy water and a sponge or cloth. Do not submerge the paddle in water. Rinse the paddle with clean water and dry it thoroughly with a towel or paper towel. Store the paddle in a dry place away from any heat source. Make sure the paddle is completely dry before storing it or before using it in the bread maker again.
See also: No Yeast Rolls Dough In Bread Machine
How to store the bread maker when not in use
When not in use, it is important to store your bread maker in a cool, dry place. Make sure that the area is away from any direct sunlight, as this can cause the bread maker to overheat. Additionally, it is important to keep the bread maker away from any moisture or water, as this can cause damage to the electrical components of the machine.
If possible, keep the bread maker in its original box. This will help to protect it from dust, dirt and pests. It is also a good idea to disconnect the power cord from the wall outlet when the bread maker is not in use. This will help to conserve energy and prevent any unnecessary wear and tear on the machine. Finally, it's important to wipe down the exterior of the bread maker with a damp cloth and mild detergent before storing it away. Doing this can help to keep it clean and free of any food particles or residue.
See also: Is Bread Machine Yeast The Same As Brewer Yeast
How to troubleshoot any issues that may arise
Troubleshooting any issues that may arise requires a systematic approach to identify the source of the issue. A good starting point is to document all steps taken before the issue occurred, including recent changes made to the system. This will help narrow down the scope of the problem and identify potential sources.
Once the scope of the issue has been determined, it is important to research any possible solutions and determine the best course of action. If the issue appears to be related to hardware, looking at the device's manual or contacting the manufacturer for technical support can be helpful. If the issue is software-related, it is important to check for any updates or patches that might be available. It is also important to check the system logs or event viewer for any error messages that might provide clues as to what is causing the issue. Furthermore, running a virus scan or other diagnostic tests can help identify potential issues with the system. Finally, it is important to test any proposed solutions in order to ensure they are effective before implementing them. Carefully documenting each step taken during troubleshooting can also help in future troubleshooting situations and help ensure that any issues are resolved quickly and efficiently.
How to set the timer and delay start feature
Setting the timer and delay start feature on an appliance is a great way to ensure that you save energy and have your appliance running when you need it. To set the timer and delay start feature, begin by selecting the time and date you would like your appliance to start running. Once selected, the appliance will begin to run at the designated time.
The delay start feature is especially useful if you are away from home and need to have the appliance running at a particular time. This feature allows you to set the timer to start running at a later time, thus saving energy and money. Additionally, some appliances have a timer and delay start feature that can be programmed for multiple days in advance. This feature allows you to schedule your appliance to run on certain days and times, so you don't have to worry about it running unnecessarily when you're not home. Setting the timer and delay start feature on appliances is an effective way to ensure that the appliance starts running when needed and saves energy.
How to adjust the crust setting for different types of bread
The crust setting on a bread machine can be adjusted to create different types of crust. For a lighter crust, the setting should be set to the lowest number. This will result in a bread with a soft, light-colored crust.
For a medium-brown crust, the setting should be set to a medium or medium-high number. This will produce a bread with a golden-brown, slightly crunchy crust. For a dark and crunchy crust, the setting should be set to a higher number. This will create a bread with a dark, crisp crust. Additionally, the crust setting can be adjusted to account for different types of bread dough. For example, a heavier dough such as whole wheat or rye bread will require a higher crust setting than a lighter dough such as white or French bread.
How to clean and maintain the bread maker
Cleaning and maintaining a bread maker is an important part of its longevity. To begin, unplug the bread maker and allow it to cool. Remove the kneading blade from the bottom of the pan and discard any remaining dough.
Use a damp cloth or sponge to wipe down the outside of the bread maker. For the interior, use a damp cloth or sponge with a mild detergent to wipe away any residue or food particles. Be sure to rinse and dry the pan before reassembling the bread maker. Additionally, if the kneading blade is dishwasher safe, you can use that as well. To maintain your bread maker, store it in a dry area away from direct sunlight. Check for any loose parts or screws to make sure they remain tight. If the bread maker is exposed to moisture, ensure that it is completely dry before using it again. Additionally, check for any signs of rust or corrosion on the metal parts. If any rust or corrosion is found, replace the parts as soon as possible. With these simple steps, your bread maker should stay in great condition for many years to come.


