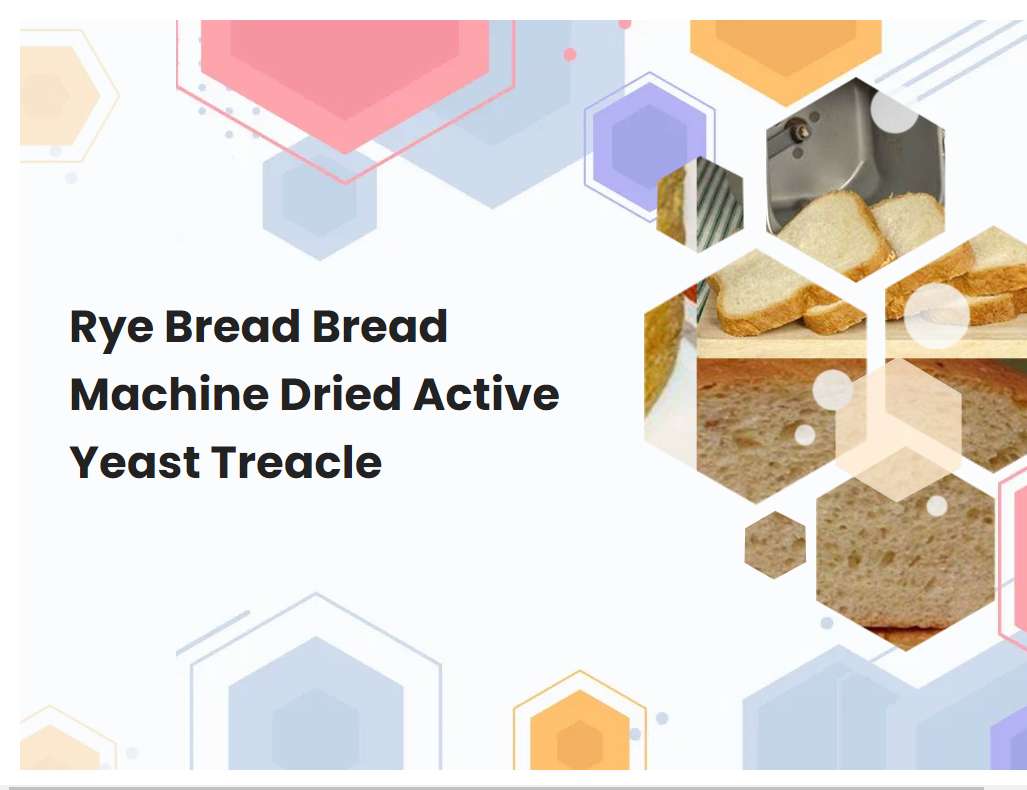
Rye Bread Bread Machine Dried Active Yeast Treacle
Making homemade rye bread is an enjoyable and rewarding experience. Rye bread is a unique type of bread that has a distinctive flavor and texture. To make a delicious loaf of rye bread, you will need to have the right ingredients, such as bread machine dried active yeast, treacle and rye flour.
The type of bread you are making (rye)
Rye bread is a classic bread, made with rye flour and other ingredients. It has a distinct, slightly sour flavor and a dense, chewy texture. Rye flour gives the bread its characteristic dark color and is rich in dietary fiber, making it a healthier choice than white bread.
Rye bread is also often made with a combination of other grains such as wheat, barley, and oats. When making rye bread, it is important to use the correct ratio of rye flour to other flours. Rye flour can be quite heavy and dense, so it should usually be combined with a lighter flour like wheat or barley. Other ingredients such as water, yeast, salt, and sugar are also necessary to produce a flavorful loaf of rye bread. Rye bread is an excellent choice for sandwiches and toast, as it pairs well with many different ingredients. It is also a great alternative to white bread for those who are watching their weight or trying to cut down on carbohydrates. Enjoy rye bread as part of a balanced diet for a tasty and nutritious meal.
The type of bread machine you are using
A bread machine is a device that can be used to make bread with minimal effort. It is essentially an automated bread-maker that can be programmed to perform a variety of tasks. With a bread machine, you can mix, knead, and bake bread all in one, making it a great time saver in the kitchen.
It also allows you to create a variety of breads from traditional white and wheat loaves to artisanal sourdoughs, without having to do any of the laborious steps. Bread machines also come with a variety of features such as delayed start times, crust control options, and custom settings to give you an even greater degree of control over the outcome of your bread. With the right bread machine, you can whip up delicious artisanal loaves in no time.
See also: How To Make Bread In A Welbilt Bread Machine
The amount of dried active yeast needed
When it comes to using dried active yeast, the ratio of yeast to flour will depend on the recipe you are using. Generally, a good rule of thumb is to use one teaspoon of dried active yeast for every cup of flour in the recipe. If you are making a large batch of dough, you may need to adjust the amount of yeast accordingly.
For example, if you are making a four-pound batch of dough, you may need to use four teaspoons of dried active yeast. It is important to activate the yeast prior to adding it to your dough, which can be done by combining the yeast with some warm water and a pinch of sugar. Once the yeast has been activated and added to the dough, it will begin to work its magic and help to produce that delicious flavor and texture that we all love in bread.
See also: How To Make Chapati Dough On The Bread Machine
How long to proof the dough
Proofing dough is an important step in the baking process as it allows the yeast to activate and develop flavor and texture in the dough. Depending on the type of dough being made, the proofing time may vary. Generally, the proofing time for dough should be between 45 minutes to 2 hours.
For a lean dough, such as a pizza dough, it is best to proof for 1-2 hours. If the dough is enriched with fats, such as butter or oil, then a shorter proofing time of 45 minutes is ideal. The length of time to proof dough is also determined by the temperature of the environment. Proofing times are typically longer in cooler temperatures, while warmer temperatures can shorten the proofing time. It is important to pay attention to the temperature of the environment when proofing dough to ensure that it turns out properly. To test if the dough is ready for baking, gently poke it with your finger. If the indentation remains and does not spring back, then the dough is ready. If the indentation springs back quickly, then the dough needs additional proofing time. Proofing dough correctly can make all the difference in a baked good. It is important to follow all of the instructions for proofing times and temperatures to ensure that your dough turns out perfectly.
See also: Oster Bread Machine No Sweet Bread Setting
The temperature of the water used to make the dough
The temperature of the water used to make the dough is very important to getting the desired consistency. Too hot, and the dough will become tough, chewy, and hard to work with. Too cold, and it won't rise properly and will be difficult to shape.
The ideal temperature for most dough is between 75°F and 85°F. For yeast doughs, the temperature should be slightly warmer, around 90°F. It's best to use a thermometer to ensure that the water is at the correct temperature. If you don't have one, check the water carefully by dipping your finger in it. The water should feel warm, but not hot. If it feels too hot to touch comfortably, it's too hot for the dough. If it feels cold, it's too cold for the dough.
See also: How To Make Bread In A White Westinghouse Bread Machine
The kneading time and technique
Kneading dough is an essential part of baking, as it helps to activate the yeast and develop the gluten in the flour. Depending on the type of dough being kneaded, the kneading time and technique may vary. For bread doughs, the kneading time should be 10-15 minutes, while pizza and pastry doughs should be kneaded for a shorter period of time, usually 5-7 minutes.
To knead dough by hand, first lightly dust a clean work surface with flour and place the dough on top. Press down on the dough with your hands, pushing away from yourself and folding it back over itself. Keep your hands slightly cupped and rotate the dough as you knead. The dough should be slightly sticky, but not overly wet or dry. If it is too dry, add a few drops of water; if it is too wet, add a little more flour. Knead until the dough is smooth and elastic. If using a standing mixer, knead the dough at medium-low speed for 5-10 minutes until it is smooth and elastic. Knead just until the ingredients are fully combined and no more. Overkneading can lead to tough, dense baked goods.
See also: Food Network Bread Machine Order Of Ingredients
The baking time and temperature
Baking time and temperature play a huge role in the outcome of a recipe. The baking temperature determines how quickly the food cooks, while the baking time determines how long it needs to stay in the oven for optimal results. Depending on what you are baking, the temperature and time can vary significantly.
For example, cookies typically bake at a temperature of 350-375°F for 8-10 minutes, while a cake may bake at 325-350°F for 30-45 minutes. As with any recipe, it's important to read the instructions carefully and follow them precisely. Before placing the food in the oven, double check the temperature and the time to make sure that everything is correct. Additionally, it's important to keep an eye on the food while it's baking to make sure that it doesn't burn or overcook. By paying close attention to baking time and temperature, you can ensure that your recipes turn out perfect every time.
How to shape and form the dough
Shaping and forming the dough is an important step in baking. To shape the dough, start by lightly flouring the work surface and rolling pin. Knead the dough to make it pliable, then roll it out to the desired thickness.
Use a knife or cookie cutter to cut out shapes, or use your hands to shape the dough into rounds, ovals, or rectangles. If you're making bread, divide the dough into two pieces, shape each piece into a loaf, and place them in greased bread pans. Finally, let the dough rest for 15 minutes before baking. When forming the dough, make sure to handle it gently as too much manipulation can affect the texture and flavor of the finished product. With a little patience and practice, you'll be able to produce delicious baked goods with ease.
The amount of treacle to add
Treacle is a thick, dark syrup made from partially refined sugar cane or sugar beet juice. It is commonly used in baking to add sweetness and flavor to desserts and other dishes. When adding treacle to a recipe, it is important to take into consideration the desired sweetness and flavor of the finished product.
Generally, light treacle should be used for a milder flavor and a light sweetness, while dark treacle will provide a deeper, more intense flavor. The amount of treacle that should be added will depend on the recipe and the desired outcome. For cakes and cookies, approximately 1/4 cup of treacle per one cup of sugar should be sufficient. For other recipes, such as pies or tarts, a larger amount may be needed. It is important to note that too much treacle can make the dish overly sweet and can cause it to become very sticky. It is best to start with a smaller amount and add more as needed.
How to store the finished bread
Storing finished bread is essential to ensure it stays fresh and delicious. To store bread, it should be placed in an airtight container or bag. For best results, store the bread in a cool, dry spot, such as inside a kitchen pantry or cupboard.
The bread should not be left out on the counter or exposed to direct sunlight. If the bread is being stored for longer periods of time, it can be frozen to preserve freshness. To freeze the bread, place the loaf in a plastic bag and seal it tightly. When ready to use, let the frozen bread thaw at room temperature before slicing and serving.


