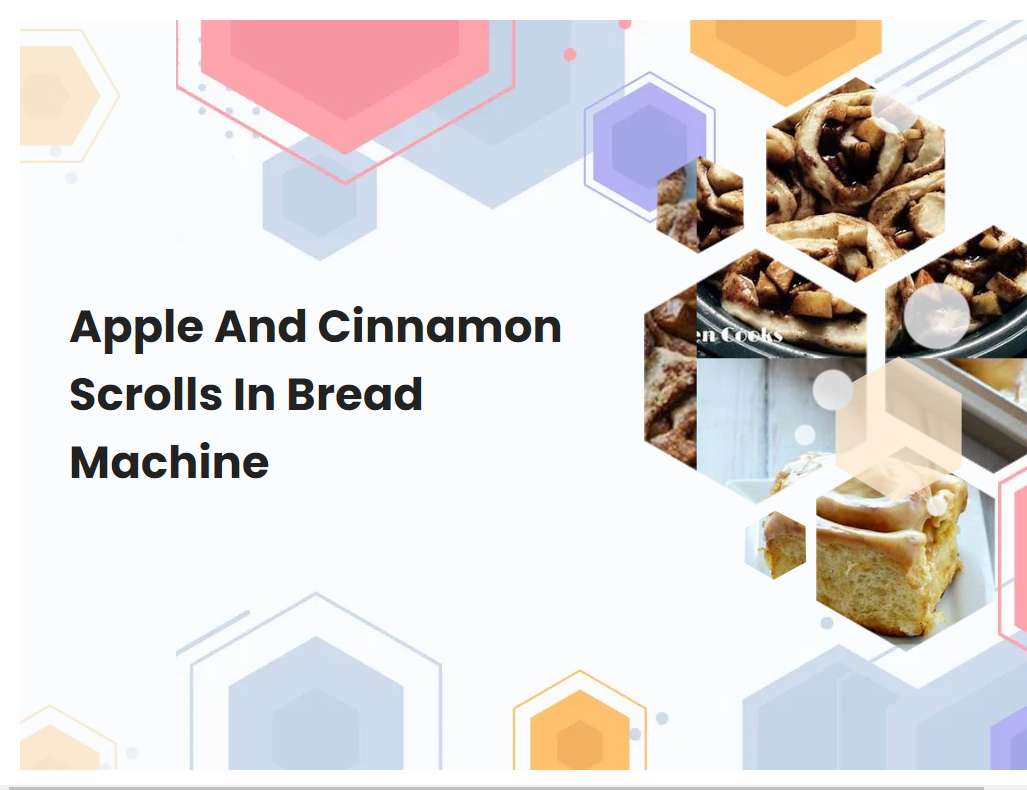
Apple And Cinnamon Scrolls In Bread Machine
Apple and cinnamon scrolls are a delicious treat to enjoy for breakfast or as a snack. They can be made from scratch, but using a bread machine simplifies the process and ensures that the rolls turn out perfectly every time. With the right ingredients and a few easy steps, you can make delicious apple and cinnamon scrolls in your bread machine.
Make sure the bread machine is clean and in good working condition before beginning.
Before beginning any bread machine project, it is important to ensure that the machine is in good working condition and properly cleaned. Start by unplugging the machine and wiping down the exterior with a damp cloth. Then, remove any crumbs or debris from the interior of the machine and clean any removable parts with hot, soapy water.
Once the parts are clean and dry, they should be reassembled correctly before use. Finally, plug in the machine and check that all the settings are correct. This will help ensure that you get the best results from your bread machine each and every time.
Ensure all ingredients are fresh and within their use-by date.
When cooking, it is crucial to ensure all ingredients are fresh and within their use-by date. This is especially important for food safety, as ingredients that have gone bad can cause foodborne illnesses. It is important to check the labels of each ingredient before using them, making sure they are not past their use-by dates.
If any ingredients are close to the expiration date, it may be better to replace them with fresher ingredients. Additionally, ensuring all ingredients are of good quality greatly improves the overall taste and texture of the dish. It is also important to check the labels of any pre-packaged or canned ingredients to make sure they are not expired as well. Taking the time to make sure all ingredients are fresh and within their use-by date will result in a much better overall product.
See also: What Is Difference In Whole Wheat Cycle Bread Machine
Use the correct amount of bread flour, yeast, sugar, milk, butter, salt, and eggs as recommended by the bread machine manual.
When preparing bread using a bread machine, it is important to use the correct amounts of ingredients as recommended in the machine's manual. Generally, the recipe calls for two cups of bread flour, two teaspoons of active dry yeast, two tablespoons of sugar, one and a half cups of milk, two tablespoons of butter, one teaspoon of salt, and one egg. The key to making successful bread is to use these exact measurements as too much or too little of an ingredient can affect the outcome.
The bread flour should be sifted prior to use, and all ingredients should be at room temperature before putting them in the machine. After adding all the ingredients, follow the instructions in the manual to turn on the machine and allow it to knead, rise, and bake the dough. With the proper measurements and care, you can make delicious homemade bread in the comfort of your own kitchen.
See also: King Arthur Whole Wheat Bread Bread Machine
Always add the liquid ingredients first, followed by dry ingredients.
When making a recipe, it is important to add the ingredients in the correct order to ensure that the dish will turn out as expected. Generally, when baking or making something that requires a batter, the liquid ingredients should always be added first. This includes things like water, milk, vegetable oil, and any other liquids that are called for in the recipe.
After all of the liquid ingredients have been mixed together, the dry ingredients can then be added. This includes things like flour, baking powder, salt, sugar, and any other dry substances that are required. By adding the liquid ingredients first and then the dry ingredients, the batter will be properly mixed and the recipe will turn out as intended. Additionally, when a recipe calls for combining wet and dry ingredients together, the same order should be followed. First, add all of the wet ingredients together and then gradually add the dry ingredients while stirring with a spoon or mixer. Following this order of adding ingredients will ensure that your recipe is successful.
See also: Paleo Bread With Seeds In Bread Machine
If using a bread machine with a delayed timer setting, add the cinnamon, apples and other fruits last.
When using a bread machine with a delayed timer setting, it is important to add the ingredients in a specific order. First, pour all of the wet ingredients, such as water, milk, oil and eggs, into the bread pan. Then add the dry ingredients, such as the flour, sugar, salt and yeast.
Once these have been added, use the delayed timer setting to set the desired time for the bread to bake. At this point, it is safe to add the cinnamon, apples and other fruits. This should be done just before the bread dough is ready to be kneaded. The cinnamon and fruits will be evenly distributed through the dough during the mixing phase, providing an even flavor throughout the finished product.
See also: Gluten Free Hot Cross Buns Bread Machine
Preheat the oven to the temperature recommended by the bread machine manual.
Preheating the oven is an important step when baking bread with a bread machine. Before baking your bread, it is important to preheat your oven to the temperature recommended in the bread machine manual. This will ensure that your dough will rise properly and that your bread will bake evenly.
The temperature recommended in the manual should be followed closely, as this will help ensure that your bread comes out perfect every time. Preheating the oven also helps to ensure that the dough will not stick to the sides of the pan. It is important to allow the oven to preheat for at least 15 minutes before placing your dough in the pan. This will give your dough ample time to rise and bake evenly.
See also: Whole Wheat Pizza Dough Bread Machine Freeze
Grease the baking pan with butter or non-stick cooking spray before adding the dough.
Greasing the baking pan with butter or non-stick cooking spray is an important step in baking. This will help to prevent the dough from sticking to the pan and ensure that your finished product is easy to remove. To grease a baking pan, start by lightly coating the entire surface with butter or non-stick cooking spray, using a paper towel or brush to spread it out evenly.
Be sure to cover all corners and sides of the pan to ensure that your dough won't stick. Once the pan is greased, you can add your dough and begin baking. Greasing the pan correctly before adding the dough will help you achieve delicious results and ensure that your baked goods turn out perfect every time.
Place the scrolls on the baking pan and let them rise for approximately 30 minutes before baking.
Before baking the scrolls, they must be allowed to rise. Place the scrolls on a baking pan and cover them with a damp cloth to prevent them from drying out. The scrolls should be left in a warm place, such as near the oven or near a heat source, and left to rise for approximately 30 minutes.
During this time, the dough will double in size as the yeast activates and ferments, creating a light and airy texture that will give the scrolls their characteristic fluffy texture. After rising, the scrolls are ready to be baked. Preheat the oven to the desired temperature and bake the scrolls for the appropriate amount of time until they are golden brown. Enjoy your freshly-baked scrolls!
Bake the scrolls for the recommended time and temperature in the manual.
When baking the scrolls, it is important to follow the recommended time and temperature as stated in the manual. This ensures the scrolls are cooked thoroughly and evenly, and that their flavor and texture are preserved. Depending on the type of oven being used, the recommended temperature may vary slightly.
Generally, preheating the oven to the specified temperature is necessary before baking. The baking time will also vary depending on the type and size of the scrolls, so it is important to check the manual for specific instructions. Once the scrolls are placed in the oven, they should be baked until golden brown and a toothpick inserted into the center comes out clean. To ensure even baking, the scrolls should be rotated halfway through baking time. After baking, it is important to let the scrolls cool completely before serving.
Allow the scrolls to cool completely before serving.
Once the scrolls have finished baking, it is important to allow them to cool completely before serving. This is because the dough has likely risen and become fluffy while baking, and will require time to settle and become firm. In addition, the filling inside the scrolls may still be hot and could cause burning if served too soon.
To ensure that the scrolls are safe for consumption, allow them to cool for at least 30 minutes before serving. During this time, the scrolls will contract a bit and become firmer, which will make them easier to handle and eat. Enjoy your freshly baked scrolls!


