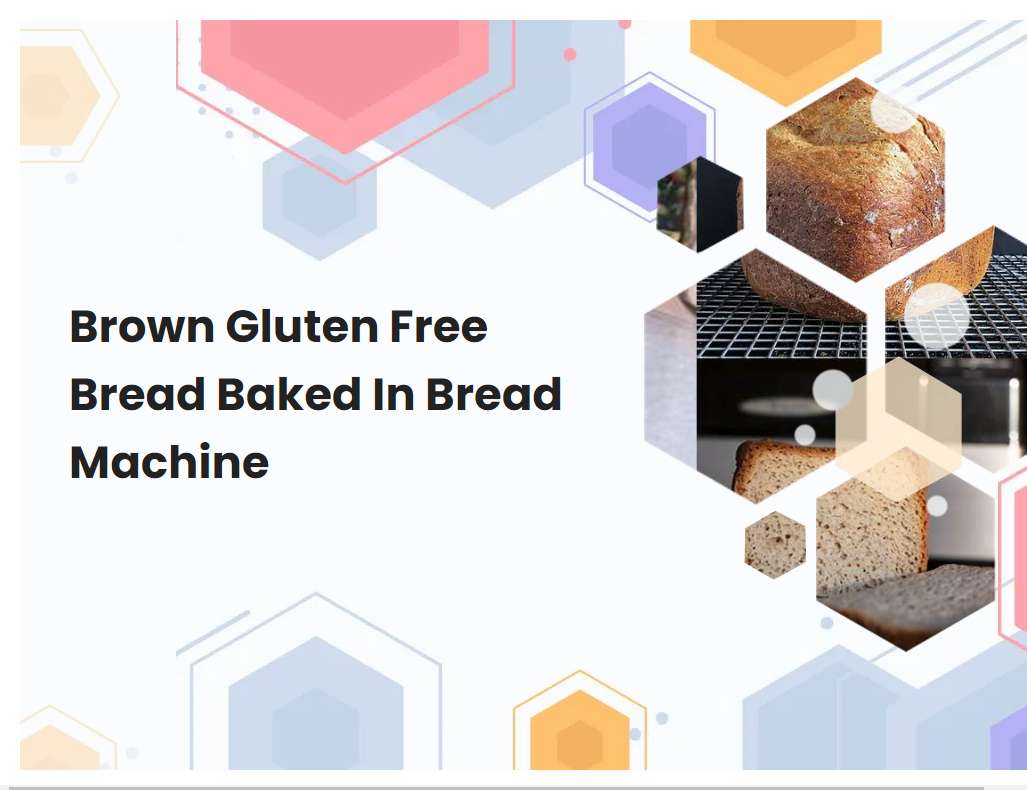
Brown Gluten Free Bread Baked In Bread Machine
Baking gluten free bread in a bread machine is an easy and efficient way to make delicious homemade bread. With a few simple ingredients, you can make a variety of different types of gluten free breads, such as brown gluten free bread. This recipe utilizes basic ingredients, like flours and yeast, to create a soft, moist, and flavorful loaf of homemade gluten free bread. Making this bread in a bread machine ensures that it will be baked evenly and consistently, resulting in a perfect loaf every time.
Ensure that the ingredients are gluten-free.
When shopping for food products, it is important to verify that all ingredients are gluten-free. Gluten is a protein found in wheat, barley, and rye and can cause serious health problems for those with gluten intolerances or Celiac Disease. Many processed foods contain wheat, barley, or rye and therefore may contain gluten.
It is important to read the labels of all products purchased to ensure that they are free of gluten. When shopping for gluten-free products, look for the words gluten-free on the label. The FDA requires that products labeled gluten-free must contain fewer than 20 parts per million (ppm) of gluten. Additionally, products labeled no gluten, free of gluten, and without gluten must also contain fewer than 20ppm of gluten. For products without these labels, it is important to read the ingredient list carefully. Ingredients derived from wheat, barley, and rye should be avoided. These include but are not limited to: wheat flour, barley malt, rye flour, and wheat germ. Additionally, some processed foods may contain additives or stabilizers derived from wheat so it is important to read the labels of these items carefully as well. Overall, it is important to take extra care when shopping for gluten-free products by reading the labels carefully and checking for any ingredients derived from wheat, barley, or rye. Following these steps can help ensure that all purchased products are free of gluten and safe for those with gluten intolerances or Celiac Disease.
Use the correct type of flour for gluten-free baking, such as almond or coconut flour.
Gluten-free baking requires the use of different types of flour than traditional baking. The most commonly used types of flour for gluten-free baking are almond flour and coconut flour. Almond flour is made from ground blanched almonds and is a great source of protein, fiber, minerals and vitamins.
It has a slightly sweet flavor and is very versatile in baked goods such as cakes, muffins and breads. Coconut flour is made from ground coconut meat and is high in fiber, healthy fats and antioxidants. It has a slightly sweet, nutty flavor and is best used in recipes such as pancakes, cookies and quick breads. Both almond and coconut flours are gluten-free and low in carbohydrates, making them an ideal choice for those following a gluten-free diet. They can also be used to replace wheat flour in many traditional baking recipes, allowing you to enjoy the same treats without the gluten.
See also: How To Remove Bread From Bread Machine Pan
Follow the recipe instructions for the specific bread machine being used.
Using a bread machine to make homemade bread is a great way to easily craft delicious and fresh-baked bread without the need for kneading and rising dough by hand. To begin, you will need to gather the ingredients listed in the recipe you are using. It is important to measure out all of the ingredients accurately, as this will affect the quality of your finished product.
After measuring out all of the ingredients, they should be added to the bread machine in the order specified in the recipe instructions. Generally, the wet ingredients should be added first, followed by the dry ingredients, and finally the yeast should be added last. Once all of the ingredients are in the bread machine, select the desired cycle on the machine and press start. The machine will do the rest of the work for you. Depending on the type of bread being made, you may need to add other ingredients partway through the baking cycle, such as fruits, nuts, or other mix-ins. Be sure to follow the recipe instructions carefully to ensure that your finished product turns out perfectly.
See also: When Do You Add Yeast To Bread Machine With Dispenser
Consider reducing the amount of liquid used when baking gluten-free bread in a bread machine.
When baking gluten-free bread in a bread machine, it is important to reduce the amount of liquid used. Gluten-free breads are much more delicate than traditional breads made with wheat flour, and require a different type of dough. Too much liquid can cause the bread to become overly wet and dense.
To prevent this, use about 20-25% less liquid than the recipe calls for. For example, if the recipe calls for 1 cup of water, use only ¾ cup instead. Additionally, be sure to add the liquid gradually as the bread machine kneads the dough, rather than adding all of it at once. This will help ensure that the correct amount of liquid is used and that the dough is not over-hydrated. By reducing the amount of liquid used when baking gluten-free bread in a bread machine, you can prevent the bread from becoming too dense and help ensure a light and fluffy result.
See also: Black And Decker All In One Bread Machine Reviews
Add in additional ingredients such as xanthan gum, chia seeds, or psyllium husk to help bind the ingredients together.
The addition of xanthan gum, chia seeds, or psyllium husk can help bind the ingredients together and create a more cohesive texture. Xanthan gum is a polysaccharide produced from the fermentation of glucose or sucrose and is often used to replace gluten in recipes. It helps to thicken liquids and bind ingredients together, making it an excellent choice for baking and food preparation.
Chia seeds are packed with fiber and omega-3 fatty acids, making them a great choice for binding ingredients together. They also add a subtle nutty flavor to dishes. Psyllium husk is a type of soluble fiber derived from the husks of the psyllium plant, which has been used as a natural laxative for centuries. In baking, it helps to bind ingredients together and create a more cohesive texture. All three of these ingredients can be used to help bind the ingredients together, resulting in a delicious and texturally pleasing final product.
See also: Fleischmann's Bread Machine Yeast Cinnamon Rolls
Use yeast that is specifically labeled as gluten-free when possible.
Using gluten-free yeast is the best way to ensure a gluten-free product. Gluten-free yeast is specially labeled and designed to be free of gluten, and therefore to not contain any of the proteins that can trigger an autoimmune reaction in people with celiac disease or gluten sensitivity. When possible, it is important to use yeast that is labeled as gluten-free, as it can help to eliminate the risk of exposure to gluten.
When using gluten-free yeast, it is important to also ensure that all other ingredients used are also certified as gluten-free. This will help to ensure that the finished product is completely gluten-free. Additionally, it is important to take extra precautions when baking with gluten-free yeast such as using separate utensils and equipment for gluten-free products to avoid cross contamination.
See also: How To Turn Bread Machine Bread Into Oven Bread
Take into account any additional time needed to rise the dough when using a bread machine with a delayed timer.
Using a bread machine with a delayed timer to make bread can be a great way to save time and effort, however it's important to take any additional time needed to rise the dough into account. For instance, if you are using the timer to delay the start of the cycle, you need to factor in the time it takes for the dough to rise. Depending on the type of dough and the climate, this could take anywhere from one to four hours.
If you are using a recipe that calls for the dough to be kneaded and then allowed to rise, you can use the delayed timer setting in the machine to allow the dough to rise in the machine before it is kneaded. However, if you are using a recipe that calls for the dough to be kneaded and then allowed to rise, you will need to allow at least two hours for the dough to rise before baking. Additionally, if you're using a recipe that includes extra steps such as allowing the dough to rest for a certain amount of time, you will need to factor this into your overall timeline as well. Taking these additional steps into account when using a bread machine with a delayed timer will help ensure you end up with a perfectly baked loaf of bread.
Increase the amount of sugar used if a sweeter taste is desired.
If a sweeter taste is desired, increasing the amount of sugar used is a great way to achieve this. You can start by adding a few teaspoons of sugar at a time, stirring and tasting the mixture between each addition until the desired sweetness level is reached. To ensure that the sweetness is evenly distributed, be sure to mix the sugar with the other ingredients before adding it to the dish.
Additionally, different types of sugar can be used to achieve different levels of sweetness, as some have a stronger flavor than others. For example, using brown sugar instead of white sugar can add a more caramel-like taste. Ultimately, adding more sugar is a quick and easy way to give your dish an extra dose of sweetness.
Use a thermometer to check the internal temperature of the finished loaf to ensure it is cooked through.
Using a thermometer to check the internal temperature of a finished loaf is an important step to ensure that it is cooked through. The ideal temperature for most breads is 205 degrees Fahrenheit. It is important to insert the thermometer into the thickest part of the loaf, near the center.
When the thermometer reaches 205 degrees, the bread should be removed from the oven and allowed to cool before slicing. If the bread is not cooked through, it can be returned to the oven for a few more minutes until the thermometer reaches that temperature. Checking the internal temperature of the finished loaf is an important step in ensuring that it is fully cooked and ready to enjoy.
Allow the loaf to cool completely before slicing.
It is important to allow the loaf to cool completely before slicing it. This is because the loaf will be easier to slice when it is at room temperature. Additionally, allowing it to cool helps the bread to properly set and ensures that the texture of the bread remains the same throughout.
If the bread is too warm, it may become too crumbly when slicing and may not hold its shape. If the bread is too warm and is sliced, it may also be too moist and not have a desirable texture. To cool the bread, it can be placed on a wire rack or on a cutting board. After it has cooled, the loaf can then be sliced and served.


