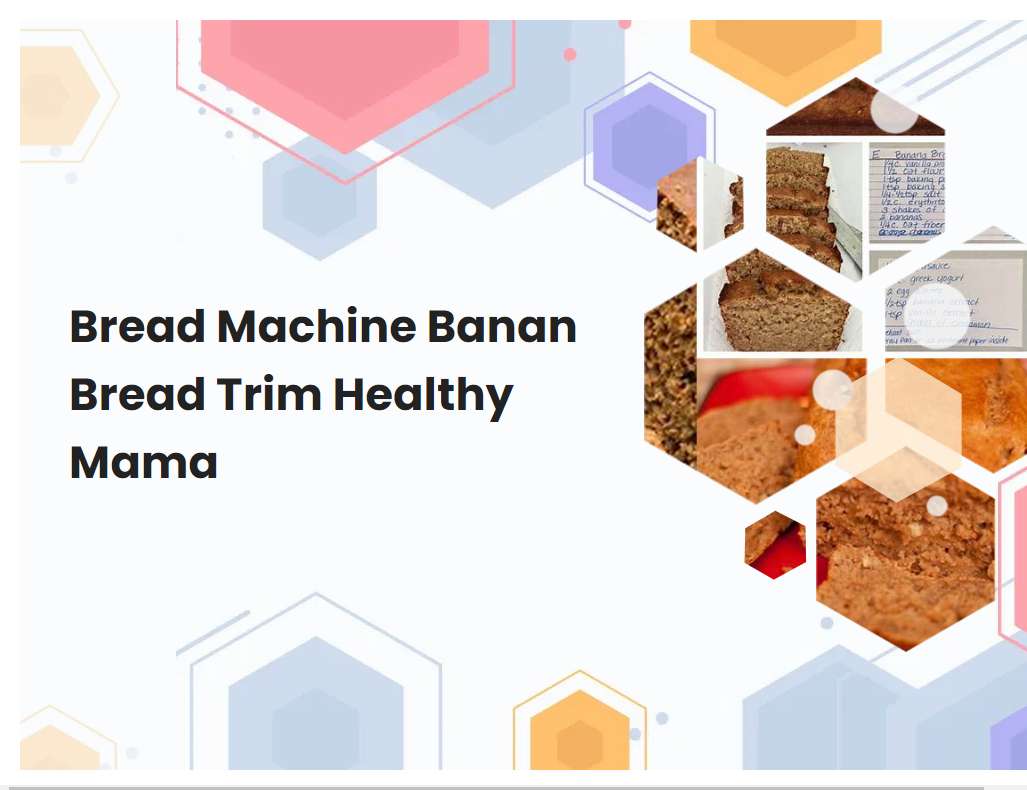
Bread Machine Banan Bread Trim Healthy Mama
Banan bread is one of the most beloved baked goods around the world. It is popular for its sweet and comforting flavor. For those following the Trim Healthy Mama diet, it can be difficult to find a banan bread recipe that fits within their guidelines. This article will provide a delicious and nutritious recipe for banan bread that is sure to satisfy any Trim Healthy Mama.
Use overripe bananas for the best flavor in your banana bread.
When it comes to making the best-tasting banana bread, overripe bananas are a must. The riper the banana, the sweeter and more flavorful it will be. Overripe bananas have a deep yellow to brown color, with visible brown spots and a softer texture than those that are not yet ripe.
The sweetness of overripe bananas is due to their high sugar content, which develops when the fruit is left to ripen longer. This sugar content makes them perfect for baking, as they provide a natural sweetness that you won't find in other ingredients. Overripe bananas also have a unique flavor profile and a softer texture, which results in a moist and delicious banana bread. If you're looking for the best-tasting banana bread, using overripe bananas is the way to go.
Choose the right type of flour for your banana bread recipe; whole wheat or spelt flour are the best options.
When selecting the right type of flour for banana bread, it is important to consider the texture and flavor you are aiming for in the finished product. Whole wheat flour is a great choice for banana bread as it provides a nuttier flavor and denser texture than some other types of flours. The bran and germ in whole wheat flour also adds additional nutrients, such as vitamins, minerals, and fiber.
Spelt flour is another excellent option for banana bread, as it is a whole grain flour with a nutty flavor and slightly sweet taste. It also has a lighter texture than whole wheat flour, making it perfect for a light and fluffy banana bread. Spelt flour is also higher in protein than other types of flour, making it a nutritious choice for baking.
See also: Zojirushi Home Bakery Virtuoso Plus Bread Machine
Add nuts and dried fruits to your banana bread for extra flavor and texture.
Adding nuts and dried fruits to your banana bread can be a great way to add extra flavor and texture to the classic treat. Nuts are a great addition to banana bread as they provide a crunchy texture, lots of flavor and some added nutrition. Popular nuts that work well in banana bread include walnuts, almonds, hazelnuts, and pecans.
For extra sweetness and texture, you can also add some dried fruit such as raisins, cranberries, apricots, and dates. These dried fruits will provide a chewy texture and bring out the banana flavor in the bread. When adding these ingredients, be sure to keep in mind the ratio of wet to dry ingredients as too much of either can throw off the texture of the bread. If you want to really take your banana bread up a notch, try adding some of your favorite nuts and dried fruits for a delicious and unique twist on the classic dessert.
See also: Bread Machine How To Bake A Perfect Loaf
Use a bread machine to make banana bread with ease.
Making banana bread with a bread machine is a great way to conveniently enjoy freshly-baked homemade bread. To start, you'll need to gather the ingredients: all-purpose flour, baking powder, baking soda, salt, butter, eggs, mashed bananas, and any other flavorings you'd like to add. Once you have all the ingredients, measure them out and place them in the bread machine pan according to the manufacturer's instructions.
Once all the ingredients are in the pan, select the "baking" setting and press "start." The machine will mix, knead, and bake your banana bread for you. Depending on the size of your loaf and the type of bread machine you're using, you may need to adjust the kneading and baking times. Once the machine has finished baking your banana bread, it's ready to enjoy!
See also: Tips For Making Gluten Free Bread In A Bread Machine
Grease the pan before adding the batter.
Greasing the pan before adding the batter is an essential step in baking. It helps to prevent the batter from sticking to the pan, ensuring a smooth and even result. Greasing the pan also helps to create a crisp and golden-brown exterior.
To properly grease the pan, use a paper towel or pastry brush to spread a thin layer of butter, oil, or non-stick cooking spray over the entire surface. Be sure to pay close attention to the edges and corners of the pan, as these are the areas that are most prone to sticking. Once the pan is fully coated, you can pour in your batter and begin baking. Doing this simple step will help you get the perfect result from your baked goods.
See also: Make Bread In The Bread Machine With King Arthur
Avoid overmixing the batter, as this can make the bread dense.
When making a bread batter, it is important not to overmix it, as this can have a negative impact on the final product. Overmixing the batter will make the bread dense and heavy, and it won't rise properly in the oven. This is because overmixing causes the gluten proteins in the flour to break down, resulting in a dense and tough texture.
To prevent this, use a light hand when combining the batter ingredients and mix only until they are just combined. If the recipe calls for kneading the dough, knead it only until it has formed a smooth ball and avoid overworking it. Once the batter is ready, transfer it to the pan and bake it immediately. This will ensure that the batter doesn't sit too long and become overmixed.
See also: Hamilton Beach Brands Inc Hamilton Beach Programmable Bread Machine
Be sure to check for doneness with a toothpick before removing from the oven.
When baking with a toothpick test, make sure to know when the item is done baking. To do this, insert a toothpick into the center of the item being baked. If the toothpick comes out clean, with no wet batter or crumbs attached to it, then the item is done.
If not, continue to bake and test every few minutes until the toothpick comes out clean. It is important to not over bake the item, as it may become dry or burnt. Also, be sure to remove the item from the oven once it has passed the toothpick test, as continued baking may cause the item to become overcooked.
Allow the bread to cool completely before slicing and serving.
Allowing the bread to cool completely before slicing and serving is an important step. If the bread is cut too soon, the texture and crumb will not be as desired. The best way to ensure that the bread has cooled completely is to place it on a cooling rack for at least one hour, or until the surface of the loaf is no longer warm to the touch.
If you are in a rush, you can place the loaf in the refrigerator for 15-20 minutes to cool it quickly. It is important to note that this will not yield the same results as allowing the bread to cool on its own. Once the loaf has cooled, you can then slice and serve. Enjoy!
Use Trim Healthy Mama approved ingredients for a healthier loaf.
A healthier loaf can be made with Trim Healthy Mama approved ingredients. This loaf is made with whole wheat flour and oat bran for a higher fiber content. Instead of using white sugar, the loaf is sweetened with honey or coconut sugar.
Coconut oil is used instead of butter or vegetable oil and adds an extra boost of healthy fats. Non-dairy yogurt or applesauce can be used in place of dairy to keep it dairy-free. Additionally, adding in nuts and seeds like walnuts and flaxseed can add extra fiber and protein to the loaf. Finally, this loaf can be topped with cinnamon or nutmeg for a sweet and delicious finish.
Store leftover banana bread in an airtight container for up to 3 days.
Leftover banana bread can be stored in an airtight container for up to 3 days. To ensure that the banana bread stays fresh, it is important to keep it in the container at room temperature. Make sure to place the container in a cool, dry place away from direct sunlight or heat sources.
If the banana bread is still moist, it is best to wrap it in wax or parchment paper to prevent it from sticking to the airtight container. Additionally, it is important to ensure that the container is well sealed so that no air can enter and cause the banana bread to dry out. Finally, if you are not planning on eating the banana bread within 3 days, it is best to freeze it for up to 3 months.


