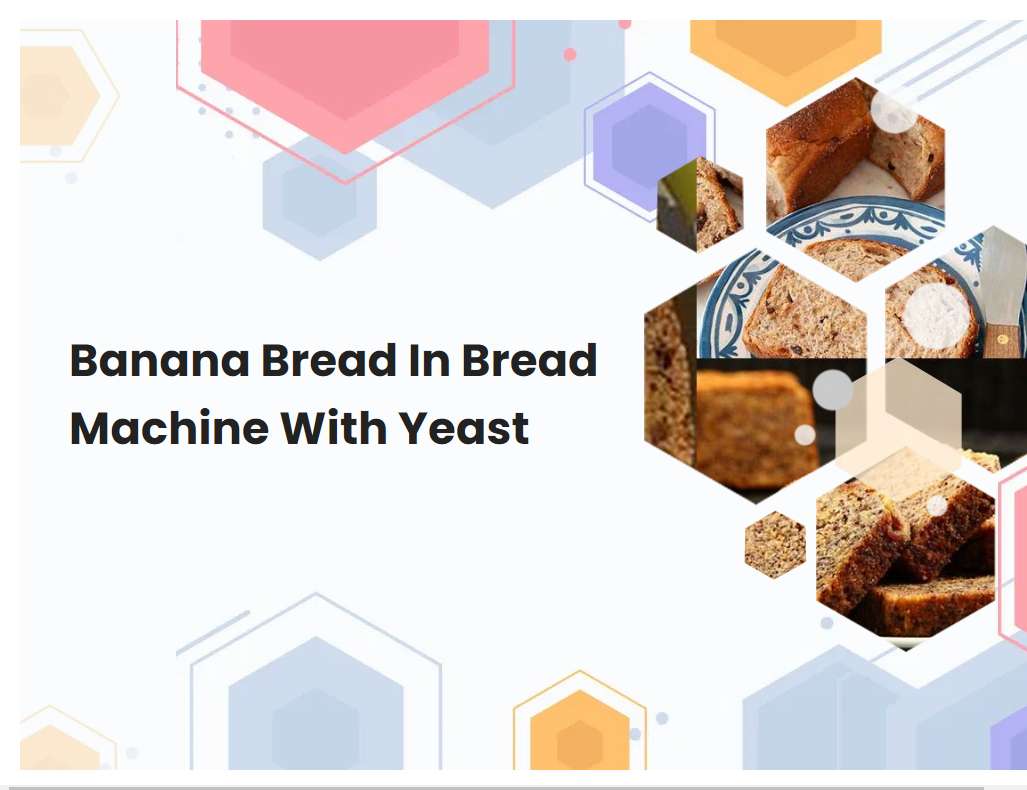
Banana Bread In Bread Machine With Yeast
Banana bread is a classic comfort food that can be enjoyed for breakfast, a snack, or dessert. Making this sweet treat in a bread machine with yeast is a great way to get an even texture and delicious flavor. With a few simple ingredients, you can have a fresh loaf of banana bread in no time.
Check your bread machine instructions for details on how to use it with yeast.
Using a bread machine to make bread with yeast is a simple process. First, you will need to measure out the ingredients and add them to the bread machine. Depending on the type of bread that you are making, you may need to add different ingredients in different orders.
Generally, the order of ingredients is wet ingredients first, followed by dry ingredients, and then lastly the yeast. Once all of the ingredients are in the machine, select the desired cycle for your bread and press start. It's important to follow the instructions provided in the bread machine manual for the type of bread you are making, as some cycles require more or less kneading time. The machine will mix, knead, rise, and bake the dough for you. Once it's done baking, you can remove the loaf from the machine and enjoy the delicious homemade bread.
Choose the correct yeast for the recipe you are making. Active dry yeast is used most often for bread machines.
Active dry yeast is the most commonly used type of yeast for bread machines. It is a dehydrated form of Saccharomyces cerevisiae, a species of yeast that is used for baking. Active dry yeast is preferred over other forms of yeast due to its easy storage and long shelf life.
It is also simpler to use compared to other types of yeast, as it can be added directly to the dry ingredients and requires no additional preparation. The yeast is activated by being mixed in warm liquid, usually between 105-110°F, before being added to the rest of the ingredients. Active dry yeast is ideal for bread machines as it provides consistent and reliable results every time. Additionally, it produces a variety of flavors and textures in the finished product.
See also: The Bread Machine Magic Book Of Helpful Hints
Make sure the yeast is fresh and within its expiration date.
When baking with yeast, it is important to make sure the yeast is fresh and within its expiration date. Yeast is a living organism, and if it is not fresh, it will not be able to do its job properly. When selecting yeast, be sure to check the expiration date on the package and make sure it is within the date range.
Additionally, look for signs of clumping or discoloration which could indicate the yeast has gone bad. Once the yeast has been opened, store it in an airtight container in the refrigerator and use it within four months for best results. To test if the yeast is still active, dissolve a teaspoon of it in a cup of warm water. If the mixture begins to foam and bubble, the yeast is still active and can be used in your baking recipes. Taking these steps to ensure your yeast is fresh will help you get the best results from your baking.
See also: Bread Machine Keto Bread By Keto King
Measure all ingredients accurately and exactly as written in the recipe.
Accurate measuring of ingredients is essential to the successful outcome of any recipe. In order to ensure that each dish is consistent and of high quality, it is important to measure all ingredients precisely according to the recipe. Measuring ingredients accurately helps to keep the texture and flavor of the dish balanced and consistent.
Depending on the recipe, measuring can be done using either dry or liquid measuring cups, spoons, or scales. Dry measurements should be leveled off with a knife or flat edge, while liquid measurements should be filled until the meniscus reaches the marked line. Following the recipe precisely will help to ensure that the dish turns out the way it was intended. Additionally, when a recipe calls for a specific ingredient, substitutions should not be made unless stated otherwise. Accurate measuring will help to ensure that the final product is delicious and of the highest quality.
See also: Honey Wheat Bread In A Bread Machine
Preheat the machine before adding the ingredients.
Preheating a machine before adding ingredients is an important step in any recipe. This is especially true for recipes that involve baking, as preheating the oven or other machine will help ensure that the food is cooked evenly and thoroughly. Preheating also allows the ingredients to reach their optimal temperature before they are added to the machine, which can help them to cook more quickly and evenly.
To preheat a machine, simply set the temperature to the desired level and wait until the machine has reached that temperature before adding in any ingredients. This process can take anywhere from a few minutes to several hours depending on the type of machine and its settings. Once the machine reaches the desired temperature, the recipe can be started, allowing the ingredients to cook properly and ensuring that the dish turns out perfectly every time.
See also: Bread Machine Bread Has Rough Irregular Top
Choose the right cycle according to the recipe and the type of bread you are making.
If you are making a dough-based bread, the right cycle to use depends on the type of bread you are making. For a light, airy loaf such as white bread, you should use the Dough cycle, which will mix and knead the dough and let it rise before baking it in the oven. For a heavier, denser type of bread such as a rye or pumpernickel, you should use the Manual cycle, which allows you to control the kneading, rising, and baking times to create the perfect texture and consistency.
The Manual cycle is also recommended for artisan-style breads that require more intricate steps and more attention to detail during the process. With either cycle, you will end up with delicious, freshly baked bread that is perfect for any occasion.
See also: Difference Bread Machine Yeast Vs Fact Acting
Add liquids first, then dry ingredients and yeast last.
When baking bread, it is important to add the ingredients in the correct order. The liquids should always be added first, as this will help all of the other ingredients combine more easily. This includes water, milk, honey, and any other liquid ingredients.
After the liquids have been added, it is time to add the dry ingredients. These include flour, salt, sugar, and other spices or flavorings. Finally, the yeast should be added last. This will ensure that the yeast is fully activated and ready to work its magic on the dough. Once all of the ingredients have been combined and the dough has been kneaded, it is ready to rise and begin the baking process. Following this order of adding ingredients will ensure that your bread turns out perfectly every time.
Do not open the machine while it is in use as this can affect the rise of the dough and the quality of the finished product.
The use of a bread machine is a great way to make fresh homemade bread with minimal effort. However, it is important to keep in mind that during the process of making bread with a bread machine, the machine should not be opened while in use. Opening the machine during the baking process can disrupt the rising of the dough and ultimately affect the quality of the finished product.
This is due to a decrease in temperature and a change in air pressure. To ensure that your bread turns out perfectly, it is best to keep the bread machine closed during the entire baking process. Additionally, it is important to make sure that the machine is properly sealed and that the lid is securely closed when not in use. This will help maintain the temperature within the machine and keep the dough rising properly. Following these simple steps will help guarantee that you have delicious, freshly baked bread each time.
Allow the dough to rise until it passes the windowpane test when you can stretch it thin enough to be translucent.
The windowpane test is an important part of bread making and is the final check to ensure that the dough has been given enough time to rise. To conduct the windowpane test, you must take a small piece of dough and stretch it out between your fingers. If the dough is able to be stretched thin enough to become translucent, it has passed the windowpane test and is ready to be used.
This process is important as it ensures that the dough has been mixed and kneaded adequately, as well as given enough time to rise. Passing the windowpane test indicates that the dough is light and full of air pockets, which will result in a soft and fluffy loaf of bread. If the dough is unable to pass the windowpane test, it should be allowed to rise for a little longer before the test is attempted again.
Increase cooking time if necessary for a more thoroughly cooked loaf.
If you want to ensure that your loaf is cooked thoroughly, you may need to increase the cooking time. This can be done by extending the baking time in the oven, or by changing the temperature of the oven if necessary. For example, if your loaf is a light-colored loaf, you should increase the temperature to 375°F or higher and increase the cooking time by 5-10 minutes.
If you're baking a darker loaf, then you should increase the temperature to 400°F and cook for an additional 10-15 minutes. When checking for doneness, use a thermometer to make sure that the internal temperature of the loaf is at least 195°F. If it isn't, continue baking until it reaches that temperature. By doing this, you can be sure that your loaf is cooked through and has a delicious flavor.


