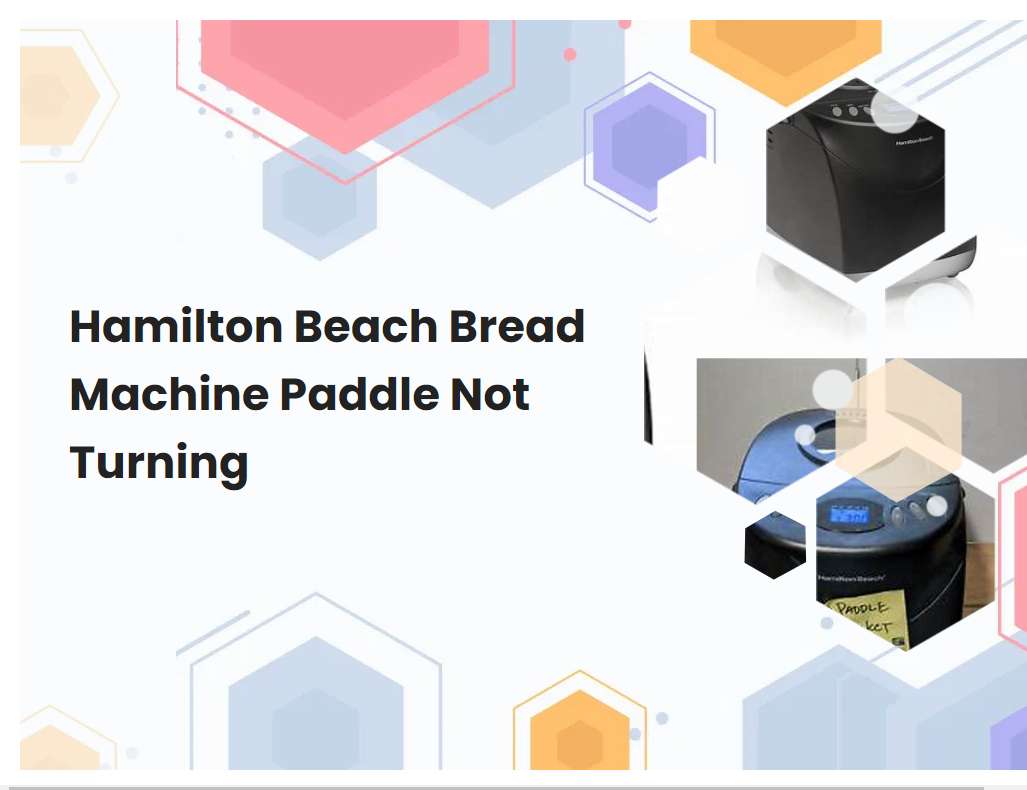
Hamilton Beach Bread Machine Paddle Not Turning
Bread machines are a convenient tool for making fresh, homemade bread without any of the work. Hamilton Beach bread machines are an especially popular choice, as they are reliable and easy to use. However, sometimes these machines can experience issues, such as a paddle not turning, which can be frustrating.
Ensure that the dough hook is properly attached to the paddle shaft.
Before using a dough hook to mix dough, it is important to make sure it is properly attached to the paddle shaft. To do this, hold the dough hook securely in one hand and the paddle shaft in the other. Align the grooves on the shaft with the grooves on the hook, then press the two pieces together firmly.
Once they are aligned, twist the hook clockwise until it is completely secure. If the dough hook is not properly attached, the dough may not mix properly and could lead to an uneven texture or other baking issues. Additionally, an improperly attached dough hook could come loose while mixing, potentially causing injury. It is always important to perform this step before each use of the dough hook to ensure safety and proper mixing.
Check the alignment of the paddle shaft and kneading blade.
The alignment of the paddle shaft and kneading blade is a critical part of the bread-making process. When the two components are not properly aligned, the dough can become unevenly mixed and may not rise properly. To ensure optimal performance, it's important to check the alignment of the paddle shaft and kneading blade.
First, remove the kneading blade from the bread pan. Then, carefully examine the connections between the paddle shaft and blade. If the two components are not properly aligned, gently adjust the blade until they are in perfect alignment. Once they are correctly aligned, reattach the kneading blade to the bread pan. Checking and adjusting the alignment of the paddle shaft and kneading blade will help ensure that your bread is mixed and rises properly every time.
See also: Cause Of Cracked Crust On White Bread Machine Loaf
Make sure the bread pan is securely attached to the machine.
The bread pan is a vital component of a bread machine and must be securely attached to the machine in order for it to work properly. First, check that the pan is properly inserted into the machine. There should be a lip at the top of the pan that fits into the machine, and the pan should fit snugly without any wiggle room.
Make sure the handle on the pan is facing outward so that it can easily be removed once the bread is finished cooking. Once the pan is inserted, secure the pan with the clips or latches that come with the machine. If the clips or latches are not tight, make sure to adjust them until they are firmly secured. Securely attaching the bread pan is essential to ensure that the bread will bake correctly and will not be ruined.
See also: Where Can I Buy Bread Machine Mixes
Ensure that the correct size bread pan is being used.
Using the correct size bread pan is essential for baking a successful loaf of bread. When a pan is too large, the dough may spread out too much and not cook evenly. On the other hand, if the pan is too small, the dough won't have enough room to rise and can cause an unevenly cooked or dense loaf.
It's important to measure the size of your pan before you begin baking and compare it to the size required for the recipe. Pay close attention to the measurements listed in the recipe for the length, width and depth of the pan. Additionally, consider the material that the pan is made from as this can affect how evenly the bread cooks. For example, metal pans tend to produce a crispier crust than glass or ceramic pans. Keeping these considerations in mind will help ensure that you get a perfectly cooked loaf of bread every time.
See also: Is It Cheaper To Make Bread In A Bread Machine
Make sure the bread machine is securely plugged into a power outlet.
It is important to make sure the bread machine is securely plugged into a power outlet before starting the baking process. Make sure the plug is fully inserted into the wall socket and that it is not loose or wiggling. Ensure the plug is firmly in place and cannot be easily removed.
Check that the power outlet is not faulty, as a damaged power outlet can cause the bread machine to malfunction or even stop working altogether. If using an extension cord, double check that it is rated for the power load of the bread machine. Avoid using frayed or damaged extension cords, as these can pose a fire hazard. Ensure that the power outlet is not shared with any other high-power appliances, as this could cause it to overload and trip the circuit breaker. Lastly, make sure that all switches associated with the power outlet are turned on, as this will ensure that the bread machine can receive power.
See also: Using The Cake Setting On Bread Machine For Bread
Check if there are any obstructions in the bread pan or kneading blade.
It is important to make sure that there are no obstructions in the bread pan or kneading blade before using the bread maker. This can be done by inspecting the bread pan and kneading blade for any pieces of dough, flour, or other debris that may have accumulated during the last use. If any debris is found, it should be carefully removed to prevent it from entering the dough or affecting the kneading process.
Additionally, it is important to ensure that the kneading blade is not damaged or bent, as this could lead to an uneven mix or dough that does not rise properly. Finally, it is a good idea to make sure that the bread pan is properly aligned before starting the machine, as an improperly aligned pan can cause uneven baking. Taking the time to inspect the bread pan and kneading blade before each use will help ensure that your bread maker operates at its best.
See also: Why Does My Bread Machine Loaf Collapse
Verify that the bread machine settings are correctly programmed.
When verifying that the bread machine settings are correctly programmed, it is important to thoroughly review all of the settings. This includes checking that the time, loaf size, and type of bread have all been correctly adjusted. Additionally, it is important to ensure that the required ingredients are all loaded into the machine in the correct order, depending on the type of bread being made.
Finally, it is essential to make sure that the kneading and baking settings are properly set for the type of bread that is being prepared. By following these steps and double checking all of the settings, it is possible to ensure that the bread machine settings are correctly programmed.
Ensure that the bread machine is not overloaded with ingredients.
When it comes to using a bread machine, it is important to ensure that it is not overloaded with ingredients. Too much of any ingredient can cause problems with the baking process, resulting in a poor-quality product. If too many dry ingredients are added, the dough may become too dry, resulting in a dense, heavy loaf.
If too much liquid is added, the dough will be too wet and the loaf will be flat and heavy. In addition, an overloaded bread machine may cause dough to leak out of the pan, leading to a mess and a ruined loaf. It is important to follow the instructions on the bread machine and measure ingredients carefully to ensure that the bread machine is not overloaded. Additionally, it is important to check the consistency of the dough throughout the baking process to make sure that it is not too wet or too dry. With careful attention to detail, a bread machine can be used to produce delicious loaves of homemade bread.
Check if the motor is running and that the power switch is turned on.
If the motor is not running, the first step is to check the power switch. Make sure that the power switch is turned on, as this is necessary for the motor to run. If the power switch is on, then it is possible that there is an issue with the motor itself.
Check to make sure that all wiring connected to the motor is secure and that there are no loose connections. If the wiring appears to be in order, then it is possible that the motor needs to be replaced or repaired. It may also be helpful to consult a professional or refer to the motor's user manual for further troubleshooting advice.
Clean and lubricate the kneading blade and paddle shaft regularly.
Kneading blades and paddle shafts should be cleaned and lubricated regularly to ensure that the dough is mixed properly and the appliance runs smoothly. Begin by unplugging the appliance and removing the kneading blade and paddle shaft. Use a damp cloth to remove any visible dirt or debris from the blade and shaft, then dry them thoroughly.
When reassembling the appliance, use a non-abrasive lubricant such as mineral oil on the paddle shaft. If the kneading blade has built up a layer of dough, soak it in warm, soapy water for 10 minutes before scrubbing it clean. After cleaning and lubricating the kneading blade and paddle shaft, reassemble the appliance and plug it back in. Regular cleaning and lubrication of the kneading blade and paddle shaft will help keep your appliance running well for years to come.


