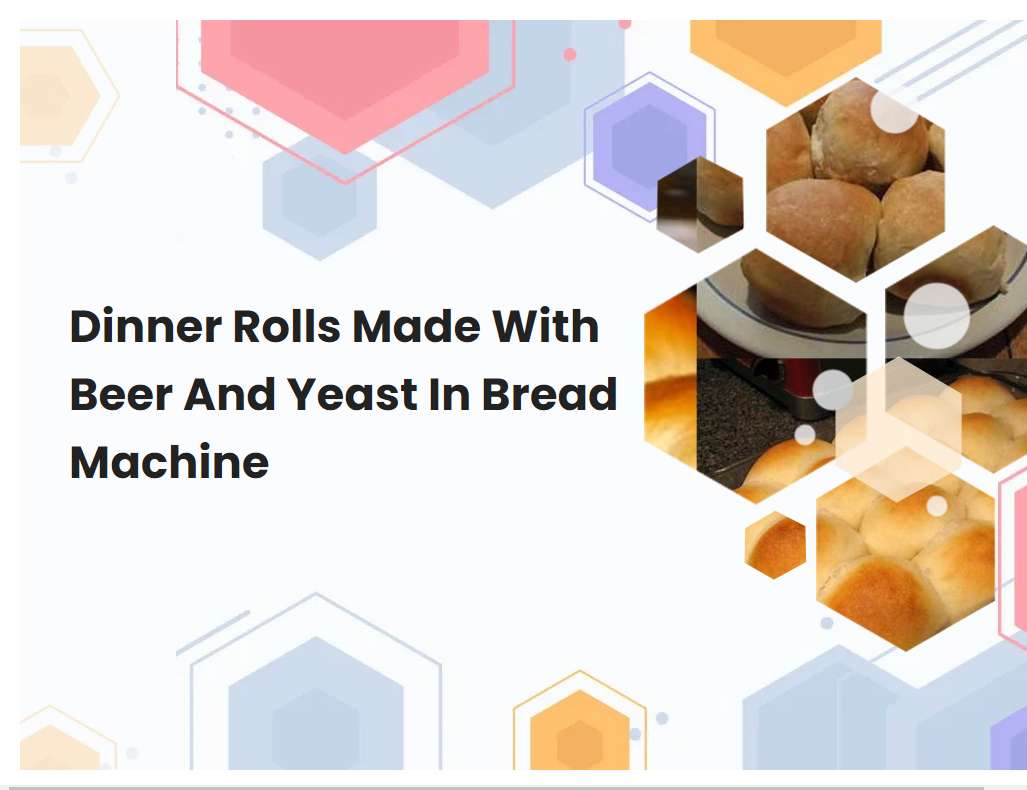
Dinner Rolls Made With Beer And Yeast In Bread Machine
Dinner rolls are a classic staple of the dinner table, and a perfect accompaniment to any meal. By adding beer and yeast to the dough, these dinner rolls take on a unique flavor and texture. Making dinner rolls in a bread machine allows for a quick and easy process, with minimal effort required.
Make sure that your beer is at room temperature before adding it to the bread machine.
When baking beer bread in a bread machine, it is important to ensure that the beer is at room temperature before adding it to the mixture. Beer that is too cold can create a dense, heavy loaf of bread, while beer that is too warm can cause the dough to rise overly quickly and collapse. For best results, take the beer out of the refrigerator at least 30 minutes prior to baking, or until it reaches room temperature.
Doing this allows the beer to fully incorporate into the dough and creates a light and fluffy texture. Additionally, adding beer that is too cold can cause the yeast to become inactive and delay rising, so it is important to make sure that the beer is at room temperature before adding it to the bread machine.
Be sure to use a bread machine yeast, not active dry yeast.
Bread machine yeast is specifically designed for use in bread machines and provides the most consistent and reliable results. Unlike active dry yeast, which requires you to proof the yeast first, bread machine yeast is ready to use right out of the package. This makes it much easier to use in a bread machine, as you don't have to worry about making sure the yeast is active before adding it to the other ingredients.
Bread machine yeast also contains enzymes that help speed up the fermentation process and can provide a lighter, fluffier texture to your baked goods. Additionally, bread machine yeast is available in both regular and quick-acting varieties, so you can choose the option that best suits your recipe.
See also: How To Make Chappati Dough On The Bread Machine
Measure all ingredients accurately, as indicated by your bread machine's instructions.
Accurately measuring ingredients for bread machine recipes is essential for successful results. The amount of ingredients used should be measured precisely, as indicated by the specific instructions for your bread machine. For example, when measuring liquids such as water, milk, or oil, it is important to use a measuring cup specifically designed for liquids.
Flour, on the other hand, should be spooned lightly into the measuring cup and then leveled off with the back of a knife. Dry ingredients such as yeast, salt, and sugar should be spooned into a dry measuring cup and leveled off with the back of a knife. To ensure accuracy, it is best to use digital scales to accurately measure ingredients. Finally, it is important to follow the order of ingredients listed in the recipe and add them to the bread machine in the order specified. Following these steps will help achieve the desired results from your bread machine recipes.
See also: How To Make Stollen In A Bread Machine
Use a light-colored beer for a more subtle flavor.
Light-colored beers are great for those looking for a subtle flavor that is still refreshing. Examples of light colored beers include pale lagers, pilsners, and wheat beers. Light colored beers tend to have a milder hop character than darker beers, which makes them great for those who are new to craft beer or for those who prefer a more subtle flavor.
They also tend to have a lighter body and lower alcohol content, so they are often a great choice for those looking for a more sessionable beer. The flavor profile of light colored beers range from sweet and malty to crisp and citrusy, so there is something for everyone. If you're looking for an easy-drinking beer with a subtle yet flavorful taste, try one of these light colored beers!
See also: How To Make Duch Apple Cake In Zojrushi Bread Machine
Add liquid ingredients, such as beer and butter, to the bread machine before adding dry ingredients like flour and yeast.
When using a bread machine to make bread, it's important to add the liquid ingredients first. This includes beer, butter, and other liquids such as oil or milk. When adding the liquid ingredients, make sure the measurement is accurate and the liquids are not too hot or cold.
Once the liquid ingredients have been added to the bread machine, add the dry ingredients such as flour, sugar, and yeast. The yeast should be added last, as it needs to be activated by the liquid ingredients. Once all of the ingredients have been added, set the bread machine to the desired setting and let it do its work. With a few easy steps, you can make fresh homemade bread with a bread machine in no time.
See also: Using A Bread Machine At High Altitude
Add the flour slowly, as you may need more or less depending on the type of flour used and the humidity of your kitchen.
When adding the flour to the recipe, it is important to do it slowly and carefully. Depending on the type of flour you are using, the amount of flour you will need may vary. Generally, all-purpose flour and bread flour require a different amount, so it is important to check the amount of flour needed before adding it to the recipe.
Additionally, the amount of flour you will need can also be affected by the humidity level in your kitchen. For example, if your kitchen is very humid, you may need to add more flour than what is stated in the recipe. On the other hand, if your kitchen is quite dry, you may need to add less flour than what is stated in the recipe. Therefore, it is important to add the flour slowly and add more or less as needed.
See also: Bread Machine Setting For Cinnamon Raisin Bread
Check the dough texture after the first kneading cycle; add additional flour or beer if necessary.
The dough texture after the first kneading cycle should be soft and slightly sticky, but not overly wet or dry. It should be able to hold its shape when formed into a ball, and should also spring back when lightly pressed. If the dough is too wet, additional flour can be added to help absorb excess moisture; if the dough is too dry, a small amount of beer can be added to add moisture and help create a more pliable texture.
The goal is to achieve a soft, supple texture that is neither too wet nor too dry. It is important to work with the dough until it has the desired texture and consistency, as this will ensure the best results when baking.
Let the dough rise until it has doubled in size before baking.
The first step in baking with yeast is to allow the dough to rise. This is a process whereby the yeast ferments, creating carbon dioxide and alcohol, which causes the dough to expand. To do this, the dough must be kept in a warm and moist environment, often by covering it with a damp cloth.
Once the dough has been left to rise, it will double in size and become much lighter and softer. At this point, it is ready to be baked. It is important to allow the dough to rise for long enough so that it has doubled in size, as this will ensure that the texture of the finished product will be light and airy. If the dough is not left to rise for long enough, the resulting product may be dense and heavy.
Let the baked rolls cool completely before serving.
Once the rolls have been baked, it is important to let them cool completely before serving. This is because, if the rolls are served while still hot, not only will they be too hot to enjoy, but their texture and flavor will also be compromised. If you wait for the rolls to cool completely, the texture and flavor will be much better.
The rolls should be left to cool for at least 30 minutes before serving. During this time, the rolls will solidify, allowing for a more pleasant eating experience. Additionally, if the rolls are left to cool longer than 30 minutes, the flavor of the rolls should deepen and improve further. So, take your time and let the rolls cool before serving for the best experience.
Store any leftovers in an airtight container or wrap them in foil.
Leftovers should be stored in an airtight container or wrapped in foil to ensure maximum freshness. This prevents air from entering the container and spoiling the food. Additionally, it helps to keep the food from drying out, as well as preventing any odors from entering the container and potentially affecting the flavor of the food.
Additionally, wrapping the food tightly in foil helps to prevent any bacteria from entering the container and potentially making the food unsafe to eat. When properly stored, leftovers can be safely consumed for up to three days after they have been cooked.


