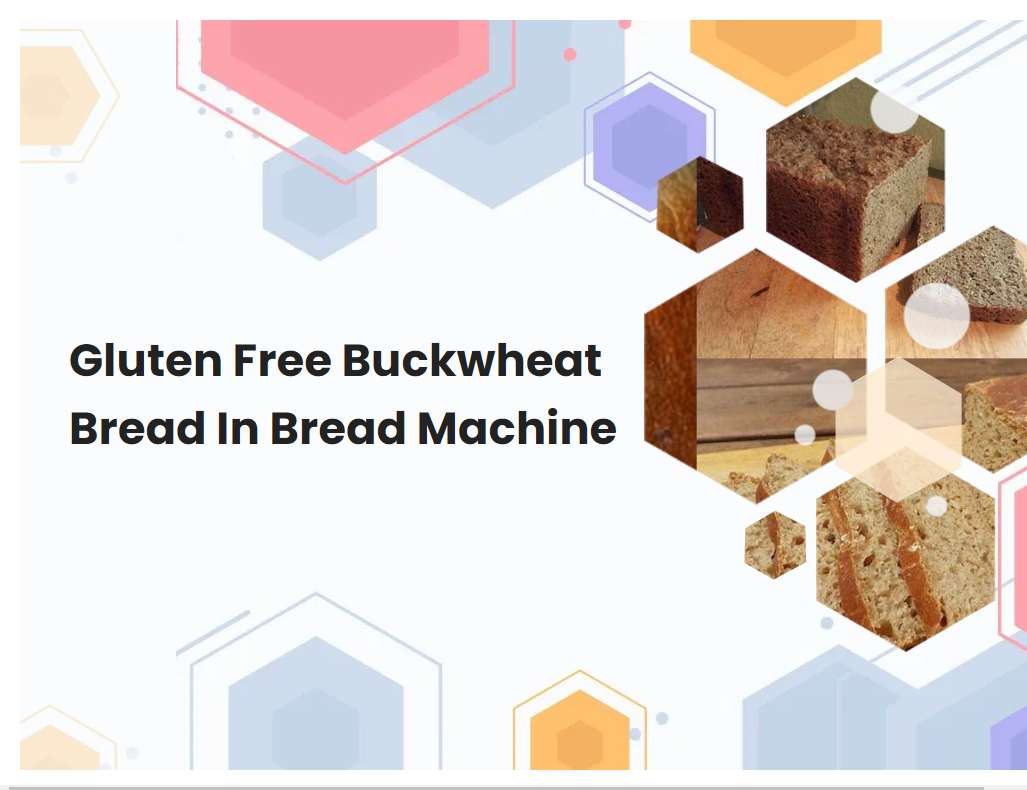
Gluten Free Buckwheat Bread In Bread Machine
Making gluten free bread in a bread machine is a great way to enjoy homemade bread without having to worry about gluten allergies. Buckwheat flour is a great alternative to wheat flour and adds a unique flavor to bread. This recipe will show you how to make delicious gluten free buckwheat bread in a bread machine.
You will need to use gluten-free ingredients when making buckwheat bread in a bread machine.
When making buckwheat bread in a bread machine, it is important to use gluten-free ingredients. This includes substituting all-purpose flour with a certified gluten-free flour, such as rice flour, almond flour, or coconut flour. Instead of traditional yeast, it is recommended to use an active dry yeast or an instant yeast that is labeled gluten-free.
In addition, the additives used in the recipe must also be gluten-free, such as xanthan gum, guar gum, or psyllium husk. To ensure that the most accurate results are achieved, it is important to follow the manufacturer's instructions for using a gluten-free setting on the bread machine. By taking the time to use the correct ingredients and settings, you can make a delicious and nutritious gluten-free buckwheat bread in your bread machine.
Start by adding the wet ingredients to the bread machine first, such as water, oil, honey, and molasses.
When adding the wet ingredients to a bread machine, it is important to add them in the correct order. Begin by pouring in water, followed by oil, honey and molasses. Water is essential for the dough to rise and form properly, so it should be added first.
Oil adds flavor and moisture to the bread and helps keep it from sticking to the machine, so it should be added second. Honey and molasses both add sweetness to the bread and should be added last. It is also important to measure out the proper amounts of each ingredient according to the recipe, as too much or too little of any one ingredient can affect the texture and taste of the finished product.
See also: Toastmaster Bread Machine Breadmakers Hearth And Cooks Oven
Add the dry ingredients, such as buckwheat flour, baking powder, salt, and any other additional ingredients.
When adding the dry ingredients to the recipe, it is important to mix them together thoroughly. Start with adding the buckwheat flour. Measure out the desired amount of buckwheat flour, and then sift it into the bowl.
Next, add the baking powder and salt. Stir these ingredients together until they are completely incorporated. Depending on the recipe, you may also add additional ingredients, such as ground flaxseed, chia seeds, or spices. Be sure to measure out the additional ingredients and stir them into the bowl as well. Once all of the ingredients have been combined, you are ready to move on to the next step in the recipe.
See also: Bread Machine Banana Bread Bread Pre-Mix
If desired, add a tablespoon of xanthan gum to provide structure to the dough.
Xanthan gum is a popular thickening agent that can be used in a variety of recipes, including dough. When added to dough, it helps to provide structure by helping the dough form a cohesive mass and retain moisture. It also prevents ingredients from separating and provides a smoother texture.
When using xanthan gum, it is important to keep in mind that a small amount goes a long way - typically just a tablespoon is enough for a batch of dough. The xanthan gum should be added to the other dry ingredients and mixed until fully incorporated before adding any wet ingredients. This will help ensure the best result when baking with the dough.
See also: Gluten Free All Purpose Flour Bread Machine
Select the gluten-free setting on your bread machine and press start.
To use your bread machine to make a gluten-free bread, first select the gluten-free setting on the bread machine. This setting can usually be found on the menu or by pressing a dedicated button on the machine. Once you have selected the gluten-free setting, you can add the ingredients for your bread to the bread machine.
Be sure to follow the instructions for the specific recipe that you are using, as the ingredients and order may vary for different recipes. After all of the ingredients have been added to the bread machine, press start and the machine will begin to mix and knead the dough. Depending on the recipe, it may take up to several hours for the bread to be fully baked. Once the bread is finished, remove it from the bread machine and let cool before slicing and serving.
See also: Is There A Knead Only Setting With Bread Machine
Check the consistency of the dough and adjust the water or flour as needed.
To check the consistency of the dough, you should first knead it by hand. If the dough is too sticky, it likely needs more flour. If it is too dry, it likely needs more water.
To adjust for stickiness, start by adding a tablespoon of flour at a time to the dough and knead it in by hand. Continue adding one tablespoon at a time until the dough is no longer sticky. To adjust for dryness, start by adding one teaspoon of water at a time to the dough and knead it in by hand. Continue adding one teaspoon at a time until the dough reaches the desired consistency. Paying attention to the consistency of the dough is an important step in ensuring a successful baking project.
See also: Why Use Dry Milk In Bread Machine
Once the dough is ready, shape it into a loaf and place it in a preheated oven.
To prepare the loaf, the dough must first be shaped into a round mound. Then, using a sharp knife, the dough should be cut in an X shape about one-half inch deep into the top of the mound. This will allow for even baking and an attractive finished product.
Once the loaf is formed, it should be placed on a greased baking sheet and put into a preheated oven. The temperature and time of baking will depend on the recipe, but typically a 375°F oven should be used and the loaf should bake for 30 to 40 minutes. Once the loaf is done baking, it should be removed from the oven and cooled on a wire rack. The loaf is now ready to be sliced and served.
Bake the buckwheat bread for roughly 30-40 minutes at 375 degrees Fahrenheit.
Baking buckwheat bread is a simple and delicious way to make a healthy, filling meal. To start, preheat your oven to 375 degrees Fahrenheit. Grease a 9x5-inch loaf pan and set aside.
In a large bowl, combine buckwheat flour, baking soda, and salt. In another bowl, whisk together the eggs, coconut oil, and honey. Add the wet ingredients to the dry ingredients and mix until combined. Pour the batter into the prepared loaf pan and bake for 30-40 minutes, until golden brown and a toothpick inserted in the center comes out clean. Let the bread cool for 10 minutes in the pan before transferring it to a wire rack to cool completely before slicing and serving. Enjoy your homemade buckwheat bread!
Allow the bread to cool completely before slicing.
It is important to allow the bread to cool completely before slicing. This is because the bread continues to cook and set as it cools, and cutting it too soon can cause it to be gummy or doughy. To ensure the bread is perfectly cooked, allow it to cool for at least an hour before slicing.
If you are in a hurry, you can place the bread on a cooling rack and place it in front of a fan to speed up the cooling process. However, it is important to check the bread every 10 minutes or so to ensure that it does not cool too fast, which can cause it to become dry. When the bread has cooled completely, it should be firm to the touch and dry on the outside. The inside should also be dry and not sticky. Then it is safe to slice and enjoy!
Enjoy your delicious gluten-free buckwheat bread!
Gluten-free buckwheat bread is a delicious and nutritious alternative to regular wheat bread. The nutty flavor of buckwheat gives this bread a unique flavor that can be enjoyed by gluten-intolerant individuals. Buckwheat is a highly nutritious grain, packed with B-vitamins, minerals, and fiber.
It's also a good source of protein, making it a great choice for those looking to add more protein to their diet. This bread is also easy to prepare, requiring only a few ingredients and no kneading. When served fresh from the oven, it has a light, fluffy texture and a toasted nutty flavor that makes it an ideal accompaniment to any meal. Enjoy it as toast with your favorite topping, or use it to make a tasty sandwich. It's sure to become a favorite in your gluten-free kitchen!


