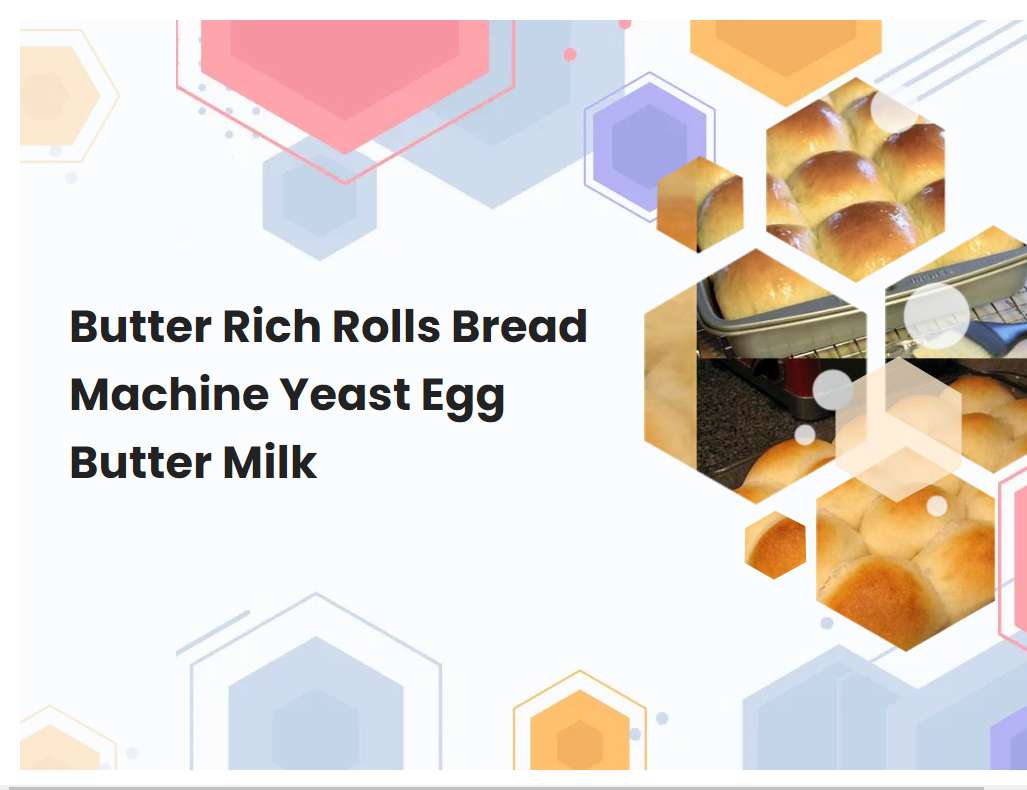
Butter Rich Rolls Bread Machine Yeast Egg Butter Milk
Baking a delicious batch of butter rich rolls is easier than ever with a bread machine and the right ingredients. This recipe utilizes yeast, eggs, butter, and milk to create a soft and savory treat that is perfect for any occasion. Whether you are a novice baker or an experienced one, these butter rich rolls are sure to please and leave you feeling satisfied.
What type of yeast is needed for the recipe
The type of yeast needed for a recipe depends on the recipe itself. Yeast is a single-celled fungus that is used to leaven dough and add flavor to baked goods. There are several types of yeast available for baking, including active dry yeast, instant yeast, fresh/compressed yeast, and rapid-rise yeast.
Active dry yeast is the most common type of yeast used in home baking. It consists of dormant yeast granules that must be activated by being dissolved in water before being used. Instant yeast is similar to active dry yeast, but it does not need to be activated before use. Fresh/compressed yeast is a moist, cake-like form of yeast that is easier to measure than active dry or instant yeast, but has a shorter shelf life. Rapid-rise yeast is a specially formulated type of instant yeast that works quickly and requires less rising time than other types of yeast. Depending on the recipe, any one of these types of yeast may be used.
The amount of butter required
Butter is a popular ingredient used in many recipes, and the amount of butter required can vary greatly depending on the dish. For baking, the amount of butter needed will depend on the size of the recipe and the desired result. For example, a cake may require 1/2 cup or more of butter, while a batch of cookies may only require 2 tablespoons.
When using butter for sautéing or frying, the amount of butter needed will depend on the size of the pan and the amount of food being cooked. For example, a large skillet may require 1/4 cup or more of butter to cover the bottom, while a small saucepan may only need 1 tablespoon. When adding butter to sauces or soups, it is best to add it a little at a time until the desired flavor and consistency are reached. Whether baking, sautéing, or making sauces, it's important to remember that too much butter can overwhelm a dish and make it greasy.
See also: How To Make Chapati Dough On The Bread Machine
The temperature and type of milk to use
When making a variety of dishes and baked goods, the type of milk used can have a significant effect on the end product. For instance, when baking, it is best to use whole milk because it has a higher fat content and will produce a better texture in the end product. For other recipes that call for milk, such as sauces, custards and pudding, low-fat or skim milk is usually the best choice as it has fewer calories and less fat.
As far as temperature is concerned, the milk should always be at room temperature before being added to the recipe. If it is too cold it could cause lumps to form, and if it is too hot it could affect the texture and flavor of the dish.
See also: How Should Chocolate Bread Look In The Bread Machine
The temperature of the ingredients before adding them to the bread machine
When making bread in a bread machine, it is important to use ingredients at the right temperature. The temperature of the ingredients before adding them to the bread machine will depend on the type of ingredients being used. For example, if the recipe calls for milk, it should be at room temperature before adding it to the bread machine.
Similarly, if the recipe calls for butter, it should also be at room temperature before adding it to the bread machine. If the recipe calls for eggs, they should be at room temperature as well. If the recipe calls for yeast, it should be at a temperature of between 75°F and 110°F (24°C and 43°C) before adding it to the bread machine. Lastly, if the recipe calls for honey or molasses, they should be at room temperature before adding them to the bread machine. By ensuring that all ingredients are at the right temperature before adding them to the bread machine, it will help ensure that the bread is made properly and with optimal flavor.
See also: What Kind Of Flour Do You Use For Bread Machine
How long the dough needs to rise before baking
The amount of time needed for dough to rise before baking depends on a variety of factors, including the type of dough, the temperature of the environment, and the amount of yeast used. For most traditional yeast doughs, a minimum of 1-2 hours is typically required for the dough to rise. This timeframe allows for the yeast to activate and the gluten to develop, resulting in a soft, fluffy texture after baking.
In a warmer environment, the dough may require less time to rise - as little as 30 minutes - while in cooler conditions, it may take longer. Additionally, doughs with more yeast can also require less time to rise. For best results, it's best to monitor the dough and look for signs of readiness before baking. If the dough has nearly doubled in size and a finger poked into the surface leaves an indentation, it's likely ready to be shaped and baked.
See also: Difference Between Bread Machine Yeast And Quick Rise
How much kneading is required to mix the dough
Kneading is a critical step in the process of making bread dough. Kneading helps to develop and strengthen the gluten, which gives the dough its structure, strength, and texture. The amount of kneading required to properly mix the dough depends on the type of bread being made, as well as the type of flour and other ingredients used.
For most breads, eight to fifteen minutes of kneading is necessary for proper dough development. However, some breads such as French breads or pizza doughs require less kneading, usually around five minutes. For other breads such as whole wheat bread, more kneading may be necessary to ensure adequate gluten development. When kneading the dough, it is important to make sure that the dough is not overworked. If the dough is overworked, it will become too tough and will not rise properly. The dough should also be kneaded on a lightly floured surface to prevent it from sticking. During kneading, the dough should be turned and folded repeatedly until it is smooth and elastic. If the dough is too dry, it can be lightly misted with water to help it come together. The amount of kneading required to properly mix the dough may vary depending on the type of bread and the ingredients used. However, kneading should be done for at least eight to fifteen minutes to ensure proper dough development before baking.
See also: Honey Wheat Bread In A Bread Machine
How to shape the dough into rolls
Rolling dough into rolls is an easy way to make delicious treats like dinner rolls and cinnamon buns. To get started, begin with a well-made dough that is soft and pliable. If the dough is too dry, it will be difficult to shape.
If the dough is too wet, the rolls will not hold their shape. Once the dough is ready, lightly dust a work surface with flour and roll it out into a large rectangle about ¼ inch thick. Cut the dough into even strips or use a biscuit cutter to cut out circles for round rolls. Take each piece of dough and roll it into a tight ball. Place on a parchment lined baking sheet and repeat until all of the dough has been used. Finally, cover the pan with a kitchen towel and let the rolls rise for approximately 30 minutes. Bake according to your recipe's instructions and enjoy!
The baking temperature and time
The baking temperature and time for a recipe depend on the type of dish that you are making. Generally, the higher the temperature and longer the time, the more complete the cooking process will be. For example, if you are baking a cake, you should preheat your oven to 350°F and bake for about 30-35 minutes.
On the other hand, if you are baking bread, you should preheat your oven to 375°F and bake for about 40-45 minutes. It is important to remember that different recipes may require different temperatures and times in order to produce the desired level of doneness. Additionally, different ovens can vary in temperature, so it is important to keep an eye on your dish as it bakes and adjust the temperature or time as needed. Furthermore, some dishes may require a lower temperature for a longer period of time in order to ensure that they are fully cooked. Finally, it is best to use an oven thermometer to check the accuracy of your oven's temperature in order to ensure that your dish is cooked properly.
How to tell when the rolls are done baking
The best way to tell when rolls are done baking is to use a thermometer. Insert the thermometer into the thickest part of the roll and make sure it does not touch the pan. If the temperature reads between 190-200 degrees Fahrenheit, the rolls are fully baked.
Additionally, you can look for golden brown color on the outside of the rolls and make sure they feel firm. Another method is to tap the top of the roll lightly, and if it sounds hollow, then the rolls are done baking. Lastly, if the rolls are in a muffin tin, you can check to see if the sides are pulling away from the pan. All of these methods will help you ensure that your rolls are perfectly done!
How to store the rolls after they are baked
Once the rolls have been baked, it is important to store them properly in order to ensure their freshness and prolong their shelf-life. The best way to store them is to wrap them in a cloth or paper towel, and place them in an airtight container. This will help keep the rolls moist and prevent them from drying out.
The rolls should also be stored away from sunlight, as this can cause them to become stale. Additionally, it is best to store the rolls at room temperature, as refrigeration can cause them to become hard and dry. To maximize their freshness, it is best to consume them within five days of baking. If you need to store the rolls for a longer period of time, freezing them is recommended. To do this, simply wrap them in an airtight plastic bag and place them in the freezer. When you are ready to consume them, let them thaw at room temperature before serving.


