Make Bread On Cake Setting Bread Machine
Making bread in a bread machine is a great way to enjoy fresh homemade bread with minimal effort. The cake setting on a bread machine is great for making denser, sweeter breads that can be used for cakes, cinnamon rolls, and other desserts. It is a simple process to use the cake setting on a bread machine to make delicious breads.
Read the manufacturer's instructions carefully before using your bread machine.
Before using a bread machine, it is important to read the manufacturer's instructions carefully. Doing so will ensure that you understand all of the features and settings of the machine. It is also important to become familiar with the different types of bread that can be made in the machine and to make sure the right ingredients are used for each type of bread.
The manufacturer's instructions will also provide guidance on how to properly use the machine, such as how to add ingredients and how to set the timer. Additionally, it is important to understand all of the safety precautions associated with using the machine, such as avoiding contact with hot surfaces and using oven mitts when necessary. By following the manufacturer's instructions, you can ensure that you use your bread machine safely and correctly.
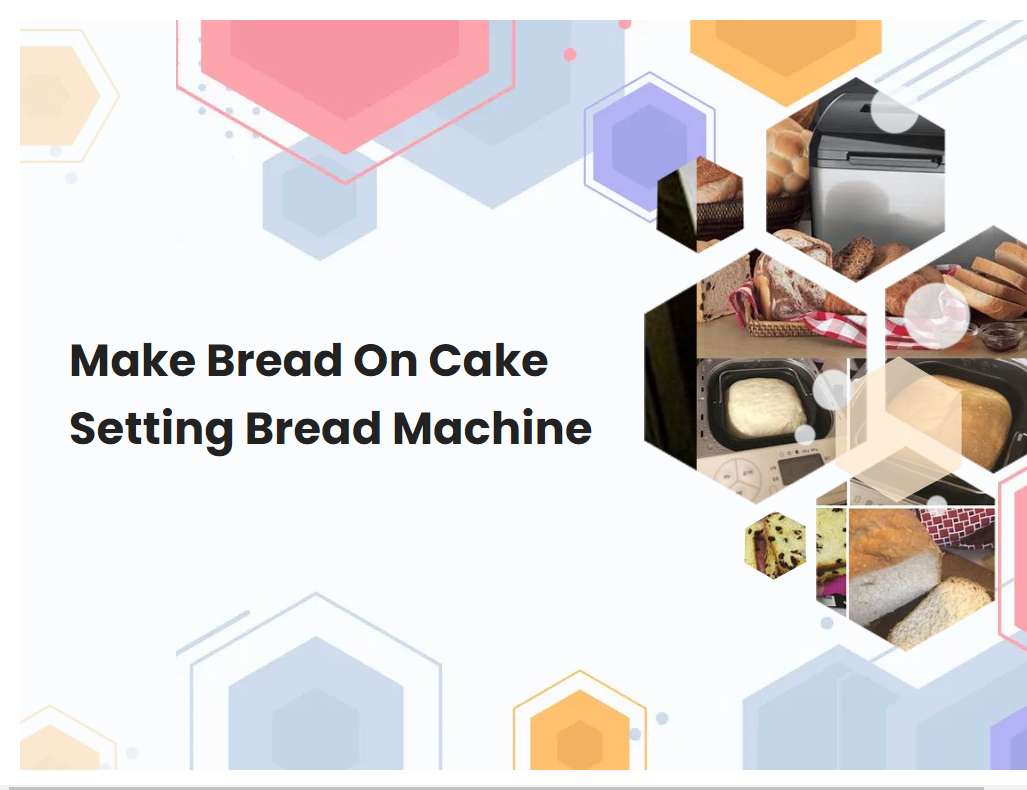
Choose the correct setting for baking bread, which is usually labeled Cake' or Quick Bread'.
The correct setting for baking bread is usually labeled as Cake' or Quick Bread'. The Cake' setting is typically used when baking yeast breads, such as sandwich loaves, dinner rolls, and other types of bread that don't require any sort of rising time. This setting is designed to provide a soft, moist loaf of bread with a light and fluffy texture.
The Quick Bread' setting is usually used for breads that use baking soda or baking powder as the leavening agent. This setting is designed to provide a more dense and firm loaf of bread with a slightly chewy texture. Both settings will yield delicious and tasty loaves of bread, so it's important to choose the setting that best suits your needs.
See also: Lemon Bread In Bread Machine Using Yellow Cake Mix
Use a good quality bread flour for the best results.
Bread flour is a type of flour specifically milled for producing breads, rolls, and other baked goods. It has a higher protein content than all-purpose flour, which gives it more gluten-forming potential and strength. This strength is necessary for creating the elasticity that allows bread to rise and retain its shape.
Bread flour is available in both white and whole wheat varieties, and can be used for a variety of breads, including artisan breads, hearth breads, and sandwich breads. It can also be used in some pastry recipes. For best results, use a high-quality bread flour when making bread. Look for a brand with a high protein content, usually around 12-14%. This will give your bread the strength needed for good rise. Bread flour is also more affordable than other types of specialty flours, making it a cost-effective choice for bakers.
See also: West Bend Bakers Choice Bread Machine Parts
Measure out the ingredients accurately and in the order listed by the recipe.
When following a recipe, it is essential to measure out the ingredients accurately and in the order listed. To ensure accuracy, it is a good idea to measure all the ingredients before starting to cook. This will allow for the ingredients to be added in the order listed, as well as in the right amounts.
It is also important to use the right measuring tools, such as dry measuring cups for dry ingredients and liquid measuring cups for wet ingredients. Additionally, when measuring dry ingredients, it is important to use the correct method: using a spoon to scoop the ingredients into the measuring cup and then leveling off with a knife. This will ensure that the measurements are precise. By accurately measuring out the ingredients in the order listed by the recipe, you will be able to create delicious meals that taste just like what was intended.
See also: Breadmaker The Bread Lover's Bread Machine Cookbook
Add liquids such as eggs, milk, and butter before adding dry ingredients.
When baking any type of recipe, it is important to add liquids such as eggs, milk, and butter before adding dry ingredients. This step is essential as it helps to bind the ingredients together and create a cohesive texture in the finished product. Adding the wet ingredients first also helps to prevent clumping of the dry ingredients and ensures an even distribution throughout the batter.
When using eggs, make sure to crack them into a separate bowl and whisk them until they are light and frothy before adding them to the other liquid ingredients. This will help to ensure that the eggs are evenly distributed throughout the batter. When using milk and butter, it is best to melt the butter before adding it to the other liquids. This will help to ensure that the butter is evenly distributed throughout the batter. Once all of the liquid ingredients have been added, you can then slowly add in the dry ingredients and mix until everything is evenly combined.
See also: Can I Make Ciabatta Bread In A Bread Machine
Add any fruit, nuts, or other additions at the end of the cycle.
Adding fruits, nuts, or other additions to the end of a cycle is a great way to add flavor, texture, and nutrition to a dish. Fruits can be added to salads, grains, or desserts to add sweetness and a pop of color. Nuts are a great source of healthy fats and proteins that can be used in salads, grains, or to top off desserts.
Other additions such as seeds, spices, herbs, and dried fruits can be used to add flavor and texture to a dish. For example, adding pumpkin seeds to a salad or adding cinnamon and nutmeg to a dessert can enhance the flavor of the dish. Adding these ingredients at the end of the cycle can be a great way to take your dish from ordinary to extraordinary.
See also: Krusteaz White Bread Mix For Bread Machine
Beware of over-mixing your batter, which can result in a heavy, dense loaf.
When it comes to baking, it is important to be mindful of over-mixing the batter. This can create a dense, heavy loaf that is unappetizing and difficult to eat. Over-mixing the batter can occur if you mix the ingredients too vigorously or for too long, as this can lead to the gluten in the flour breaking down and creating a gummy texture.
To prevent this, it is best to mix the ingredients together until they are just combined. If using a stand mixer, mix on low speed for no more than 30 seconds. If mixing by hand, use a gentle folding motion to combine the ingredients. Also be sure to scrape down the sides of the bowl occasionally to ensure everything is evenly combined. By taking these steps, you can ensure your final product will be light and fluffy.
Use a toothpick to test when your cake is done; it should come out clean when poked into the center.
A toothpick is a great way to test if your cake is done baking. Insert the toothpick into the center of the cake, and if it comes out clean, then the cake is done. If there are still bits of cake batter or uncooked ingredients on the toothpick, then it needs to bake for a little longer.
Checking with a toothpick helps you avoid overbaking the cake, which can result in a dry and crumbly texture. Additionally, make sure to monitor the cake's color to ensure it is not burning. The sides of the cake should be slightly golden brown and the top should be golden and firm to the touch. Once your cake is done baking, allow it to cool before serving.
Cool your cake in the pan before turning it out onto a plate or cooling rack.
Cooling a cake in the pan before turning it out onto a plate or cooling rack is a crucial step in the baking process. It prevents the cake from sticking to the pan and helps retain the shape of the cake. To properly cool the cake, allow it to sit in the pan for 10-15 minutes after it has been removed from the oven.
If the cake is too hot, it can cause it to stick to the pan and make it difficult to turn out. During this time, the cake will continue to cook and set up as it cools. To speed up the cooling process, you can also place the cake pan on a wire rack or on a damp towel. After cooling, the cake should be able to easily slide out of the pan when flipped onto a plate or cooling rack. Following these steps will help ensure your cake is cooled properly and will make it easier to turn out and enjoy!
Slice your cake when it is completely cool for the best results.
For the best results when slicing a cake, it is important to ensure that the cake is completely cool before slicing. This is because a warm cake can be more difficult to slice and can result in an uneven or crumbly texture. Additionally, a warm cake may cause the frosting or glaze to melt and run off, resulting in an aesthetically unappealing cake.
To avoid these issues, allow the cake to cool completely before slicing. It is also important to use a sharp knife in order to make precise, even slices. To ensure clean cuts, rinse the knife in hot water and dry it before each cut. Taking your time to make sure that your cake is completely cooled and that you are using a sharp knife will help you achieve flawless slices and an attractive-looking cake.


