Cake Setting On Bread Machine For Bread
Baking bread in a bread machine is an easy, convenient way to produce delicious homemade bread. With the push of a few buttons, you can have fresh, homemade bread ready in a fraction of the time it would take to bake a loaf in an oven. One of the most popular settings on a bread machine is the cake setting, which helps you to make a delicious, moist cake from scratch in your bread machine.
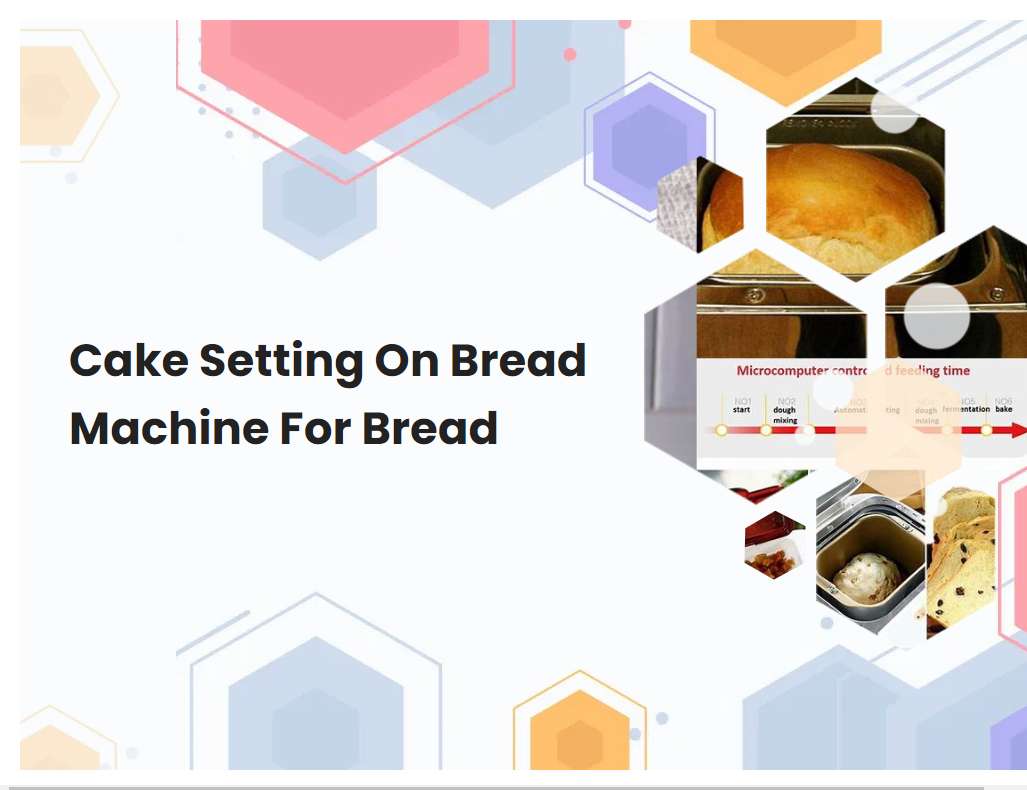
Read the instructions for the bread machine carefully to determine the correct settings for your recipe.
When using a bread machine, it is important to follow the instructions carefully. Begin by selecting the type of bread you are making and the size of loaf you will be baking. Different types of bread require different settings and may require different amounts of ingredients.
After selecting the correct setting, add the ingredients in the order and amounts specified in your recipe. Add the wet ingredients first, then the dry ingredients, and finally the yeast. Once all ingredients are added, select the appropriate cycle for the type of bread you are making. The cycle will determine how long the bread will be kneaded and baked. After selecting the cycle, press start and wait for the bread to be finished baking. If your recipe requires adding additional ingredients during the baking process, such as fruit or nuts, refer to the instructions in your recipe or the manual of your bread machine for more information. Following these instructions carefully will ensure your bread turns out perfectly each time.
Select the bread type setting according to your recipe.
The bread type setting you choose depends on the recipe you are using. If you are making a basic white bread, then you would select the basic white bread setting. This setting will use a combination of all-purpose flour, sugar, salt, and yeast to create a light and fluffy loaf of bread.
If you are making a whole wheat or multigrain bread, then the whole wheat or multigrain setting should be selected. This setting will use a combination of whole wheat or multigrain flours, sugar, salt, and yeast to create a hearty and dense loaf. For a quicker rise time, the quick bread setting should be selected. This setting will use baking powder and soda instead of yeast to create a lighter, airier loaf. For a sweeter bread, a sweet bread setting should be selected. This setting will use an increased amount of sugar and a combination of all-purpose flour, sugar, salt, and yeast to create a sweet and delicious loaf. Finally, for an artisan style loaf, the artisan bread setting should be selected. This setting will use a combination of all-purpose flour, sugar, salt, and yeast to create a crusty, flavorful loaf. No matter which bread type setting you choose for your recipe, it is important to keep in mind that each setting will have different baking times and temperatures.
See also: How To Use A Regal Kitchen Pro Bread Machine
Preheat the bread machine for 10 minutes before adding ingredients.
Before adding any ingredients to a bread machine, it is important to preheat the machine for 10 minutes. This step helps ensure that the ingredients mix together properly and that the dough rises evenly. To preheat, first make sure that the bread machine is plugged in and turned on.
Then select the proper settings for your desired type of bread. Most machines will have a preheat setting, however, if not, set it to the dough cycle and allow it to run for 10 minutes. During this time the machine will warm up and mix the ingredients. Once the 10 minutes are up, turn off the machine and add in all of the ingredients according to the recipe instructions. This will ensure that the bread comes out light and fluffy with a perfect crust.
See also: How Long Can I Pause Bread Machine
Add the ingredients into the bread machine in the order recommended by the manufacturer.
When adding ingredients to a bread machine, it is important to follow the manufacturer's instructions. Generally, this will involve adding the wet ingredients first, such as any liquids, eggs, and butter, followed by the dry ingredients, such as flour, salt, and yeast. Depending on the recipe and the machine, additional ingredients such as sugar, honey, or herbs may also be included.
The order in which ingredients are added is important as it helps ensure that all ingredients are properly combined and evenly distributed throughout the dough. Once all of the ingredients have been added to the bread machine, it can be set to the desired cycle and left to do its work. By following the manufacturer's instructions, you can be sure that your bread will turn out just the way you want it to.
See also: How To Steam Bread In A Bread Machine
Make sure all ingredients are at room temperature before adding them to the bread machine.
Before adding ingredients to your bread machine, it is important to make sure that all of them are at room temperature. Room temperature ingredients help ensure that your bread will turn out properly. Start by taking out all of the ingredients you need to make your bread.
If you're using any dairy products such as milk, yogurt, or even butter, make sure to take them out of the refrigerator and let them sit at room temperature for at least 30 minutes before you start to prepare your dough. This will help ensure that the dough won't be too cold when you pour it into the bread machine. If you're using fresh yeast, take it out of the refrigerator as well and let it warm up to room temperature. If you're using dry yeast, there's no need to warm it up since it is already at room temperature. Once all of your ingredients are at room temperature, you can start adding them to the bread machine. This will help ensure that your bread will rise properly and turn out perfectly every time.
See also: Why Does My Bread Machine Bread Collapse In The Middle
Use fresh yeast and check the expiration date on all ingredients.
Using fresh yeast is essential when baking bread, as it helps to ensure that the dough rises properly and that the bread has the desired texture. When purchasing yeast, it is important to check the expiration date to ensure that it is still fresh and viable. Additionally, all other ingredients used in the baking process should also be checked for expiration dates to ensure that they are up to date and that their quality has not been compromised.
Fresh ingredients will help to ensure that the finished product is of the highest quality and that it will taste its best. Taking the time to check all of the ingredients for their expiration dates will help to guarantee that your bread turns out exactly as desired.
See also: What Kind Of Flour To Buy For Bread Machine
Use the correct amount of yeast, flour, and liquid as indicated in your recipe.
Using the correct amount of yeast, flour, and liquid when baking is essential for producing a successful end product. Yeast is a living organism and needs to be used in the right amount in order to produce the desired flavor and texture. Too much yeast can give your dough an unpleasant taste and too little yeast won't be enough to make the dough rise.
Flour is needed to give the dough its structure and provide the gluten that helps the dough stay together. The type of flour you use will depend on what type of recipe you are making. Different flours have different textures and flavors that they contribute to the dough. The type and amount of liquid used will also depend on the recipe. Water, milk, and other liquids can be used to bind the ingredients together, add moisture, and help create a light and airy dough. Using the correct amount of yeast, flour, and liquid in your recipe will ensure that you produce a delicious end product.
Adjust the baking time according to your recipe and the type of bread you are making.
The baking time for bread can vary greatly depending on the type of bread being made. For quick breads like banana bread, baking times tend to be shorter, usually between 30 and 45 minutes. For denser breads such as challah or brioche, longer baking times can be expected, usually between one and two hours.
For artisan breads like sourdough or ciabatta, the baking times can be even longer, sometimes up to three hours. It is important to follow the recipe closely and adjust the baking time according to the type of bread being made. Additionally, it is helpful to use a timer and check on the bread periodically to ensure that it is not overbaked. With careful attention and practice, you can achieve delicious and perfectly baked loaves of bread every time.
Use a thermometer to check the internal temperature of the bread when done baking.
Using a thermometer to check the internal temperature of the bread when done baking is an important step for a successful loaf. It helps ensure that the bread is cooked through and not undercooked or overdone. The ideal internal temperature of the bread should be between 190-210°F, depending on the recipe.
To measure the internal temperature, insert a thermometer into the center of the loaf and wait 10-20 seconds until it registers a reading. If it reads lower than 190°F, put the bread back in the oven and check it again in a few minutes. If it reads higher than 210°F, then the bread is likely overcooked. By using a thermometer to check the internal temperature of the bread, you can ensure that your loaf comes out perfectly every time.
Allow the bread to cool completely before slicing or serving.
Once your bread has finished baking, it is important to allow it to cool completely before slicing or serving. This allows the ingredients to settle and for the texture of the bread to firm up, resulting in a better texture and sliceable consistency. If you try to slice the bread while it is still warm, it may tear or crumble, making it difficult to enjoy.
Additionally, the flavors in the bread will be better developed when it has had time to cool. When taking the bread out of the oven, let it cool on a wire rack or other heat-resistant surface. This allows air to circulate around the bread and reduce the temperature more quickly. Depending on the size of your loaf, it may take anywhere from 30 minutes to an hour for the bread to cool completely. Once cooled, you can store your bread in a sealed container or bag.


