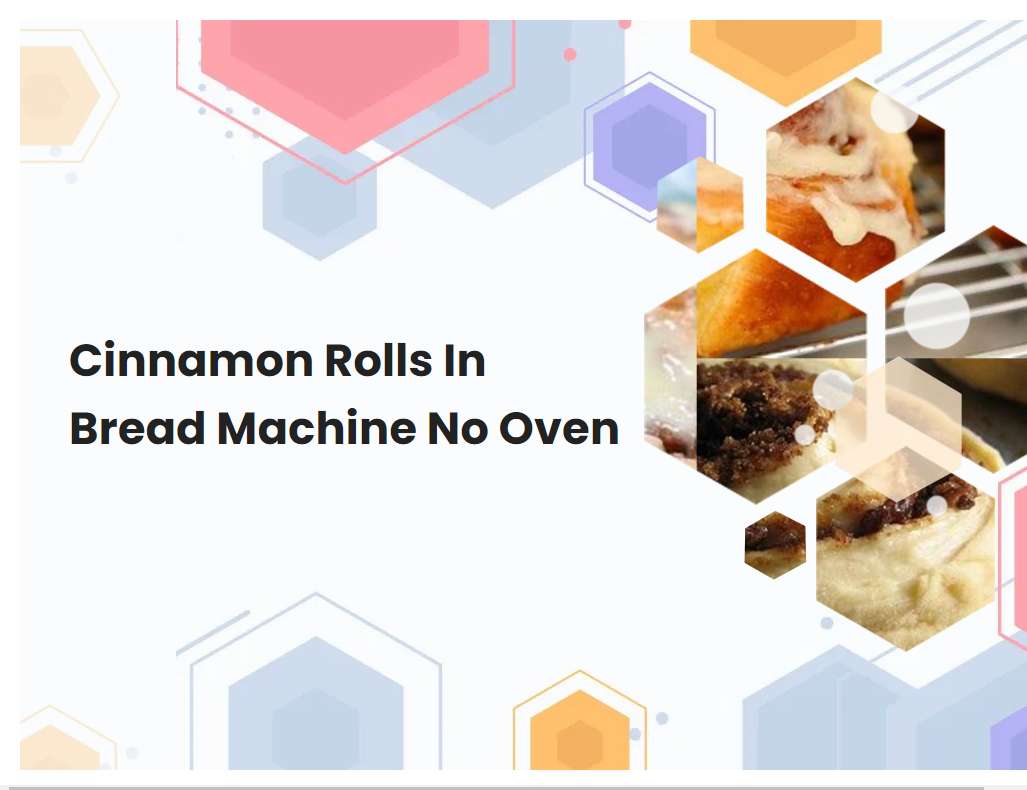
Cinnamon Rolls In Bread Machine No Oven
Baking cinnamon rolls in a bread machine is an easy way to enjoy a delicious treat without having to turn on the oven. With the use of a bread machine, the dough can be prepared and baked in one convenient appliance. This recipe is perfect for those who don[sq]t have access to an oven, or who simply want to save time.
Read the instructions for your specific bread machine carefully before beginning.
Before beginning to use your bread machine, it is important to read through all the instructions provided in the manual. This is because different bread machines vary in their settings and functions, and reading the manual will ensure that you are using your machine correctly. Be sure to pay attention to the size of the ingredients, the type of flour you are using, and any additional yeast that may be required.
Additionally, many machines have pre-programmed settings that allow you to create a variety of delicious breads with ease. It is important to inspect all the parts of your machine and familiarize yourself with each function before you begin using your machine. Following the instructions provided will help you get the most out of your bread machine and will ensure that you are baking delicious breads with ease.
Measure out the ingredients accurately and ensure that they are compatible with the bread machine.
When using a bread machine, it is important to measure out the ingredients accurately and make sure they are compatible with the bread machine. To ensure successful bread making, you should use the measurements indicated in the recipe and make sure that the ingredients are fresh and at room temperature. It is important to note that some ingredients such as butter and milk can spoil quickly, so they should be used soon after purchase or kept refrigerated.
Additionally, some bread machine recipes require ingredients that are not compatible with the machine, such as raw potatoes or nuts. These should be omitted or substituted for ingredients that are suitable for the machine. Finally, if the recipe calls for an additional ingredient such as sugar or seasonings, it is important to add them in before the kneading cycle starts. Taking these steps will help ensure that the bread turns out correctly and is enjoyable to eat.
See also: Homemade Honey Wheat Sandwich Bread For Bread Machine
Choose the appropriate bread machine cycle based on the type of dough you are making.
The type of bread machine cycle you choose will depend on the type of dough you are making. For example, if you are making a basic white bread dough, you should choose a basic or quick cycle. The basic cycle will have a longer kneading time and a longer rise time, allowing for a better flavor and texture.
On the other hand, the quick cycle will be shorter in both kneading and rising time, so it is ideal for a lighter, fluffier dough. For heavier doughs like pizza dough or whole wheat bread dough, you should choose the dough cycle. This cycle will have the longest kneading and rising times, allowing the dough to develop the necessary gluten and proteins for a more hearty texture and fuller flavor. For more delicate doughs such as cake dough or brioche dough, you should choose the cake or pastry cycle. This cycle will have shorter kneading and rising times, preventing overmixing or overproofing of the dough. It is important to select the right cycle based on the type of dough you are making in order to achieve the best results.
See also: Russian Rye Bread For The Bread Machine
Use the correct flour for baking cinnamon rolls in a bread machine.
When it comes to baking cinnamon rolls in a bread machine, it is important to use the right type of flour. All-purpose flour is the most common choice for baking cinnamon rolls in a bread machine due to its ability to produce rolls with a light, fluffy texture. The dough should also be slightly sticky, so adding a bit of oil or butter to the recipe can help achieve this texture.
For extra flavor, consider using bread flour instead of all-purpose flour as it is higher in protein and produces a richer flavor. However, more water may be needed when using bread flour as it absorbs more liquid than all-purpose flour. Additionally, whole wheat flour can be used as an alternative for a healthier option, but it should be mixed with all-purpose flour for best results as whole wheat flour produces a denser texture. No matter which type of flour you choose, it is important to ensure that the yeast is properly activated before adding it to the dough.
See also: Difference Between Active Yeast And Bread Machine Yeast
Use the right ingredients and amounts for the filling.
The filling for a tart is an important part of the overall flavor and texture. The ingredients and amounts used will determine the success of the tart. The most common ingredients used for a tart filling are butter, sugar, flour, eggs, and cream or milk.
The butter should be unsalted and melted before use. The sugar can be white granulated sugar, light brown sugar, or even a combination of the two. The flour should be all-purpose flour for best results. The eggs should be beaten until light and fluffy. Finally, the cream or milk should be warm to help bind the ingredients together. All of these ingredients should be combined in the correct amounts to create a thick and creamy filling that will not run when baked. The amount of each ingredient will vary depending on the size of the tart pan and the desired consistency of the filling.
See also: How To Make Gf Banana Bread In Oster Bread Machine
Add the filling to the dough at the right time.
When it comes to adding the filling to the dough, timing is key. For best results, you should wait until the dough has had time to chill in the refrigerator for about an hour. This will help make sure that the dough is firm enough to hold its shape and won't spread too much as you are adding the filling.
Once the dough has chilled, roll it out on a lightly floured surface and spoon or brush the filling onto the center of the dough. You can then wrap the edges of the dough around the filling, pressing to seal if necessary. Finally, place the filled dough onto a baking sheet and bake according to recipe instructions. By following these steps and adding the filling at the right time, you can ensure that your finished product will have a delicious flavor and perfect texture.
See also: Easy Whole Wheat Bread For Bread Machine
Make sure the bread machine is set to the appropriate temperature and time.
When using a bread machine, it is important to make sure the settings are correct. Depending on the type of bread you are making, the temperature and time on the machine need to be adjusted accordingly. For a basic white bread, the temperature should be set to 350°F and the time should be set to 2 hours and 15 minutes.
If you are making a whole wheat bread, the temperature should be set to 325°F and the time should be set to 2 hours and 30 minutes. Additionally, if you are making a gluten-free bread, the temperature should be set to 350°F and the time should be set to 3 hours and 15 minutes. Each machine may require slightly different settings, so it is important to check the user manual for specific instructions. Additionally, it is important to check the bread after the allotted time to ensure it is cooked through.
Monitor the bread machine while it is kneading, rising, and baking.
When a bread machine is in use, it is important to monitor it throughout the entire baking process. This includes during kneading, rising, and baking. During kneading, the bread machine will mix and knead the dough for several minutes.
It is important to pay attention to the sound and movement of the machine, as the dough may stick to the sides of the pan or become too thick. If you notice any issues, you should stop the machine and adjust the ingredients or kneading time as needed. Next is the rising stage, which is when the yeast begins to work on the dough and it begins to expand. This stage can take up to an hour and should be monitored to ensure that the dough is rising properly. Finally, the baking stage will begin, where the temperature and time are set accordingly. Again, it is important to monitor the machine to ensure that the bread is baking evenly and does not become over-baked or under-baked. After baking, you should allow the bread to cool before removing it from the machine. With proper monitoring of your bread machine, you should be able to achieve delicious and consistent results every time!
Remove the cinnamon rolls from the bread machine when they are done baking.
Once your cinnamon rolls have finished baking in the bread machine, it's time to remove them. Make sure the dough hook is out of the way so you can access the bread pan. Carefully grab the sides of the bread pan and lift it up, then slide the cinnamon rolls out onto a cooling rack.
If they appear too soft or doughy, they may need a few extra minutes in the bread machine. Once they are out, let them cool for a few minutes before serving. If you're not ready to serve them right away, make sure you cover them with plastic wrap or a damp paper towel to keep them from drying out. Enjoy the delicious homemade cinnamon rolls!
Let the cinnamon rolls cool before serving.
The cinnamon rolls should be allowed to cool before serving. This is for several reasons. First, the rolls will have been in the oven for a while, so it is important to allow them to cool down before eating them to avoid burning your mouth.
Secondly, the icing will be much more effective when the rolls have cooled down, as the icing will be able to set properly on the rolls and not melt off. Finally, allowing the rolls to cool means that you can enjoy the full flavor and texture of the rolls as they were intended. The rolls will be much more enjoyable when they are warm but not hot, as the flavors will be able to develop properly. So, for the best results and enjoyment, let your homemade cinnamon rolls cool before serving.


