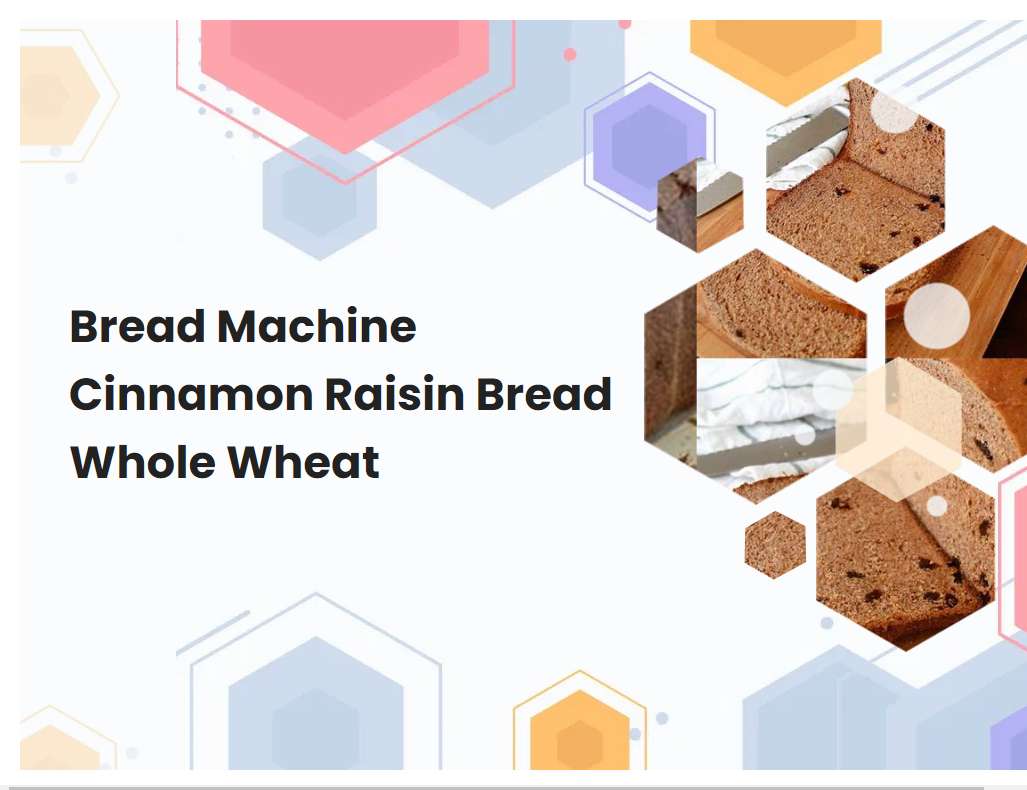
Bread Machine Cinnamon Raisin Bread Whole Wheat
This recipe for bread machine cinnamon raisin bread with whole wheat flour is an easy and delicious way to make a nutritious, homemade loaf of bread. It is the perfect accompaniment for breakfast or lunch, or can be enjoyed as a snack. Best of all, the bread machine does all the hard work for you!
Use whole wheat flour for the best results.
Whole wheat flour is a great option for baking as it provides a unique flavor and texture to baked goods. It contains more nutrients than all-purpose flour, including more fiber, vitamins and minerals. Whole wheat flour is made from the entire wheat grain, which includes the germ, bran, and endosperm.
This makes it a more nutritious option than white flour, which is made from only the endosperm. Furthermore, whole wheat flour is less processed and has a more robust flavor that works well in sweet and savory recipes alike. When substituting whole wheat flour for all-purpose flour, it is important to remember that it absorbs liquid differently than all-purpose flour, so it may require slightly more liquid to achieve the desired consistency. Additionally, since whole wheat flour contains more fiber, it may require longer baking times. For best results, use freshly milled whole wheat flour for a more flavorful and nutrient-rich product.
Add the cinnamon and raisins after the first kneading cycle.
After the first kneading cycle, you should add the cinnamon and raisins to the dough. The cinnamon adds a warm, sweet flavor to the dough, while the raisins provide a chewy sweetness. Adding these ingredients during the first kneading cycle allows them to be incorporated more evenly into the dough, resulting in a more even flavor throughout the finished product.
The cinnamon also helps to enhance the flavor of the yeast, making for a more flavorful end result. When adding the cinnamon and raisins, it is best to add them slowly and evenly throughout the dough, incorporating them fully before moving on to the next step. This will ensure that all of the flavors are evenly distributed, and that your final product will be as delicious as possible.
See also: How To Keep Bread Machine Paddle From Sticking
Use a bread machine-specific recipe for the best results.
Using a bread machine-specific recipe is the best way to ensure that you get the most out of your bread machine. Bread machines are specialized appliances that offer convenience and ease when it comes to making homemade bread. However, they need specific recipes and instructions in order to work properly.
Bread machine-specific recipes are designed to account for the unique characteristics of a bread machine and the way it kneads and bakes the dough. These recipes will often include specific measurements and instructions for ingredients, as well as details on temperature and timing. By following a bread machine-specific recipe, you can be sure that your bread will turn out perfectly every time. Additionally, these recipes will often include helpful tips and tricks to help you get the most out of your bread machine. When it comes to making homemade bread, investing in a bread machine-specific recipe is always a good idea.
See also: How To Make Strawberry Jam In Bread Machine
Add the yeast last, after all the other ingredients have been combined.
When making bread, it is important to add the yeast last, after all other ingredients have been combined. Yeast is a living organism that requires warmth, moisture, and food to grow, and is used as a leavening agent in bread-making. Adding the yeast too early can cause it to become inactive, resulting in bread that does not rise properly.
To ensure the yeast is active, all other ingredients should be mixed together first, including the liquids, which should be lukewarm to activate the yeast. After these ingredients are combined, the yeast should be added and mixed gently with the other ingredients until it is fully incorporated. By adding the yeast last, you can ensure that your bread will rise properly and have a light and airy texture.
See also: Black And Decker Bread Machine All In One Deluxe Breadmaker
Use warm water to activate the yeast.
Warm water is essential to activating yeast in baking and brewing. When activating yeast, the water must be between 105 and 115 degrees F, depending on the type of yeast being used. When the water is too hot, it can kill the yeast; too cold and it won't activate properly.
To ensure the right temperature, use a thermometer when adding the water to the yeast. Additionally, it is important to add a pinch of sugar or a teaspoon of honey to the warm water to give the yeast energy to activate. Once these steps are taken, the yeast should be mixed with the warm water until it dissolves and then left to sit for 5-10 minutes until it becomes foamy and bubbly. This process is called proofing, as it is a sign that the yeast is active. Once proofed, the mixture can be used for bread making or other recipes that require yeast.
See also: How To Make Ezekiel Bread In A Bread Machine
Let the dough rest before baking.
Before baking bread, it is important to let the dough rest. This allows the dough to rise and develop a better texture and flavor. During the rest period, the gluten in the dough relaxes, allowing it to stretch and expand without tearing.
This process also helps develop a stronger structure and lighter texture. The rest period also gives time for the yeast to ferment and create the desirable flavor in the finished product. The length of the rest period depends on the type of dough, but usually ranges from thirty minutes to several hours. It is important to let the dough rest in a warm place, free from drafts, to ensure proper rising. After the dough has rested, it should look puffy and airy, indicating that it is ready for baking.
See also: No Egg Rolls For The Bread Machine
Do not overmix the dough or it will become tough.
When making dough, it is important not to overmix it as this can cause the dough to become tough. Overmixing involves working the dough too much and can happen when the dough is mixed for too long on a high speed setting. If the dough is mixed for too long, the gluten proteins in the flour will become overdeveloped and the dough will become stiff and difficult to work with.
If you are using a stand mixer, use a low speed setting and mix only until the ingredients are just combined. If you are mixing the dough by hand, use a folding motion with a wooden spoon and mix until the ingredients are just blended. Overmixing can ruin a batch of dough, so take care not to mix it too much.
Bake until the internal temperature reaches 190°F.
When baking a dish, it is important to make sure it has reached a safe internal temperature to ensure that it is fully cooked and safe to eat. To do this, you should use a thermometer to measure the internal temperature of the dish. For most dishes, the ideal temperature for safe consumption is 190°F.
Therefore, when baking a dish, you should bake it until the internal temperature reaches 190°F. This could take anywhere from 10 minutes to several hours depending on the size and type of dish being baked. Additionally, you should check the internal temperature of the dish every 15-20 minutes to make sure it doesn't overcook. Once the desired internal temperature has been reached, take the dish out of the oven and let it cool before serving.
Let the bread cool before slicing.
Allow the bread to cool completely before slicing into it. The loaf will become firm as it cools and be easier to cut into even slices. If you try to slice it while still warm, it will be too soft and may crumble.
To ensure an even slice, use a sharp knife and make sure to cut all the way through the crust. If you're using a serrated knife, make sure to saw slowly and gently so you don't tear the loaf. Allow the slices to cool further on a wire rack before serving or storing. Cooling the bread after slicing is important to ensure that the slices keep their shape and don't become misshapen or squished.
Store the bread in an airtight container or bag.
Storing bread correctly is essential for preserving its freshness and flavor. The best way to store bread is to place it in an airtight container or bag. This will help to keep the bread moist and prevent it from becoming stale or moldy.
Additionally, an airtight container or bag will protect the bread from pests and other contaminants. To ensure the bread stays fresh, make sure the container or bag is properly sealed and placed in a cool, dry place, away from direct sunlight. It is also important to check the seal on the container or bag periodically to make sure it is still airtight. When storing multiple loaves of bread, make sure to separate them with parchment paper to prevent them from sticking together. Following these steps will help keep your bread fresh and delicious for as long as possible.


