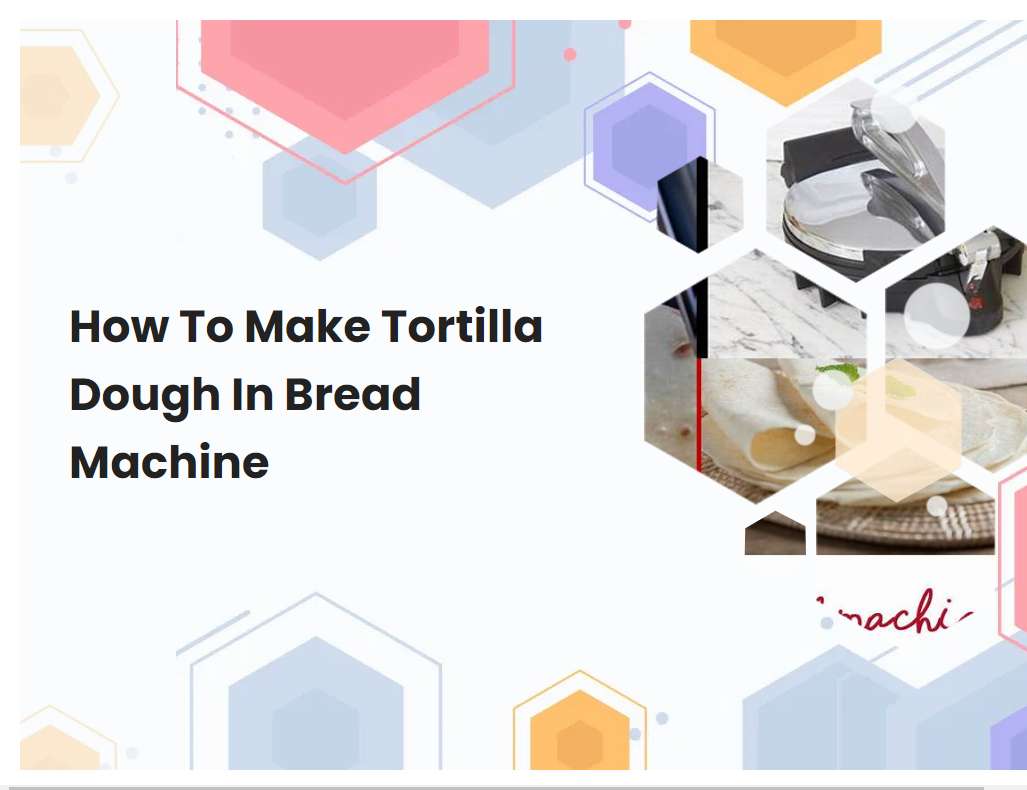
How To Make Tortilla Dough In Bread Machine
Making tortillas in a bread machine is a quick and easy way to prepare delicious homemade tortillas. The dough is made from pantry staples such as flour, baking powder, salt, and oil, and can be mixed up in the bread machine for a hands-off approach. With just a few ingredients and a bread machine, you can have delicious tortillas in no time.
Measure out the ingredients for your tortilla dough. Depending on the recipe you are using, you will need all-purpose flour, salt, baking powder, and water.
To make tortilla dough, you will need all-purpose flour, salt, baking powder, and water. Start by measuring out two cups of all-purpose flour into a large bowl. Then add one teaspoon of salt and one teaspoon of baking powder to the flour.
Mix the ingredients together with a spoon or whisk. Once everything is combined, slowly add in three-quarters of a cup of warm water. Knead the dough for about 5 minutes until it forms a soft, pliable ball. If the dough is too dry, add a tablespoon of water at a time until it reaches the desired consistency. Let the dough rest for about 10 minutes before using it to make your tortillas.
Place the ingredients in the bread machine in the order recommended by the manufacturer.
When using a bread machine, it is important to follow the manufacturer's instructions for the order in which ingredients should be added. Generally, the order of ingredients should be: liquid ingredients (such as water, milk, oil, and eggs), dry ingredients (such as flour, sugar, salt, and yeast), and then any additional ingredients like nuts, seeds, or dried fruit. It is important to measure each ingredient carefully and add them in the correct order.
Once the ingredients are in the bread machine, select the desired settings and press start'. The bread machine will then knead, rise, and bake the bread according to the selected settings.
See also: How To Use West Bend Bread Machine
Set the bread machine to the Dough setting and press start.
To start the bread machine on the "Dough" setting, simply press the start button. The machine will then begin to mix, knead and rise the dough for a pre-programmed amount of time. During the cycle, a paddle will mix the ingredients together to form a soft dough.
Once the dough is formed, the machine will knead the dough for a predetermined amount of time. This process helps to create an even texture throughout the dough. After the dough has been kneaded, it will then be allowed to rise. During this stage, the yeast will activate and cause the dough to become light and airy. Finally, when the cycle is complete, the dough will be ready to be used in a variety of recipes.
See also: Bread Machine Bread Didn'T Rise Sojirushi
Allow the bread machine to knead the dough for about 10 minutes.
The kneading process is an important part of making bread, as it helps to develop the gluten in the dough which gives the bread its structure and texture. In a bread machine, the kneading process is done automatically. The machine will knead the dough for about 10 minutes, mixing and stretching it until it develops a smooth and elastic consistency.
During this time, the dough should be left undisturbed so that the machine can do its work properly. After 10 minutes, the dough should be ready to be turned out and shaped into loaves or rolls. It is important to remember that the kneading process is critical for making good bread, so it is important to not skip this step or rush it.
See also: How To Substitute Bread Machine Cinnamon Bread
Check the dough after 10 minutes to make sure it is not too wet or dry. Add additional water or flour if necessary.
After 10 minutes of kneading, it is important to check the consistency of the dough. If the dough is too wet and sticky, it is beneficial to add a small amount of flour to help it come together and form a firm ball. However, if the dough is too dry and crumbly, it is best to add a few drops of water until it forms a soft, pliable ball that can easily be shaped and molded.
The dough should not be too soft or too hard, but should have a little bit of elasticity when pressed. This process of checking and adjusting the dough should be done every 10 minutes while kneading, as this ensures that the texture and consistency of the dough are just right.
See also: Pizza Hut Style Pizza Dough Bread Machine
Allow the bread machine to continue kneading until the dough forms a smooth ball.
The bread machine is designed to knead the dough until it forms a smooth ball. Once the ingredients have been added to the bread machine and the appropriate settings chosen, the machine will begin to knead the dough. During this process, the machine will mix and knead the dough with its various blades, paddles, and hooks.
The kneading process can take anywhere from five to fifteen minutes, depending on the type of bread being made and the settings chosen. As the kneading progresses, the dough will begin to form a ball shape. When it has reached a smooth and uniform consistency, the bread machine will automatically stop kneading and is ready for the next step.
See also: How To Make Italian Bread In A Bread Machine
Remove the dough from the bread machine and place it on a lightly floured surface. Knead it for a few minutes to ensure it is smooth and pliable.
After the dough has finished kneading in the bread machine, it is time to remove it from the machine and place it on a lightly floured surface. Kneading the dough by hand is an important step in bread making as it helps to create a smooth and pliable dough. To do this, begin by pressing down on the dough with the heel of your hand and then pushing it away from you with your fingertips.
Next, turn the dough 90 degrees and repeat the process. Keep repeating this process for a few minutes until the dough is smooth. If the dough becomes sticky, sprinkle some more flour onto the surface. Once the dough is kneaded, shape it into a ball, cover it with a cloth and leave it to rest for 10 minutes before using it in your recipe.
Divide the dough into 12 equal pieces and shape each piece into a ball.
Divide the dough into 12 equal pieces by cutting the dough into 12 equal sections using a sharp knife or a bench scraper. Once the dough is cut, take each piece and shape it into a ball by cupping your hands around the dough and rolling it between your palms until it forms a smooth, round shape. Make sure to apply gentle pressure when rolling the dough to ensure that the seams are well sealed. Once all 12 pieces have been shaped into balls, place them on a lightly floured surface and cover with a damp cloth to prevent them from drying out while you finish preparing the recipe.
Cover the balls of dough with a clean kitchen towel and let them rest for at least 20 minutes.
Covering the balls of dough with a clean kitchen towel is an important step in the process of making bread. The resting time of 20 minutes allows the dough to relax, making it easier to roll out when you are ready to shape the bread. During this time, the gluten relaxes, making it more pliable and easier to work with.
The moisture also helps the dough become more elastic and less sticky. This resting period helps make the dough easier to shape, resulting in a better tasting and better textured bread. After the dough has rested, you can begin shaping it into loaves or rolls. This will help create a light and airy texture that is often desired in bread.
Roll out each ball with a rolling pin to form individual tortillas. Cook the tortillas immediately, or store them in an airtight container for up to one week in the refrigerator.
Making homemade tortillas is a simple and rewarding process. To begin, combine the dry ingredients, such as flour, salt, and baking powder, in a bowl and mix thoroughly. Next, add in the wet ingredients of oil and water and mix until a dough forms.
Once you have a soft dough, divide it into 10 equal pieces and roll each piece into a ball. Using a rolling pin, roll out each ball to form individual tortillas. You can either cook the tortillas immediately on a medium-hot skillet for around a minute on each side, or keep them in an airtight container in the refrigerator for up to one week. The resulting tortillas are soft and delicious, and can be used in many different recipes.


