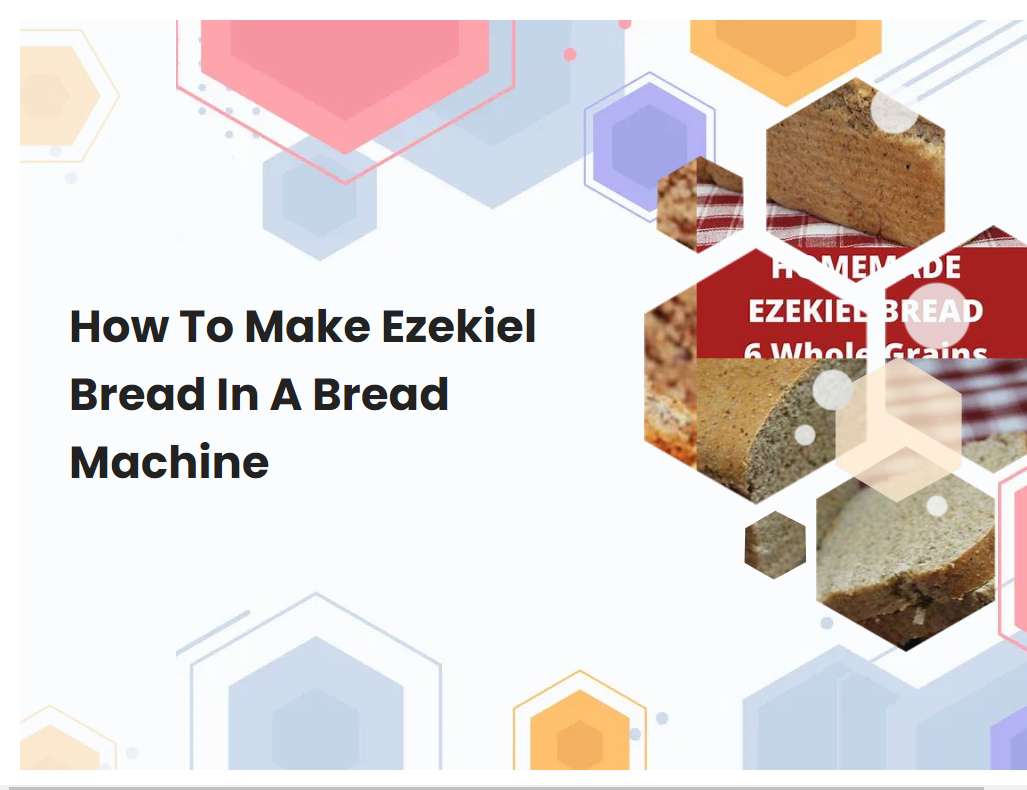
How To Make Ezekiel Bread In A Bread Machine
Bread is a staple in many households, and Ezekiel bread is a nutritionally-rich option. Ezekiel bread is made from sprouted grains, legumes, and sometimes seeds, giving it a unique flavor and texture. While you can make Ezekiel bread at home without a bread machine, it can be difficult and time consuming. This tutorial will show you how to make Ezekiel bread in a bread machine.
Gather all ingredients needed to make the Ezekiel bread, such as whole wheat flour, spelt flour, rolled oats, sunflower seeds, millet, barley, and wheat gluten.
Ezekiel bread is a type of sprouted grain bread that is made with a variety of nutritious ingredients. It is made from a mixture of whole wheat flour, spelt flour, rolled oats, sunflower seeds, millet, barley, and wheat gluten. The whole wheat flour provides a nutritious base for the bread and is high in fiber and protein.
Spelt flour adds a nutty flavor to the bread and is a good source of fiber, magnesium, and vitamins B1 and B2. The rolled oats add a chewy texture to the bread and are a great source of fiber and protein. Sunflower seeds provide an added crunch and are also high in fiber, as well as vitamins B1, B3, and E. Millet, barley, and wheat gluten are all rich sources of protein, fiber, and essential minerals like iron, zinc, and magnesium. All of these ingredients work together to create a flavorful and nutritious loaf of bread.
Measure out all ingredients accurately according to the recipe instructions.
Accurately measuring out all ingredients according to the recipe instructions is essential for successful baking. It is important to have the right amount of each ingredient to ensure that the final product comes out as desired. This means that you should measure the ingredients carefully and accurately, using a kitchen scale or measuring cups and spoons, depending on what the recipe calls for.
If using a kitchen scale, make sure to place the bowl on the scale and reset it to zero before adding each ingredient. When using measuring cups and spoons, make sure to use level measures and to not pack the ingredients into the measuring cups. It is also important to read through the recipe several times before beginning to ensure that you understand all the instructions, and that you have all the necessary ingredients. Following these simple steps will help you create delicious results every time.
See also: Difference Betwen Bread Machine Yeast And Regular
Place ingredients in the bread machine in the specified order.
When using a bread machine, it is important to add the ingredients in the correct order for optimal results. Generally, liquids should be added first, followed by dry ingredients such as flour and yeast, and then any fats or sweeteners. For instance, if you are making a basic white bread, you would start by adding the liquids such as water, milk, or oil.
Next, add the dry ingredients including bread flour, salt, and active dry yeast. Lastly, any fats or sweeteners such as butter or honey should be added. It is important to note that some machines may have different instructions, so make sure to consult the manual before beginning. Once all the ingredients have been added, all you have to do is select the desired settings and your bread machine will do the rest!
See also: Bread Machine Hamburger Buns All Purpose Flour
Select the appropriate setting for your bread machine, such as whole grain or basic.
The setting you should choose for your bread machine will depend on the type of bread you are making. For example, if you are baking a basic white loaf, you should choose the basic setting on your bread machine. This setting will provide a basic dough cycle, with the kneading, rising, and baking all done in one cycle.
This setting is best for standard white breads, such as French and Italian loaves. For whole grain breads, you should use the whole grain setting on your bread machine. This setting is specifically designed to handle whole grains, including wheat, rye, and spelt. The whole grain setting will provide a longer kneading cycle and additional rising time to ensure that the dough is properly mixed and rises properly. This setting is great for making whole grain breads like whole wheat, rye, and spelt loaves.
See also: How To Use Dough Setting On Bread Machine
Select the desired size and crust according to your preference.
When choosing the size and crust of a pizza, it is important to consider your tastes and preferences. For a large size pizza, you'll get more pizza per order, making it ideal for those who prefer to have a larger portion size. If you're looking for a thin and crispy crust, you'll want to choose a thin crust option.
If you'd like something thicker and chewier, you can go with a deep dish or hand-tossed crust. The hand-tossed option is usually thicker than the thin crust, but still has a light, airy texture. If you'd like something with more flavor, you can choose a flavored crust such as garlic or herb. Each of these options will give you a different experience when it comes to the taste and texture of your pizza. No matter what type of crust or size you choose, it's important to make sure that you enjoy the flavor and quality of the pizza.
See also: Photos Of Chopped Rosemary For Bread Machine
Press the Start button to start the bread machine cycle.
To begin the bread machine cycle, press the "Start" button. This will activate the machine to begin its cycle of kneading, rising, and baking the dough into a delicious loaf of bread. The machine will mix the ingredients together, knead the dough, and allow it to rise before baking.
The machine will also keep track of the time, temperature, and other settings you have chosen for the cycle. After the cycle is complete, the bread will be ready to enjoy. The bread machine makes the process of preparing bread quick and easy, allowing you to enjoy homemade bread with little effort.
See also: Sourdough From Sponge In Zorishu Bread Machine
Monitor the kneading, rising and baking process of the bread.
Monitoring the process of making bread is a precise and important task. First, the ingredients such as flour, yeast, salt, and water must be combined, kneaded, and left to rise. The kneading process should be monitored carefully; if the dough is overworked it will become less elastic and dense.
During the rising process, it is important to note changes in texture and size of the dough. As it rises, the dough should become fluffy and soft and should double in size. After the dough has been shaped into loaves and left to rise once more, it is finally ready for baking. The baking should be monitored closely to ensure that the bread is cooked evenly. When the bread is golden brown and has a hollow sound when tapped, then it is finished baking.
When finished, remove the bread from the bread machine and place it on a cooling rack.
Once the bread is finished baking in the bread machine, it is important to remove it carefully. First, unplug the machine to avoid any accidents. Then, open the lid and use oven mitts to protect your hands from the heat.
Gently lift the bread out of the pan and place it on a cooling rack. This will help the bottom of the bread to crisp up and cool evenly. Leave the bread on the cooling rack until it has completely cooled down before slicing or storing. This will help to ensure that the bread retains its shape and texture.
Allow the bread to cool before slicing and serving.
It is important to allow bread to cool before slicing and serving. If it is served warm, it can be difficult to slice and may crumble apart. To ensure that the bread remains intact, it should be left to cool on a cooling rack for at least 15 minutes.
This allows the steam inside the bread to evaporate, making it easier to slice without crumbling. Additionally, cooling the bread helps the texture and flavor of the bread stay true to its intended outcome. Allowing the bread to cool will also help it keep longer and remain fresher for a longer period of time. After allowing the bread to cool, it can then be sliced and served.
Enjoy your homemade Ezekiel bread!
Enjoying your homemade Ezekiel bread is truly a treat! This bread is made with a combination of sprouted wheat, barley, spelt, millet, and lentils, making it a nutritious and wholesome option. It's also slightly denser than most store-bought breads, as it's made without any added sugars or preservatives.
The best way to enjoy this delicious bread is to toast it, top it with your favorite spread or nut butter, and enjoy! You can also use it for sandwiches, toast it and top with eggs, or use it as the base of a delicious pizza crust. There's no wrong way to enjoy Ezekiel bread, so get creative with your recipes and enjoy all the delicious flavors of this nutritious and tasty food.


