Robin Hood Gluten Free Flour In Bread Machine
Making gluten free bread in a bread machine can be a great way to enjoy the delicious taste of homemade bread without all of the hassle. Robin Hood Gluten Free Flour is one of the most popular gluten free flours on the market, and it is perfect for making delicious gluten free bread in a bread machine. With its easy-to-follow instructions, anyone can make a delicious loaf of gluten free bread with Robin Hood Gluten Free Flour in their bread machine.
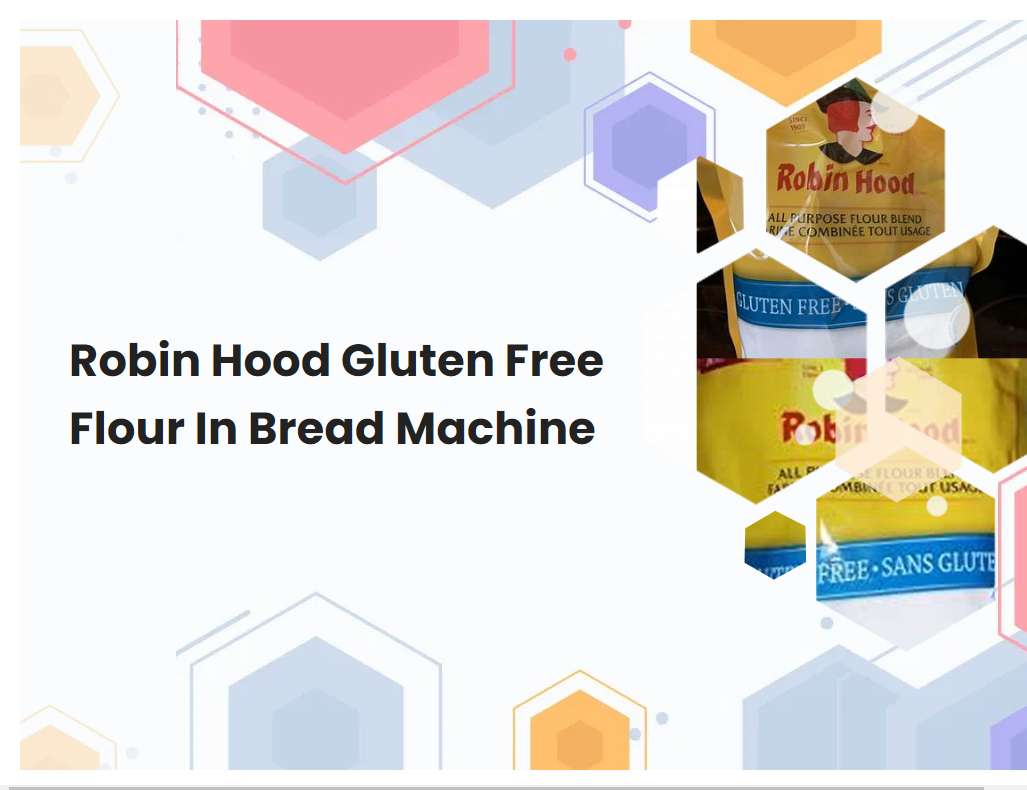
Robin Hood gluten free flour is specially formulated for gluten free baking and is made with rice, potato, tapioca, and sorghum flours.
Robin Hood Gluten Free Flour is an ideal choice for those seeking to bake gluten free treats. The flour is made from a blend of four different flours: rice flour, potato flour, tapioca flour and sorghum flour. The combination of these flours creates a gluten free flour that is perfect for baking a variety of recipes, from cakes and muffins to breads and cookies.
The combination of flours ensures that the end product is light and fluffy, while still maintaining a good flavor and texture. The gluten free flour also helps to give baking recipes a nice, crisp crust. With Robin Hood Gluten Free Flour, you can bake all of your favorite recipes without having to worry about gluten. This flour is sure to make the perfect addition to any gluten free kitchen.
To make a gluten free loaf of bread in a bread machine, use the gluten free setting on the machine.
Making a gluten free loaf of bread in a bread machine is easy and convenient. To start, select the "gluten free" setting on the bread machine. Depending on the model of bread machine, this setting may vary in time and ingredients used.
Generally, a gluten free bread machine loaf will require gluten free flour, oil, water, sugar, yeast, and some other optional ingredients such as eggs or dairy. The bread machine will mix and knead the ingredients together according to the gluten free setting and the ingredients used. After the dough is mixed, the bread machine will bake the loaf in its own baking chamber. Once it's finished baking, the bread machine will beep to let you know it's done. After that, your gluten free loaf of bread is ready to enjoy!
See also: Dough Sticks To Side Of Bread Machine
When measuring ingredients, it's important to use a digital scale. This will give you the most accurate measurements and ensure the best results.
Using a digital scale when measuring ingredients is essential for accurate measurements and successful recipes. Digital scales are more precise than measuring cups and spoons and they make sure that you get the exact amount of each ingredient that is needed. By ensuring that you use the proper measurements, you will avoid mistakes that could ruin a recipe.
Using a digital scale also helps to save time by quickly and accurately measuring out ingredients and can help prevent wastage of expensive ingredients. When measuring out dry ingredients such as flour or sugar, it is important to use the tare' function which sets the weight of the bowl or container you are using to zero so that you can add additional ingredients without having to recalculate the weight. Digital scales are a must-have tool for any kitchen and will help you get the best results for your recipes.
See also: Cake Mix In Bread Machine Do You Mix First
When adding the liquid ingredients to the dry ingredients, make sure to mix them together thoroughly before adding them to the bread pan.
When mixing the wet and dry ingredients for a bread recipe, it is important to ensure that the ingredients are combined properly. Begin by adding the dry ingredients, such as flour, baking powder, and salt, to a medium-sized bowl. Use a whisk or spoon to mix the dry ingredients together until they are evenly distributed.
Next, add the wet ingredients such as milk, eggs, and oil. Use a spatula or wooden spoon to mix the wet ingredients into the dry ingredients. Keep stirring until all of the liquid is absorbed and the ingredients are fully incorporated. Once the ingredients are combined, pour the mixture into a greased bread pan and bake according to the recipe instructions. Properly combining the wet and dry ingredients is essential to creating a delicious, perfectly textured loaf of bread.
See also: Simple Honey Wheat Bread In Bread Machine
Make sure the yeast used is gluten free.
When baking with gluten free yeast, it is important to take great care in selecting the right kind. Gluten free yeast is specially designed to be free of the proteins found in wheat, rye, and barley that can cause gluten sensitivities. It is available in both active dry and instant forms, and looks similar to regular yeast.
The most common brands are SAF Red, Bob's Red Mill, and Red Star. To ensure that you are using gluten free yeast, check the label for any indication of wheat, rye, or barley ingredients. Additionally, many brands of gluten free yeast are certified gluten free by a third-party organization. When using gluten free yeast, it is important to follow the instructions on the package carefully to ensure the best results. This includes using warm water (105-115 degrees Fahrenheit) when proofing the yeast and adjusting the rising times as needed. Following these steps will help ensure that your gluten free baked goods turn out perfectly every time.
See also: Should I Use A Power Strip With A Bread Machine
Use a teaspoon of sugar or honey to feed the yeast to help the gluten free dough rise.
When making a gluten free dough, it is important to give the yeast something to feed on in order to help the dough rise. A teaspoon of sugar or honey can be used to do this. The sugar or honey provides energy for the yeast to convert into carbon dioxide, which then causes the dough to rise.
Adding the sweetener also helps to improve the flavor of the dough, as well as helping it to rise. It is important to note that not all sugars are suitable for feeding the yeast - some, like brown sugar, are too dark and may interfere with the dough's flavor and color. When adding sugar or honey, it is best to add it in small amounts, gradually increasing the amount until the desired results are achieved.
See also: Can I Leave Bread In The Bread Machine
When the machine is finished kneading the dough, let it rest for 5 minutes before adding any additional ingredients like fruit or nuts.
Once the machine is finished kneading the dough, it is important to allow it to rest for 5 minutes before adding any additional ingredients. This resting period allows the gluten in the dough to relax, which will give the dough a more tender texture and a better rise. Allowing the dough to rest also helps to keep the dough from becoming too sticky and hard to work with.
During this resting period, you can prepare any additional ingredients like fruits or nuts that you'd like to add to the dough. After the resting period is complete, you can proceed with adding your ingredients to the dough before rolling it out and baking. This will ensure that your dough comes out light and fluffy with a delicious flavor.
Let the loaf cool completely before slicing it, as this will make sure it holds its shape.
It is important to let a loaf cool completely before slicing it. This is because the loaf needs time to set and firm up so that it will retain its shape when cut. If you slice a loaf while it is still warm, the loaf may collapse or become misshapen due to the softness of the dough.
For best results, let the loaf cool on a wire rack or a plate for at least 1 hour before slicing. This will ensure that your loaf will hold its shape and look its best when served. Additionally, when slicing the loaf it is helpful to use a very sharp knife to ensure clean, even slices. Taking the time to let your loaf cool before slicing it will result in a better-looking, more presentable loaf.
If you're using a recipe that calls for butter or oil, use a non-dairy alternative like coconut oil instead.
When baking or cooking, it is important to consider the health benefits of the ingredients you choose. Instead of using butter or oil, consider using a non-dairy alternative like coconut oil. Coconut oil is a healthier alternative because it is rich in antioxidants and healthy fats, which can help support your body in a variety of ways.
Additionally, coconut oil has a higher smoke point than butter, meaning it can be heated to a higher temperature without burning. Coconut oil also has a pleasant taste and smell, making it a great choice for baking and cooking. It can be used in place of butter and oil in any recipe and is easy to find at most grocery stores. Using coconut oil instead of butter or oil is an easy way to improve the health benefits of the food you eat while still enjoying delicious flavors.
When baking gluten free bread in a bread machine, it's important to follow the instructions specific to your machine's settings and size of loaf.
When baking gluten free bread in a bread machine, it is important to consider the size of the loaf and the settings of the machine. It is essential to read the instructions carefully and follow them precisely in order to achieve the desired result. It is recommended to use a gluten free bread mix, as this will ensure that the bread comes out correctly and has the right texture.
The machine should be preheated before adding the ingredients, and the water temperature should be carefully monitored. The size of the loaf should be set according to the instructions, and the type of flour used should be specified as well. It is also important to ensure that all ingredients are added in the order specified in the instructions. When baking gluten free bread, it is important to be patient and let it rise for a few minutes before starting the baking process. Once it is done baking, let the bread cool for at least 15 minutes before slicing and serving. With these simple steps, you can enjoy delicious, gluten free bread from your bread machine.


