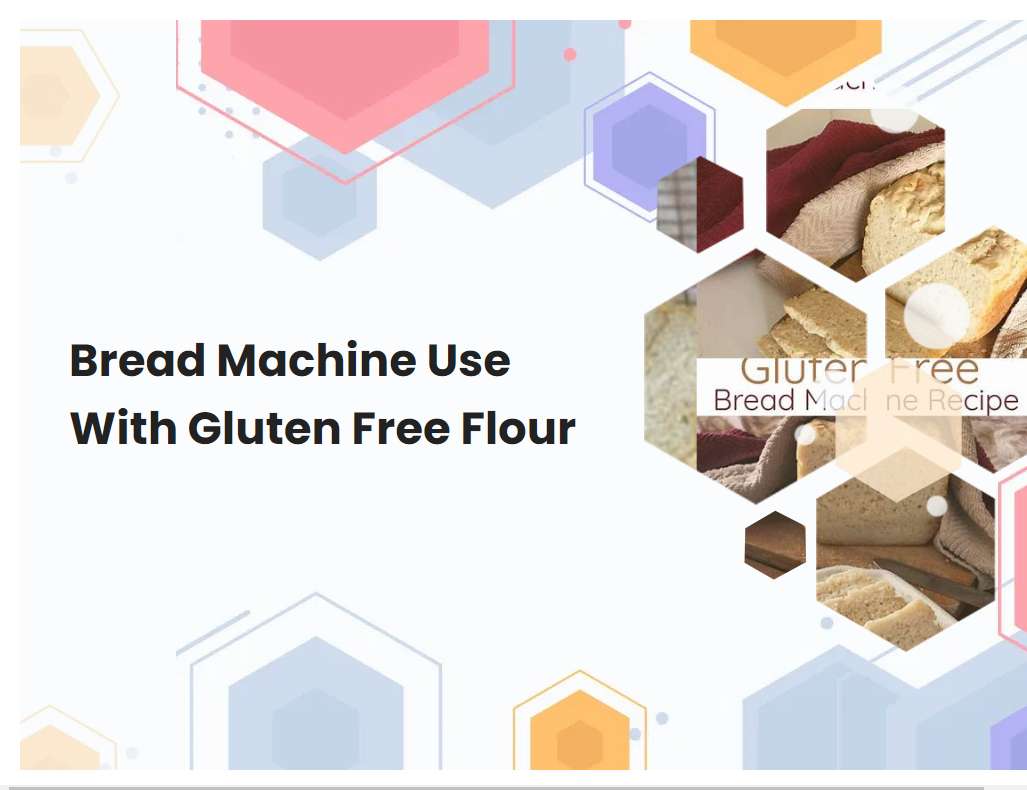
Bread Machine Use With Gluten Free Flour
Gluten free baking with a bread machine can be a great way to make delicious bread at home. The bread machine does all the work for you, from mixing the ingredients to kneading and baking the dough. With the help of a bread machine, anyone can make delicious gluten-free bread with a few simple steps.
Choose Gluten-Free Flours Carefully: Be sure to select a gluten-free flour blend specifically designed for bread machines.
When baking gluten-free bread, it is important to select the right flour blend. Not all gluten-free flour blends are suitable for bread machines, so it is important to do your research. Gluten-free flours are typically made from a combination of different ingredients such as rice flour, potato starch, tapioca starch, sorghum flour, and garbanzo bean flour.
These flours are often combined in different proportions to create a blend that will work best in a bread machine. It is also important to look for a blend that is free of added starches or gums, as these can affect the texture of the bread. Gluten-free bread flour blends designed specifically for bread machines are typically the best option as they have been formulated to produce the best results. With careful selection, you can enjoy delicious and nutritious gluten-free bread made with a bread machine.
Use Yeast in the Correct Amount: Many gluten-free bread recipes call for more yeast than traditional recipes.
Yeast is an important ingredient in baking gluten-free breads, as it helps to create a light and airy texture that is often difficult to achieve without gluten. Gluten-free bread recipes often require more yeast than traditional recipes, as the lack of gluten means that the dough will not rise as easily. Generally speaking, gluten-free doughs can benefit from an additional teaspoon of active dry yeast per cup of gluten-free flour.
This should be taken into consideration when measuring out the yeast for a recipe, as using too much or too little yeast can significantly affect the outcome of the finished product. To ensure the best results, it is important to measure out the yeast accurately, using the amount called for in the recipe.
See also: How To Make Bread Machine That Make Mini Baguette
Increase the Liquid: Gluten-free doughs are typically drier than traditional doughs, so you may need to add more liquid.
When baking with a gluten-free dough, it is important to remember that it will be much drier than traditional doughs. This is due to the lack of gluten, which helps provide structure and binds the ingredients together. To compensate for this, you will need to add more liquid.
This could be water, milk, non-dairy milk, or even melted butter. Depending on the recipe, you may also need to increase other wet ingredients such as honey, agave syrup, or yogurt. Adding more liquid will help make the dough easier to work with and will help ensure that your baked goods are moist and delicious. Additionally, adding more liquid can help you achieve a fluffier texture in your finished product. When increasing the liquid in a gluten-free dough, it is important to do so slowly and carefully as too much liquid can cause the dough to become too wet and difficult to work with.
See also: Bread Machine Whole Wheat Bread No Sugar
Add Xanthan Gum: Most gluten-free bread recipes will require the addition of xanthan gum to give the dough needed structure and elasticity.
Xanthan gum is a popular ingredient used in gluten-free baking. This thick, white powder is made from a bacteria called Xanthomonas campestris that is fermented with sugar. When added to gluten-free bread recipes, it acts as an emulsifier, helping to bind and thicken the dough.
This provides structure and elasticity that would otherwise be missing due to the absence of gluten proteins. The amount of xanthan gum used can vary depending on the recipe, but typically a teaspoon per cup of gluten-free flour is recommended. Adding too much xanthan gum can create a gummy texture, so it's important to measure carefully. When used in combination with other ingredients such as eggs and psyllium husk powder, xanthan gum helps create a bread dough that is able to rise, hold its shape, and have a good texture.
See also: My Bread Machine Bread Is Too Liquid
Use Room Temperature Ingredients: Make sure all ingredients, including the liquids, are at room temperature before adding to the pan.
Using ingredients at room temperature is an important step in the baking process. This helps to ensure that all of the ingredients are evenly mixed together, which results in the best texture and flavor. Room temperature ingredients also help to ensure that the baking process is consistent and predictable.
If cold ingredients are added to the pan, they can cause the batter to cool, resulting in uneven baking and potential inconsistencies with the finished product. It's important to allow all ingredients, including liquids, to come to room temperature before adding to the pan. This can be done by leaving them out on the counter for a few hours or microwaving them for a few seconds. Doing so will help to ensure the best-tasting and most consistent results.
See also: How To Make Pizza Dough With Bread Machine Yeast
Increase the Rising Time: Gluten-free doughs typically take longer to rise than traditional doughs.
Gluten-free doughs can be a bit more challenging to work with when it comes to rising. Traditional doughs rely on gluten for structure and strength, which gives them the ability to rise quickly and easily. Gluten-free doughs, however, do not contain gluten and thus have a longer rising time.
This is because gluten-free doughs typically lack the structure and strength of traditional doughs, making it difficult for them to trap air bubbles and expand. To increase the rising time of gluten-free doughs, bakers typically use ingredients such as yeast, baking soda, and baking powder to help create structure in the dough and trap air bubbles. It is also important to use warm liquids when preparing the dough, as this will help activate the yeast and encourage rise. Additionally, it is important to give the gluten-free dough enough time to rise in a warm environment before baking. With the right techniques and ingredients, bakers can achieve a successful rise in gluten-free doughs and create delicious baked goods.
See also: Can I Use Bread Machine To Knead Dough
Don't Over Bake: Gluten-free breads can dry out quickly, so be sure to monitor the baking time closely and adjust as needed.
Baking gluten-free breads requires extra care and attention. The breads can dry out quickly if they are overbaked, so it is important to be mindful of the baking time. To ensure the best possible results, set a timer and check on the bread every few minutes.
If the loaf is starting to look golden brown, insert a toothpick into the center of the bread to test for doneness. If the toothpick comes out clean, the bread is done. If not, continue baking a few minutes longer and check again. It is also helpful to cover the loaf with aluminum foil or a damp towel if it gets too dark during baking. With a little extra attention, you can ensure your gluten-free breads turn out perfect every time.
Cool Thoroughly: Be sure to cool the bread completely before slicing or storing; otherwise it may become gummy or sticky.
Cooling bread thoroughly is an important step in the baking process. Bread should be cooled until it reaches room temperature before being sliced or stored. If bread is not cooled completely, it may become gummy or sticky.
To cool bread properly, it should be left on a cooling rack for about an hour. This will help to ensure that both the inside and outside of the bread cool down evenly. After an hour, the bread should feel slightly warm to the touch. At this point, it is safe to slice and store. If you wish to speed up the cooling process, you can place the bread in the refrigerator for a few minutes. However, it is important to keep an eye on the progress of the cooling process, as refrigeration can cause the crust to become hard and dry. Once the bread has cooled completely, it is ready to be enjoyed!
Store Carefully: Store gluten-free bread in an airtight container to keep it from becoming stale or dry.
Storing gluten-free bread properly is key to ensuring its quality and freshness. The best way to store gluten-free bread is in an airtight container. This will help lock in the moisture and protect the bread from becoming dry and stale.
It is important to make sure that the container is truly airtight, so that no air can enter and cause the bread to dry out. If you have multiple loaves of gluten-free bread, you can layer them in the container with parchment paper between each loaf to keep them from sticking together. Make sure to check the expiration date on the package and consume the bread before it expires. Additionally, it is best to store the bread at room temperature and keep it away from direct sunlight or heat sources. With proper storage, gluten-free bread can stay fresh for up to several weeks.
Freeze for Later Use: To extend the shelf life of gluten-free bread, wrap it securely and freeze for up to 3 months.
Freezing gluten-free bread is a great way to extend its shelf life. To ensure the bread remains fresh, it is important to wrap it securely before freezing. Gluten-free bread can be stored in the freezer for up to 3 months.
To thaw, simply remove the bread from the freezer and allow it to thaw overnight in the refrigerator or at room temperature. After thawing, gluten-free bread should be used as soon as possible as it can spoil quickly. For best results, store gluten-free bread in an airtight container or bag and freeze it soon after purchase. With proper storage, gluten-free bread can stay fresh and delicious for up to 3 months.


