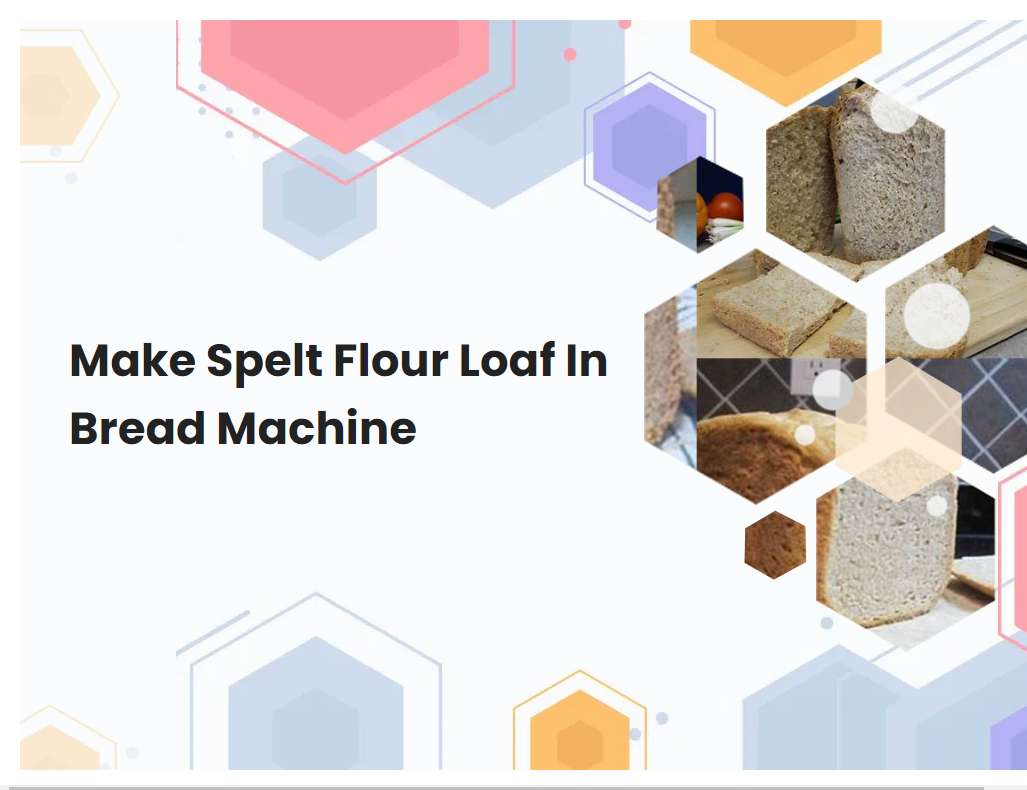
Make Spelt Flour Loaf In Bread Machine
Making a spelt flour loaf in a bread machine is a delicious way to enjoy the nutty flavor and nutritional benefits of spelt flour. This recipe is easy and convenient, as it can be prepped and left to bake in the machine. Not only is the spelt flour loaf tasty, but itâs also an excellent alternative to other breads, as itâs packed with protein and high in B-vitamins, zinc, and magnesium.
Measure the ingredients accurately, using a kitchen scale.
Measuring ingredients accurately is an essential step in any recipe, and using a kitchen scale ensures that you are getting an accurate measurement every time. A kitchen scale is a tool that allows you to measure the weight of ingredients in grams, ounces, or other units of measurement. By measuring ingredients precisely with a kitchen scale, you will be able to create the best possible results for your recipes.
For example, if you are baking a cake, you will want to measure out the exact amount of flour, sugar, and other ingredients to ensure that the cake comes out as light and fluffy as possible. Using a kitchen scale will eliminate any guesswork involved in measuring ingredients, and it will also help you save time and money by eliminating the need to buy too many ingredients. So, next time you are cooking or baking, make sure that you measure all your ingredients accurately with a kitchen scale for the best results.
Use the correct type of yeast for bread machine loaves.
When baking bread in a bread machine, it is important to choose the right type of yeast. Bread machine loaves typically require active dry yeast or rapid rise yeast. Active dry yeast must be hydrated in warm water prior to use, while the rapid rise yeast does not need to be hydrated and can be added directly to the dry ingredients.
Active dry yeast works slower than rapid rise yeast, so breads made with this type of yeast may need longer rise times. Rapid rise yeast is more suitable for bread machines as it creates a faster rising process, allowing for a shorter baking time and a softer loaf of bread. Because of its fast-acting properties, rapid rise yeast is ideal for bread machines; however, if you prefer a more traditional flavor, active dry yeast is a good choice too. It is important to follow the package instructions for amount of yeast needed for your recipe in order to ensure your loaf turns out properly.
See also: Howto Layer Ingredients In A Bread Machine
Read the manufacturer's instructions for your specific bread machine.
Using a bread machine is an easy, convenient way to make delicious homemade breads. Before using your bread machine, it is important to read and follow the manufacturer's instructions. Depending on the model of your bread machine, the instructions may vary.
Generally, the instructions will include information on how to prepare the ingredients, how to place the ingredients into the machine, and tips on how to get the best results. Additionally, the instructions will outline any specific settings and programs that should be used for different bread types, such as white bread, whole wheat bread, and gluten-free bread. It is important to follow the manufacturer's instructions in order to ensure that the bread comes out perfect every time. Once you have familiarized yourself with the manufacturer's instructions and settings, you can start baking delicious homemade breads with ease.
See also: Sub Whole Wheat For Ap In Bread Machine
Use the correct cycle for spelt flour loaves.
When making spelt flour loaves, the best way to ensure a successful rise and texture is to use the sponge and dough cycle. This cycle involves two separate phases: the first is the sponge phase, where the yeast is activated and the dough is allowed to rise for a period of time; the second phase is the dough stage, where the remaining ingredients are added and kneaded until the desired consistency is achieved. During this cycle, the temperature and humidity levels are monitored in order to provide the ideal environment for the dough's development.
The entire cycle typically takes around 4-5 hours, depending on the size of the loaf. Once the cycle is complete, the dough is ready to be shaped, proofed, and baked. The sponge and dough cycle is an excellent choice for spelt flour loaves because it allows the dough to be mixed more evenly and slowly, resulting in a more flavorful and nutritious loaf.
See also: Philips Sense And Simplicity Bread Machine Book
Grease the bread pan before adding ingredients.
Greasing the bread pan before adding ingredients is an important step in the bread-making process. By greasing the pan, you create a barrier between the loaf and the pan itself, preventing the loaf from sticking to the pan and making it easier to remove when it's finished baking. When greasing, use an oil or shortening with a high melting point, such as vegetable or coconut oil.
Spread a thin layer of oil all over the inside of the pan, including the sides. Make sure to cover the entire surface with oil, including the corners. Once you have greased the pan, you can add your ingredients and begin baking your bread. Greasing the pan before adding ingredients helps ensure a successful bake and helps make sure your loaf comes out of the pan with ease.
See also: How To Use Active Yeast In Bread Machine
Use warm liquid, not hot, when adding liquids to the bread pan.
When adding liquids to the bread pan, it is important to use warm liquid, not hot. Hot liquid can cause the yeast to become too active, which can result in an undesirable texture or taste in the finished product. Too cold of a liquid can also inhibit the yeast from properly rising, leading to a dense and heavy loaf.
The ideal temperature for liquids when making bread is usually between 105 and 115 degrees Fahrenheit. This is warm enough to activate the yeast, while still being cool enough not to damage it. When measuring out liquid ingredients, use a thermometer if necessary to ensure that the temperature is in the correct range. By using warm liquids when making bread, you can ensure that your finished product is light and fluffy, with the perfect texture and flavor.
See also: Low Carb Zuchinni Bread In Bread Machine
Use room temperature butter or margarine when adding fats to the bread pan.
When adding fats to the bread pan, it is important to use room temperature butter or margarine. If the butter or margarine is cold, it can cause the dough to be too stiff and difficult to knead. Additionally, cold fats can prevent the dough from rising properly.
Room temperature butter or margarine will ensure that the dough will be easy to knead and that it will rise properly. It is important to note that it is best to use a high-quality butter or margarine for the best results.
Add the dry ingredients first, then the wet ingredients.
When making a cake, it is important to combine the dry ingredients first before adding in the wet ingredients. To do this, start by stirring together the dry ingredients, such as the flour, baking powder, and sugar. Once the dry ingredients are mixed thoroughly, begin adding in the wet ingredients.
This includes milk, eggs, butter, and any extracts or flavorings. It is important to add the wet ingredients slowly and mix them in well after each addition. Once all the wet ingredients have been mixed in, the cake batter is ready to be baked. Following this order of mixing the dry ingredients first and then adding in the wet ingredients will ensure that the cake batter is fully mixed together and creates a delicious and fluffy cake.
Allow the bread machine to finish its cycle before removing the loaf from the bread pan.
When the bread machine has finished its cycle, it is important to allow it to cool before attempting to remove the loaf from the bread pan. This is because the bread may still be hot and could cause burns if handled too soon. Additionally, it is important to ensure the bread has cooled in order to ensure that the bread does not stick to the pan and ruin the loaf.
To do so, unplug the machine and allow it to cool for at least 10 minutes before attempting to remove the loaf. Once the machine has cooled, carefully remove the bread pan and gently shake the loaf out. If the bread is stuck to the pan, use a spatula or spoon to help remove it. Finally, allow the loaf to cool completely on a cooling rack before slicing or storing it.
Cool the loaf before slicing to ensure the shape stays intact and even.
It is important to cool the loaf before slicing it to ensure the shape stays intact and even. The cooling process helps the structure of the loaf become more firm, making it easier to slice. This can be done by allowing the loaf to cool for at least an hour on a cooling rack.
The loaf should be removed from the baking pan and placed on the cooling rack before being cooled. If the loaf is too warm, it can become difficult to slice and the shape may become distorted. To prevent this, make sure the loaf is completely cooled before attempting to slice it. Once cooled, the loaf should be cut using a sharp knife, using a sawing motion to ensure even slices. This will also help keep the shape of the loaf intact.


