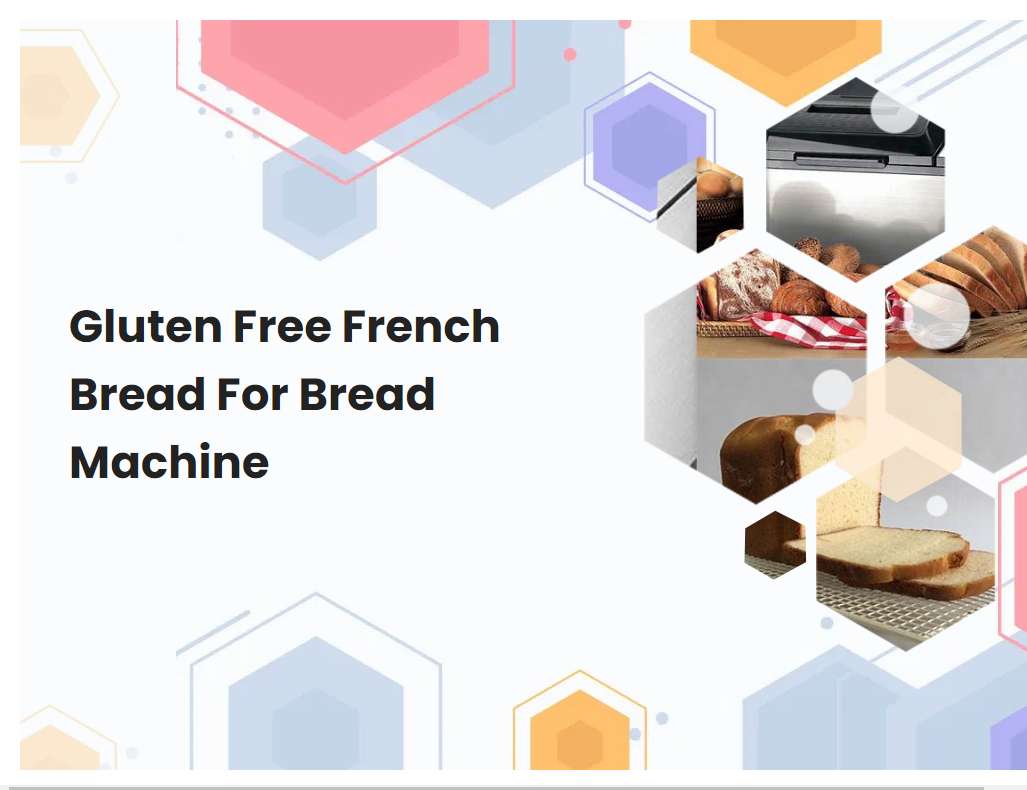
Gluten Free French Bread For Bread Machine
Gluten free French bread is a delicious alternative to traditional French bread that can be made with a bread machine. This type of bread is perfect for those who cannot consume gluten due to dietary restrictions or allergies. With the right ingredients and a bread machine, baking gluten free French bread can be simple and easy.
Follow the instructions for your specific gluten-free bread machine.
If you are using a gluten-free bread machine, the first step is to make sure to choose the right setting for your specific type of bread. Depending on the type of gluten-free flour and other ingredients you are using, the setting may be different. If you are using a pre-packaged mix, follow the instructions on the package for the specific setting.
If you are making your own gluten-free bread, often the instructions for a standard white bread setting will work. Next, measure out your dry ingredients and add them to the bread machine. Then, measure out the wet ingredients and add them. Make sure these ingredients are at room temperature before adding them to the machine. Once all the ingredients have been added, select the appropriate setting and press start. The machine will knead, rise, and bake your gluten-free bread as it goes through its cycle. Once the cycle has finished, your gluten-free bread is ready to enjoy.
Use a gluten-free flour blend specifically formulated for bread machines.
Using a gluten-free flour blend specifically formulated for bread machines is a great way to make delicious, gluten-free breads with ease. These flour blends are specifically designed to be used in a bread machine, ensuring the dough will mix and rise correctly. The flour blends typically include a combination of gluten-free flours such as rice flour, sorghum flour, cornstarch, and potato starch.
Some blends also include additional ingredients such as xanthan gum, which helps the dough to bind and retain moisture during the baking process. Because of the unique combination of ingredients, gluten-free breads made with these flour blends are usually more light and moist than those made with regular gluten-free flours. For best results, it's important to use a gluten-free flour blend specifically designed for bread machines, as this will ensure the highest quality results.
See also: Bread Machine Pizza Dough How Long Will It Last
Ensure all ingredients used are gluten-free.
In order to ensure that all ingredients used are gluten-free, it is important to read labels carefully and do research into the ingredients used. It is also important to be aware of hidden sources of gluten. Common sources of gluten include wheat, rye, barley, and most oats.
Cross-contamination can also be a concern when dealing with gluten-free ingredients. For example, if an ingredient is processed in a facility that also processes wheat, it may contain traces of wheat as well. It is also important to check for gluten-free certification on food items. This certification ensures that a product is free from any gluten-containing ingredients. Lastly, it is important to look for alternative ingredients that are naturally gluten-free, such as quinoa, rice, and beans. By taking the necessary steps to ensure the ingredients are gluten-free, it is possible to create delicious and safe meals for those with gluten intolerance or Celiac disease.
See also: Types Of Bread To Make In Bread Machine
Use a yeast specifically formulated for gluten-free bread machines.
When baking gluten-free bread in a bread machine, it is important to use a yeast specifically formulated for gluten-free bread machines. This yeast is specially designed to help create the perfect texture and flavor while still maintaining a gluten-free diet. The yeast is made with the same ingredients as traditional yeast, but is altered to provide a gluten-free environment.
It is important to use the right type of yeast to ensure that all ingredients are gluten-free and will still produce a delicious, light, and fluffy bread. The yeast works to activate the other ingredients, such as flours, starches, and other ingredients, to create the desired texture and taste in the final product. Using a yeast specifically formulated for gluten-free bread machines will create a bread that is free from gluten, but still offers all the flavor and texture of traditional bread.
See also: How To Make Bread In A Welbilt Bread Machine
Add additional ingredients like egg whites, flaxseed meal, or psyllium husk for texture and flavor.
Adding egg whites to a recipe can add a light and fluffy texture that makes baked goods, like muffins and cakes, more enjoyable. Egg whites also add protein and nutrition to baked goods, making them a great addition to recipes. Flaxseed meal, which is made from ground flaxseeds, can also be added to recipes as a way to boost nutrition and add flavor.
Flaxseed meal is high in fiber and omega-3 fatty acids, and can be used as a substitute for eggs in recipes. Lastly, psyllium husk is a type of dietary fiber that can be used to thicken and bind ingredients. Psyllium husk absorbs liquid and forms a gel-like texture, making it ideal for baking. Adding these ingredients to recipes can help to make them more nutritious, flavorful, and enjoyable.
See also: Substitute Fresh Milk For Dry Milk In Bread Machine
Use the right type of gluten-free flour for the recipe.
Gluten-free baking can be a challenge, but with the right type of gluten-free flour, you can create delicious and nutritious dishes. Gluten-free flours come in many varieties and can be used in a variety of recipes, from breads and cakes to cookies and pizza crusts. It's important to choose the right type of gluten-free flour for the recipe you're making, as different types of gluten-free flour have different properties and will affect the texture and flavor of your food.
For example, almond flour is a great choice for baking cakes and other delicate desserts, as it has a slightly nutty flavor and produces a light, airy texture. Brown rice flour, on the other hand, is heavier and more dense, so it is better suited for heartier baked goods such as breads and pizza crusts. There are also a variety of specialty gluten-free flours available, such as sorghum flour, which has a mild flavor and works well for pancakes and muffins. Be sure to read the recipe carefully before you begin baking to determine which type of gluten-free flour is best for the particular dish you are making. With some experimentation and trial-and-error, you can successfully create delicious gluten-free dishes that will please anyone's palate.
See also: West Bend Bread Machine And Cough Maker
Use a proofing basket to help shape the dough into an even loaf.
A proofing basket is a helpful tool for shaping dough into an even loaf. It is designed to help bread dough retain its shape when rising and baking. To use a proofing basket, the baker first forms the dough into a ball and then places it in the basket.
The sides of the basket then help support the shape of the ball, keeping it from spreading out as it rises. After the dough has risen, it can be removed from the basket and placed directly into the oven for baking. The proofing basket helps ensure that the dough maintains its shape, enabling the baker to create a consistent and evenly shaped loaf. The proofing basket can be used for all types of dough, including sourdough, yeast, and quick breads.
Consider adding a gluten-free sourdough starter to improve flavor and texture.
Adding a gluten-free sourdough starter to your recipes can be a great way to improve flavor and texture. Sourdough starters are made from a mixture of flour, water, and wild yeast cultures, which are naturally gluten-free. This mixture ferments over time, creating a unique flavor and texture that can enhance any baked product.
For instance, when adding a gluten-free sourdough starter to bread dough, the dough will become softer and more flavorful as the starter ferments. The starter also helps to create a better rise in the dough, resulting in a lighter and fluffier texture. Additionally, the wild yeast cultures can help break down the starches in the flour, making them easier to digest and reducing the risk of digestive distress. By adding a gluten-free sourdough starter to your recipes, you can enjoy a delicious and nutritious baked good without the worry of gluten.
Monitor the kneading and rising process to ensure the desired consistency is achieved.
Monitoring the kneading and rising process is essential to ensure that the desired consistency is achieved. During the kneading process, the dough should be firm and slightly sticky. Pay close attention to the texture of the dough and make sure that the gluten has been properly developed.
If the dough is too dry, add a small amount of water and continue kneading until it reaches the desired consistency. During the rising process, the dough should increase in size by at least double and should be soft, puffy, and slightly tacky. Monitor the dough closely, and if it doesn't seem to be rising as much as desired, try adding more yeast or place in a warmer area. After the rising process is complete, the dough should have a light, airy texture and be easy to work with. Pay close attention to each step of the process to ensure that the desired consistency is achieved.
Allow the French bread to cool completely before slicing or serving.
It is important to let French bread cool completely before slicing or serving. Allowing it to cool completely will prevent it from crumbling, help keep the shape of the loaf intact, and ensure that the crust is not too hard or too soft. To cool French bread, place the still-warm loaf on a wire cooling rack and cover it with a kitchen towel.
This will help keep the moisture in while allowing it to cool at an even rate. Leave the bread on the rack until it is no longer warm to the touch and then it can be sliced or served. Allowing the French bread to cool completely should take between 20 and 30 minutes, depending on the size of the loaf.


