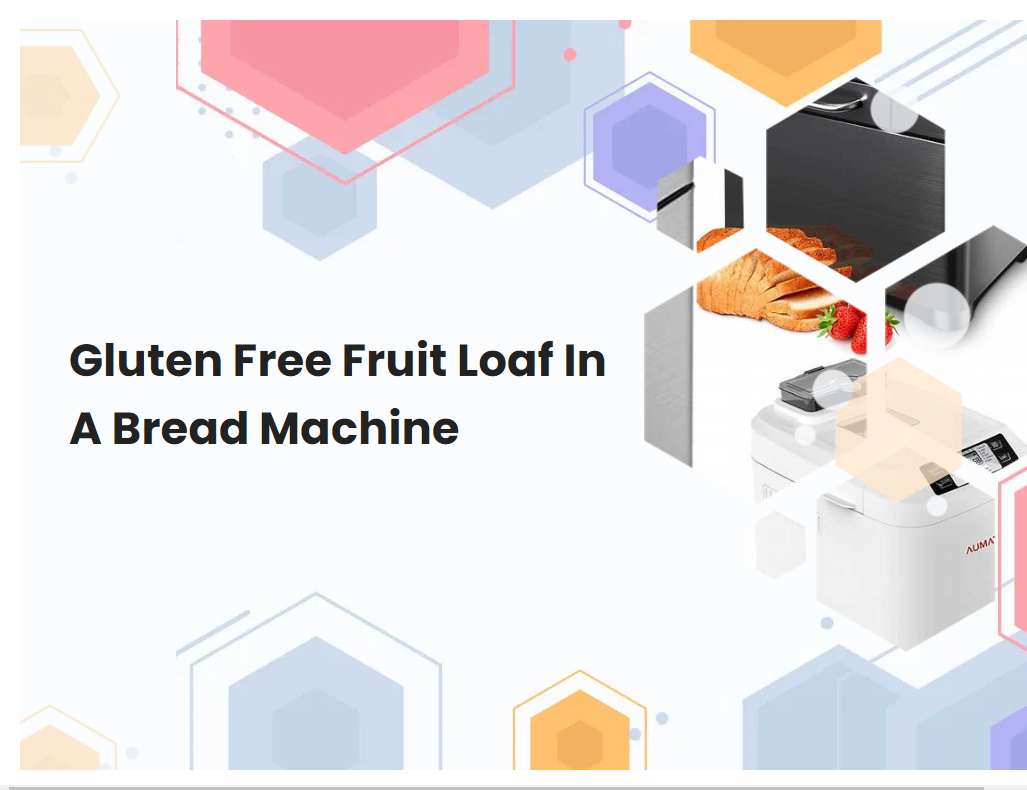
Gluten Free Fruit Loaf In A Bread Machine
Gluten free fruit loaf is a delicious and healthier alternative to traditional breads. Enjoy the taste of a freshly-baked loaf with the convenience of a bread machine. With the right ingredients and a few simple steps, you can make a delicious gluten free fruit loaf in a bread machine.
Ensure that you are using gluten-free flour for the recipe.
Using a gluten-free flour for a recipe is important for people with celiac disease or gluten sensitivities. Gluten is a protein found in wheat, barley, and rye, and it can cause serious health issues if ingested by an individual with celiac disease or gluten sensitivity. Gluten-free flours can be found in most grocery stores and provide an excellent alternative for those who need to avoid gluten.
These flours are made from a variety of grains and starches, such as rice flour, almond meal, potato starch, millet flour, quinoa flour, buckwheat flour, and more. When substituting gluten-free flour into a recipe, it is important to pay attention to the ratio of flours and starches that are used to create the desired texture and flavor. For example, using too much starch can lead to a dense or gummy texture. It is also important to note that gluten-free flours often absorb more liquid than wheat flour. If this is the case with your recipe, you may need to add additional liquid or increase the amount of leavening agent (baking powder or baking soda) to achieve the desired results. By using a gluten-free flour in your recipe, you can ensure that those with celiac disease or gluten sensitivities can safely enjoy your baked goods. With some experimentation and careful attention to the ratio of flours and starches, you can create delicious and safe gluten-free recipes.
Follow the instructions provided with your bread machine for adding ingredients.
When adding ingredients to a bread machine, it is important to follow the instructions provided by the machine's manufacturer. Before adding any ingredients, make sure to read the instructions carefully. Most bread machines will require that all ingredients be added in the order they are listed on the machine's instruction manual.
This means that dry ingredients, such as flour and sugar, should be added first, followed by wet ingredients, such as water and oil. The yeast should always be added last, as it requires contact with liquid in order to activate. Once all ingredients have been added, select the desired setting on the machine, place the baking pan in the machine and press start. Depending on the type of bread being made, additional instructions may need to be followed. As different machines may have different instructions, it is important to always consult the machine's manual before beginning.
See also: Peach Cobbler A La Bread Machine Kaf
Ensure that all ingredients are at room temperature before beginning.
Before beginning your recipe, it is important to ensure that all ingredients are at room temperature. This means that the ingredients are not cold from the refrigerator or too hot from the oven. Room temperature ingredients help ensure that the final dish will have a consistent texture and flavor.
Room temperature ingredients also blend together more easily, resulting in a smoother texture and better flavor. When baking, it is especially important to make sure that ingredients like butter and eggs are at room temperature as they can impact the final texture of the finished product. Taking the time to make sure all ingredients are at room temperature before beginning your recipe will help you achieve the best results.
See also: Where Can I Buy Bread Machine Flour
Use a gluten-free yeast specific for bread machines.
Using a gluten-free yeast specific for bread machines is a great way to make delicious, gluten-free bread for those with allergies or intolerances. This special yeast is designed to work with bread machines, which makes it easy to make gluten-free bread without the hassle of kneading and shaping dough by hand. It also helps ensure that the dough will rise properly and have the same texture and flavor of regular wheat-based bread.
Many store-bought gluten-free breads can be quite dense and heavy, but using this type of yeast helps create a light, fluffy loaf that has the same texture as regular wheat-based bread. The yeast also helps give the bread a nice, golden-brown crust. When using this type of yeast, it's important to follow the instructions on the package to get the best results.
See also: Ho Much Into Bread Machine Cycle Doesit Add The Seeds
Make sure that all ingredients are well combined before placing in the bread machine pan.
It is important to make sure that all ingredients for your bread are well combined before placing them in the bread machine pan. First, add all dry ingredients to a bowl and mix them together. This includes flour, sugar, salt, and any other dry ingredients such as yeast or herbs.
Make sure that all the dry ingredients are well blended together. Next, add the wet ingredients such as water, oil, and any other liquids. Stir the wet ingredients together with a spoon or whisk until they are completely combined. Finally, add the wet ingredients to the dry ingredients and stir them together. Make sure that the ingredients are thoroughly mixed together, with no clumps of flour or other dry ingredients remaining. Once all the ingredients are well combined, you can pour them into the bread machine pan and set it to the desired setting. By taking the time to ensure that all ingredients are well combined before placing them in the bread machine pan, you will be rewarded with delicious, freshly-baked bread every time.
See also: Light And Fluffy Bread Machine Dinner Rolls
Avoid overmixing the dough as this can lead to a dense loaf.
When making bread, it is important to be mindful of how much you mix the dough. Mixing the dough too much can lead to a dense loaf, which can ruin the texture and flavor of the bread. Overmixing causes the gluten in the dough to become overdeveloped, resulting in a tough, dense loaf.
To avoid this, mix the dough until it is just combined. If using a stand mixer, use the lowest setting and mix until the ingredients are just blended. If mixing by hand, use a folding motion to combine the ingredients. The dough should still be slightly lumpy and sticky. Once the ingredients have been combined, stop mixing and shape the dough into a loaf. If the dough is overmixed, the resulting loaf will be dense and undesirable.
See also: Bread Fell In The Middle Bread Machine
Allow the dough to rise before baking.
When making bread, it is important to allow the dough to rise before baking it. This process helps to create a light and fluffy texture in the finished product. To do this, place the dough in a warm, moist place and cover it with a damp cloth.
The dough should be left to rise until it has doubled in size. During this time, the yeast will feed on the sugars in the dough and create carbon dioxide, which causes the dough to rise. The warmer the environment, the quicker the dough will rise. Once the dough has doubled in size, it is ready to be shaped and baked. Allowing the dough to rise before baking will result in a delicious, fluffy loaf of bread that is sure to please.
Use a light-colored nonstick pan to bake the gluten-free loaf.
When baking a gluten-free loaf, it is essential to use a light-colored nonstick pan. Light-colored pans are preferable because they do not absorb heat as quickly as darker pans. This helps to prevent over-browning of the loaf.
Nonstick pans also provide an even baking surface, helping to ensure that the loaf will bake evenly. Additionally, the nonstick surface makes it much easier to release the loaf from the pan after baking, making it easier to enjoy. When using a nonstick pan, it's important to be sure to use a silicone or wooden utensil when stirring or scraping, as metal utensils can cause scratches in the surface and make it less effective.
Monitor the baking time of the loaf throughout the baking process.
Monitoring the baking time of a loaf throughout the baking process is an essential step in ensuring a perfectly baked loaf of bread. The exact amount of time needed to bake a loaf varies from recipe to recipe, so it is important to follow the specific instructions listed in the recipe for the best results. Generally, the baking time for a loaf of bread should be monitored by checking the internal temperature of the loaf with a thermometer.
When the internal temperature reaches 200-210°F (93-99°C), the loaf is usually done. Additionally, the loaf should be examined for color and texture. The top and bottom of the loaf should be a deep golden brown and the texture should be firm and dry to the touch. If the top of the loaf begins to get too dark, you may need to cover it with foil during the remainder of the baking time. Finally, when ready, the loaf should sound hollow when tapped on the bottom. With careful monitoring, you can ensure that your loaf is perfectly baked every time.
Cool the loaf completely before slicing and serving.
Cooling a loaf of bread is an important step in the baking process, as it ensures that the bread is evenly cooked and that its texture and flavor are at their best. To cool a loaf of bread, it should be removed from the pan and placed on a wire cooling rack in a dry location. Make sure that any excess steam is allowed to escape by leaving the pan slightly ajar.
Allowing the loaf to cool on the rack for at least one hour will ensure that it has cooled completely. Once cooled, the loaf can then be sliced and served. It is important to wait until the loaf has cooled completely before slicing, as doing so too soon can cause the bread to be gummy or crumbly. Cooling a loaf of bread correctly will help ensure that it has a perfect texture and flavor, making it enjoyable for everyone.


