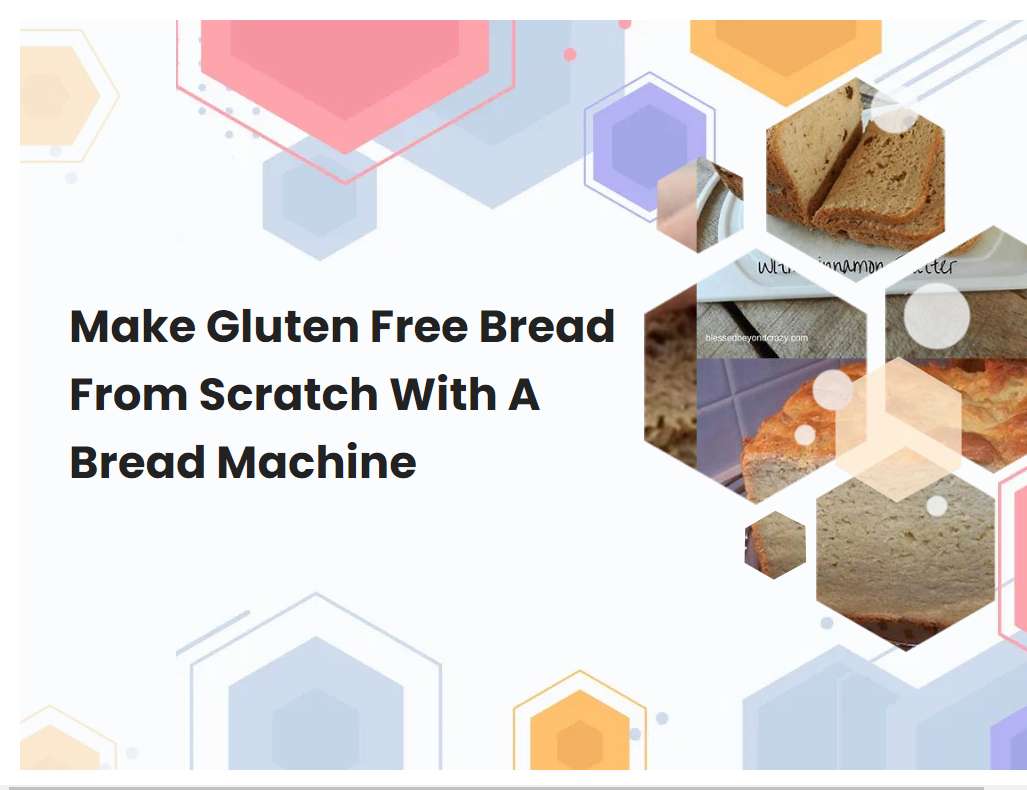
Make Gluten Free Bread From Scratch With A Bread Machine
Making gluten free bread from scratch with a bread machine is an easy way to create delicious and nutritious bread. With the right ingredients and a few simple steps, you can enjoy homemade gluten free bread in no time. Bread machines make it easy to prepare the dough and bake the bread, so you can make your own gluten free bread without any fuss.
Use a gluten-free bread mix specially formulated for use in a bread machine.
Using a gluten-free bread mix specially formulated for use in a bread machine is an easy and convenient way to make delicious gluten-free bread. This type of mix is specifically designed to work in a bread machine, so you don't have to worry about adapting recipes or altering measurements. It also eliminates the need for measuring out individual ingredients, instead offering a pre-measured combination of gluten-free flours and starches, as well as other ingredients like xanthan gum or guar gum to help bind the dough.
The mix also usually contains yeast and sometimes other seasonings, so the only thing you have to worry about is adding the right amount of liquid ingredients and oil. After that, you can just let your bread machine do the rest. With a gluten-free bread mix, you can make fresh, delicious gluten-free bread without any of the guesswork or hassle.
Follow the instructions on the package for adding in the liquids and other ingredients.
When adding liquids and other ingredients to the package, it is important to follow the instructions provided. First, read the instructions carefully to make sure all the ingredients are included. Next, measure out the appropriate amounts of each ingredient and place them in a bowl.
Then, slowly add the liquids to the bowl, stirring continuously to ensure all the ingredients are combined. Finally, pour the mixture into the package, making sure to spread it evenly. Once all the ingredients are added, it is important to follow any additional instructions provided for sealing, cooking, and storing the product. Following these steps precisely will ensure that the package is prepared correctly for its intended use.
See also: How Long Is The Rise Cycle In Bread Machine Zoriski
Be sure to use a gluten-free flour mix, not regular all-purpose flour.
When baking with a gluten-free flour mix, it is important to use a gluten-free blend specifically designed for baking. Regular all-purpose flour contains gluten, which can cause a number of health issues, including digestive problems, for those with gluten sensitivities. A gluten-free flour mix is made from naturally gluten-free ingredients like rice flour, potato starch, tapioca starch, and sorghum flour.
These flours can be mixed together in different combinations to get the desired texture and flavor for whatever you are baking. Gluten-free flour mixes are widely available at most grocery stores and health food stores, and can also be made at home. When using a gluten-free flour mix, it is important to follow any specific instructions on the package. Gluten-free flours do not bind and behave in the same way as wheat flour, so you may need to adjust the recipe slightly. For example, you may need to add more liquid or fat than the recipe calls for to help bind the ingredients together. Additionally, gluten-free flours are typically not as absorbent as wheat flour, so you may need to reduce the amount of liquid used in the recipe to prevent it from becoming too wet. Using a gluten-free flour mix when baking can help ensure that your recipes are safe for those with gluten sensitivities. By following the instructions on your package of gluten-free flour mix and making any necessary recipe adjustments, you can ensure that your baked goods turn out delicious every time.
See also: Sweet Bread In Bread Machine With Active Starter
Use a high-quality yeast that is specifically marked gluten-free.
Using a high-quality gluten-free yeast is essential for making gluten-free bread, pastries, and other baked goods. Gluten-free yeast is a special type of yeast that has been specifically designed to be safe for those who must avoid gluten in their diet. It is important to check the label to make sure that the yeast is specifically marked gluten-free, as this ensures that it has been produced in a facility that does not handle wheat, rye, or barley, which all contain gluten.
High-quality gluten-free yeast will provide the same flavor and texture as regular yeast, and will not affect the taste or texture of the finished product. The use of high-quality gluten-free yeast will ensure that those with dietary restrictions can enjoy delicious, gluten-free baked goods.
See also: Can I Bake Real Sour Dough In A Bread Machine
Use warm water to activate the yeast and help the dough rise.
Warm water is a key ingredient when using yeast to make dough rise. Yeast is a living organism and needs the right environment in order to thrive and activate. When activating yeast it is important to use lukewarm water that is not too hot or too cold.
The ideal temperature for activating yeast is between 95°F and 115°F. Too hot of water can kill the yeast, while too cold of water will not activate it. When adding the water to the yeast, it should be gently stirred together until it is fully dissolved into the water. Once the yeast has been activated, it can be added to the other ingredients in the dough to help it rise. By using warm water to activate the yeast, it can help to create a light and fluffy dough that will result in a delicious end product.
See also: Co Vert Hread Mix To Make In Bread Machine
Use oil or butter to add flavor and keep the bread from becoming dry and crumbly.
Adding oil or butter to bread can help improve flavor and prevent it from drying out or becoming crumbly. Oil is an excellent choice for adding flavor as it can be flavored with herbs and spices, or even infused with citrus or garlic. Butter is also a great option as it adds a rich, creamy flavor to bread.
When adding oil or butter, it is important to use just enough to lightly coat the dough, as too much can cause the bread to become heavy and dense. When the dough has been lightly coated, it should be kneaded for several minutes in order for the oil or butter to be evenly distributed. Once the dough is kneaded, it can then be left to rise and bake as desired. By adding oil or butter to bread, it will not only add flavor but also help keep the bread from becoming dry and crumbly.
See also: How To Make Pita Bread Dough In Bread Machine
If you want a softer and more moist loaf, add in extra liquid such as milk, yogurt, or apple juice.
For a softer and more moist loaf, adding extra liquid can be a great way to achieve a delicious result. Milk, yogurt, and apple juice are all great options that can be added to the dough mixture. Milk or yogurt will add protein and fat, making the loaf more moist and tender.
Apple juice will provide sweetness, as well as moisture. The amount of extra liquid needed will depend on the type of dough being used, but typically about 1/4 cup of liquid should be enough. Adding too much liquid can make for a very dense or gummy loaf, so it is important to add just the right amount. If desired, the extra liquid can be replaced with melted butter or oil for a richer flavor. With a little experimentation and careful measuring, adding extra liquid is an easy way to make your loaf more moist and flavorful.
Make sure your ingredients are at room temperature before adding them to the bread machine.
When baking bread in a bread machine, it is important to make sure that all of your ingredients are at room temperature before adding them to the machine. This is because a bread machine works best with ingredients that are at a consistent temperature. If the ingredients are too cold, they will not mix properly and will not provide the same quality of results.
Room temperature ingredients help the bread machine mix the dough evenly and thoroughly, resulting in a loaf of bread that is light, fluffy, and full of flavor. Additionally, room temperature butter is easier to incorporate into the dough, creating a smooth and consistent texture. For best results, take the butter, eggs, and milk out of the refrigerator approximately 30-60 minutes before starting the bread machine so that they can reach room temperature. This extra step will help ensure that you get a perfectly made loaf of bread every time.
Use a light hand when kneading the dough to avoid overworking it.
Kneading dough is an important step in baking, as it helps to develop the gluten molecules that will give the dough a chewy texture. To knead dough correctly, it is important to use a light hand. Overworking the dough can cause it to become too tough, resulting in a dry and dense final product.
To knead correctly, press down on the dough with your hands and fold it over onto itself. Repeat this process for around 5 minutes or until the dough is soft and smooth. Make sure not to press too hard or to knead for too long, as this can cause the gluten molecules to become too strong and result in a tough end product. Be gentle and patient when kneading, as it will ensure the perfect texture for your baked goods.
Let your gluten-free bread cool before slicing, as it will continue to bake and set up as it cools.
It is important to let your gluten-free bread cool before slicing it. If you cut into it right away, the inside of the bread may still be uncooked and the texture will not be ideal. The bread will continue to bake and set up as it cools, so it is best to wait until it has cooled completely before cutting into it.
To ensure that your gluten-free bread is cooked all the way through, you can use a thermometer to check for an internal temperature of at least 190°F. Once the bread has cooled, you can then slice it and enjoy the delicious homemade loaf!


