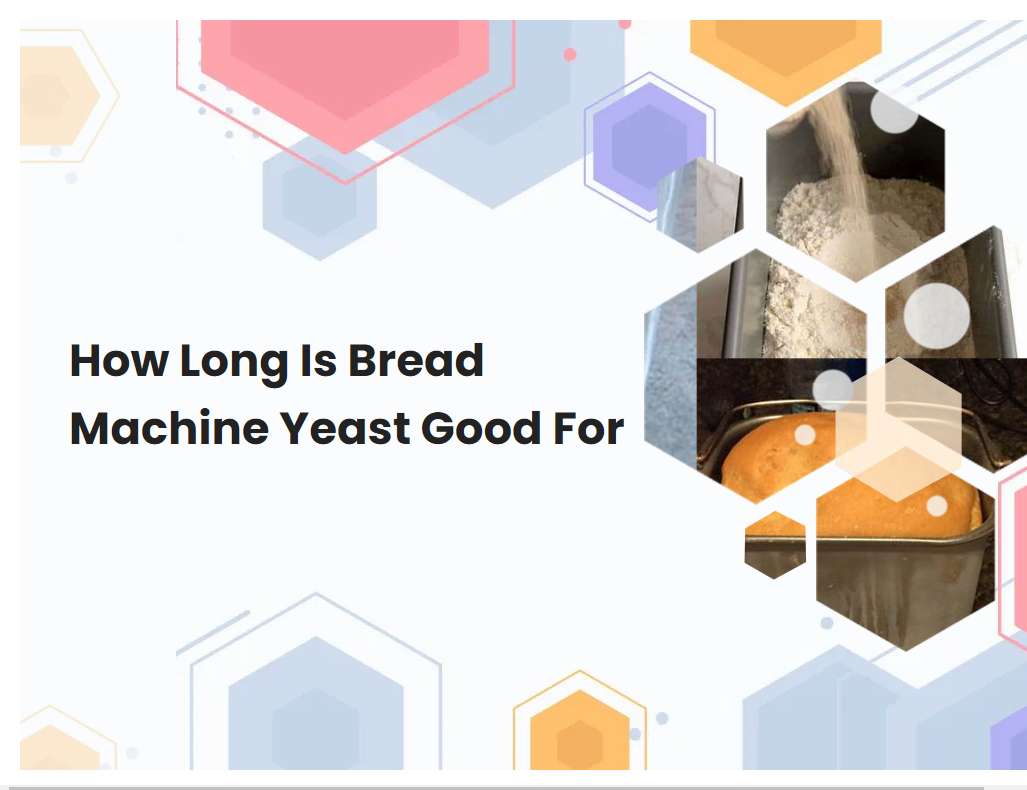
How Long Is Bread Machine Yeast Good For
Bread machine yeast is an important ingredient for making delicious homemade bread. It is a type of active dry yeast that is specially formulated for use with bread machines. Properly stored, bread machine yeast can last up to two years, making it an ideal ingredient to have on hand for baking homemade bread.
Bread machine yeast should be stored in a cool, dry place and used within 6 to 8 months of purchase.
Bread machine yeast is a specialized type of yeast designed specifically for use in bread machines. It is important to store it correctly in order to ensure it will remain effective and usable. Bread machine yeast should be kept in a cool, dry place, such as a pantry or cupboard, and away from moisture and direct sunlight.
The optimal temperature range is between 40 and 80 degrees Fahrenheit. It should also be stored in an airtight container to prevent it from absorbing moisture and other contaminants. Bread machine yeast should be used within 6 to 8 months of purchase, as this is when it will be at its most active and effective. After this time, the yeast will start to lose its potency and may not be as effective when baking. Taking these simple steps will help ensure that your bread machine yeast remains fresh and viable for as long as possible, so you can enjoy perfect homemade bread every time.
Bread machine yeast should be kept away from direct sunlight, heat, and moisture.
Bread machine yeast should be stored in a cool, dry place away from direct sunlight. It is important to keep the yeast away from any heat sources, as this can cause the yeast to become inactive and its rising properties to be compromised. Additionally, it is important to keep the yeast away from moisture, as yeast is a living organism that can be killed off by too much water.
To ensure its freshness, it is best to store the yeast in an airtight container in a cool, dry place. Yeast should be checked before use to ensure that it is still active, as past its expiration date the yeast will not be able to rise dough properly.
See also: Rustic Brown Bread Mix For Bread Machine
Always check the expiration date on the package before using bread machine yeast.
It is important to always check the expiration date on packages of bread machine yeast before using it. Yeast is a living organism, so it can become inactive over time. If the expiration date has passed, the yeast will be dead, and will not work to leaven bread dough.
When purchasing bread machine yeast, look for a package with a long expiration date, and make sure to check the expiration date before actually using it. After opening the package, store it in an airtight container in the refrigerator or freezer for best results. If you are unsure about the expiration date on your package of yeast, it is best to not use it and purchase a new package instead.
See also: Make Spelt Flour Loaf In Bread Machine
Bread machine yeast should be proofed before using to ensure it is still active.
Bread machine yeast is a type of yeast specifically designed to work in a bread machine, as it is able to tolerate the longer rising times and higher temperatures often required for bread machine recipes. Before using bread machine yeast, it should be proofed in order to ensure that the yeast is still active and healthy. To proof the yeast, mix it with warm water and a small amount of sugar and let it stand for 5-10 minutes.
Once the mixture begins to foam, the yeast is active and ready to use. If the mixture does not foam, then the yeast is no longer active and should be discarded. Proofing bread machine yeast is a simple but important step that will help to ensure that your bread turns out perfectly every time.
See also: Why Bread Falls After Baking Bread Machine
When using bread machine yeast, the amount of yeast needed may vary depending on the recipe and type of flour used.
When using bread machine yeast, it is important to consider the type of recipe and type of flour being used. Bread machine yeast is a special type of yeast that is specifically adapted for use in bread machines, and it has a lower proofing temperature than regular active dry yeast. The amount of bread machine yeast needed for a given recipe may be different than the amount of active dry yeast, as the two types of yeast have different characteristics.
For recipes that require a shorter rising time, such as quick breads or sandwich breads, less yeast may be needed, while recipes that require a longer rising time, such as traditional French breads, may require more yeast. Additionally, the type of flour used may also affect the amount of yeast needed. For instance, whole grain flours tend to absorb more water than white flour, so more yeast may be needed when using whole grain flour. It is important to check the recipe and follow the recommended amount of yeast for best results.
See also: Gluten Free Olive Bread For Bread Machine
Be sure to follow the recipe instructions for proofing and adding the yeast to the dough.
Proofing the yeast is an essential part of the recipe. To proof the yeast, dissolve it in warm water (110°F-115°F) and a pinch of sugar. Let the mixture rest for 5-10 minutes, until it becomes foamy and bubbly.
If the mixture does not foam up, the yeast may be inactive and should be replaced. Once proofed, add the yeast to the dough, mixing it thoroughly before proceeding with the recipe. If adding to a dry dough, mix in the yeast after the wet ingredients have been combined. If adding to a wet dough, mix in the yeast after the dry ingredients have been incorporated. Mix the dough until it is smooth and free of lumps. Allow the dough to rise according to the recipe instructions before baking.
See also: Can I Use Regular Milk In A Bread Machine
Yeast should never be exposed to boiling or hot liquids as this can kill it.
Yeast is an essential ingredient in baking, as it acts as a leavening agent, enabling dough to rise. Yeast is a living organism, and therefore should never be exposed to boiling or hot liquids. If heated to a temperature of more than 120°F (49°C), the yeast will die, resulting in baked goods that are dense and heavy instead of light and fluffy.
In order to ensure that yeast remains viable, it should always be added to liquids at room temperature or slightly warmer. If necessary, the liquid can be warmed up to 100110°F (3843°C). Before adding the yeast to the liquid, it is important to check the temperature of the liquid with a thermometer or by testing it on your wrist. If it feels too hot, allow the liquid to cool further until it is at a safe temperature for the yeast.
Yeast should only be added after all other ingredients have been mixed together.
Yeast is an essential ingredient in many baked goods, from breads and cakes to muffins and cookies. For the best results, it is important to add the yeast at the right time in the baking process. For most recipes, it is best to add the yeast after all of the other ingredients have been combined.
This allows the yeast to properly activate and begin its leavening process. Adding yeast too early can cause the dough to become overly wet and sticky, resulting in a dense and heavy final product. Additionally, allowing the other ingredients to blend together first helps to evenly distribute the yeast throughout the dough. Following these steps will help ensure that your baked goods turn out light, fluffy, and full of flavor.
Bread machine yeast should not be mixed with sugar, salt or other ingredients when added to the recipe.
Bread machine yeast should be added to the recipe separately from any other ingredients, such as sugar and salt. When adding bread machine yeast, it is important to not mix it with other ingredients as it can cause the yeast to become inactive. It is recommended to add the yeast directly to the dry ingredients in the recipe, such as the flour and any other dry herbs or grains.
If you are using a bread machine, the yeast should be placed in the pan first, followed by the other ingredients. This will ensure that the yeast is not affected by any of the other ingredients, and can activate properly. Once all of the ingredients are added, it is important to mix them together thoroughly to make sure that they are evenly distributed. For best results, it is also recommended to let the dough rest for 15 minutes before baking. This will give the yeast time to begin activating and produce carbon dioxide, which will create a light and airy texture in the finished product.
Once the dough is prepared, it should be covered and allowed to rise in a warm, draft-free environment until doubled in size.
The dough should be covered with a damp cloth or plastic wrap to keep it from drying out. It should then be placed in a warm, draft-free environment to rise. This can be done by preheating the oven for a few minutes and then turning it off and placing the bowl containing the dough inside.
The oven should not be left on, as this can cause the dough to over-rise or burn. The dough should be left to rise until it has doubled in size. This can take anywhere from 1-2 hours. It is important to ensure that the temperature of the environment is not too hot, as this can stop the dough from rising. Once the dough has doubled in size, it is ready to use.


