Order Of Placing Ingredients In Bread Machine
Making bread in a bread machine is an easy, fool-proof way to make delicious homemade bread. It is a great way to make bread quickly and easily, with minimal mess or effort. All you need to do is measure out the ingredients, add them to the bread machine in the correct order, and turn it on.
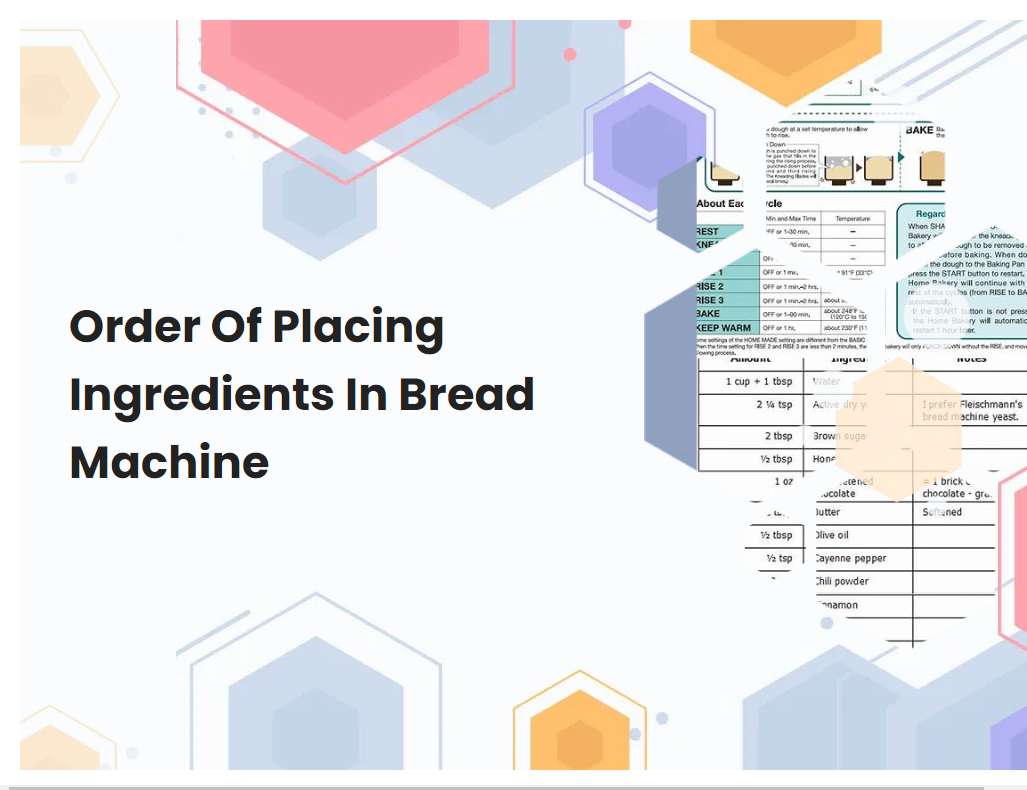
Read the bread machine instructions manual for specific instructions on how to use the machine.
Using a bread machine is a great way to make delicious homemade bread. Before you start, it is important to read the instructions manual that comes with your bread machine. The instructions manual will provide you with all the information you need to use the machine correctly and safely.
First, it is important to understand the different parts of the machine, such as the kneading blade, measuring cup, and timer. Next, you should measure out the ingredients according to the recipe you are using and add them to the bread machine in the order specified in the instructions manual. Once the ingredients are added, set the machine to the desired cycle and press start. During the cycle, you may need to add additional ingredients, such as butter or milk, at some point in the process. After the cycle is complete, carefully remove the kneading blade and turn out your freshly baked loaf of bread. Enjoy!
Measure out the ingredients accurately according to the recipe you're following.
Accurately measuring out the ingredients according to a recipe is a key step to ensure your dish will turn out as expected. Measuring out the ingredients accurately helps to ensure that the proportions of each ingredient are correct and that the flavors will blend together properly. When measuring out ingredients, it's important to use the proper type of measuring tool for each ingredient.
For example, measuring spoons should be used for measuring dry ingredients such as spices, while liquid ingredients such as oil or milk should be measured with a liquid measuring cup. Additionally, it's important to always measure ingredients by weight or volume, not by number of items. For instance, if a recipe calls for 2 tablespoons of sugar, it's important to measure out 2 tablespoons of sugar and not two sugar cubes. Once all of the ingredients have been measured correctly and added to the recipe, you can be sure that your dish will turn out as expected.
See also: Www Preparedpantry Com Blog Using Bread Machine Mixes Oven
Start by adding liquids to the bread machine's pan, such as water or milk.
When adding liquids to a bread machine's pan, it is important to use the right kind of liquid and measure it accurately. The most common liquids used in bread machines are water and milk, as these provide essential moisture needed for the dough to rise. When adding liquid ingredients to the machine, always make sure to measure accurately and use the type of liquid specified in the recipe.
For example, if the recipe calls for water, do not use milk, and if the recipe calls for skim milk, do not use whole milk. It is also important to add the liquid ingredients first, before adding any other ingredients. This ensures that all of the ingredients are properly combined and that the dough will rise properly.
See also: When To Add Rainsins In Bread Machine
Add dry ingredients such as flour, yeast, sugar, and salt.
When it comes to dry ingredients for baking, there are four main ingredients that are essential for all recipes: flour, yeast, sugar, and salt. Flour is the most important ingredient in baking as it provides structure and texture to the final product. Yeast is a type of fungus which is used to help with leavening and creating a light texture.
Sugar is added to provide sweetness to the recipe. Lastly, salt is added to balance out the sweetness of the sugar and bring out the other flavors of the baking recipe. When adding dry ingredients, it is important to sift the flour to remove any lumps and combine all of the ingredients together before adding any liquids. Additionally, it is important to measure out all ingredients accurately to ensure that the ratios are correct. By taking these steps when measuring out dry ingredients, you will be sure to have a successful and delicious baking experience.
See also: Why Wont Bread Raise In Bread Machine
Place butter or oil next.
Butter or oil can be used to add flavor, moisture, and texture to a dish. Butter is a dairy product made from cow's milk, while oil is a vegetable product typically extracted from plants. Both butter and oil are used in cooking to help enhance the flavor and texture of food.
Butter is often used to sauté or fry foods, as it has a higher smoke point than many oils, making it an ideal choice for high-temperature cooking. Oil can also be used to sauté or fry foods, and it has a lower smoke point than butter, so it is better suited for lower-temperature applications. Additionally, oil can be used as a finishing ingredient to add flavor and texture to salads and other dishes, while butter is more often used as a spread or to add richness to dishes. Whether you choose butter or oil depends on the type of dish you are preparing and the desired flavor profile.
See also: Bread Machine Yeast Vs Active Dry Yeast
Add any mix-ins such as nuts, dried fruit or seeds.
Mix-ins are a great way to add flavor and texture to any type of dish. Nuts such as almonds, walnuts, and pecans are a popular mix-in option as they provide a crunchy texture and can be used to add a hint of sweetness to dishes. Dried fruits such as raisins and cranberries are a great way to add a hint of sweetness and provide a chewy texture.
Seeds such as sunflower and pumpkin seeds are also a popular addition to dishes as they add flavor, texture, and some healthy fats. Mix-ins can be added to dishes such as salads, oatmeal, yogurt, and smoothies. They can also be used as toppings for baked goods such as muffins, cookies, and cakes. Mix-ins are a great way to customize your dishes and add some extra flavor and texture.
See also: A Home Bread Machine With A Stainless Steel
Select the bread cycle and crust color setting, if applicable.
The bread cycle and crust color setting are important for achieving the desired result. Depending on the type of bread being made, the bread cycle and crust color setting will vary. For a basic white loaf, a standard cycle with a light golden-brown crust is recommended.
For a whole wheat loaf, a whole wheat cycle with a darker brown crust is recommended. For a French bread, a French bread cycle with a deep golden-brown crust is recommended. Additionally, some bread machines allow users to customize the cycle and crust color settings, allowing them to achieve the exact desired result. Customizing the cycle and crust color settings can be especially helpful when making specialty breads such as sourdough or focaccia, as these require more precise temperature and time settings in order to achieve the desired texture and flavor. By adjusting the cycle and crust color settings, bakers can ensure that their bread turns out exactly as they had hoped.
Push the start button to begin the baking cycle.
Pushing the start button initiates the baking cycle. Depending on the oven model, the user might be prompted to enter the baking temperature and time, or the oven will automatically begin preheating at a preset temperature. A timer will start counting down the time to completion of the baking cycle.
During the cycle, the oven will heat up to the selected temperature and remain there until the timer reaches zero. At this point, the oven will automatically shut off and alert the user that their food is ready to be removed.
Check on the bread periodically to ensure it is baking properly.
It is important to check on the bread periodically while it is baking to ensure it is baking properly. The oven should be preheated to the specified temperature before the bread is placed in the oven. Once in the oven, it is a good idea to check on the bread every 10 minutes or so.
This will allow you to observe the progress of the baking process and make any necessary adjustments. If the oven is too hot, the bread may brown too quickly and burn, while if the oven is too cool, the bread may not cook through properly. Additionally, if the bread is cooking unevenly, you can rotate it in the oven for more even baking. Be sure to use an oven thermometer to ensure the oven temperature is accurate. Finally, when the bread is finished baking, use a toothpick or knife to test for doneness. If the toothpick or knife comes out clean, the bread is done.
When the cycle is complete, remove the bread from the machine and allow it to cool before cutting and serving.
Once the bread machine has completed its cycle, it's time to remove the bread from the machine. To do this, carefully lift the bread pan from the machine and turn it upside down onto a cooling rack or cutting board. Be sure to wear oven mitts, as the bread pan and bread itself can be very hot.
Let the bread cool for approximately 30 minutes before cutting and serving. This ensures that all the flavors have had time to fully develop, and that the bread is cool enough to handle safely. Once cooled, use a sharp knife to cut the bread into slices and enjoy.


