Instructions For Making Bread In A Bread Machine
Making bread in a bread machine is an easy and convenient way to achieve delicious homemade bread. The bread machine will do the work for you once you have gathered the necessary ingredients and added them to the machine in the correct order. With a few simple steps, you can be on your way to enjoying freshly made bread that you can enjoy with any meal.
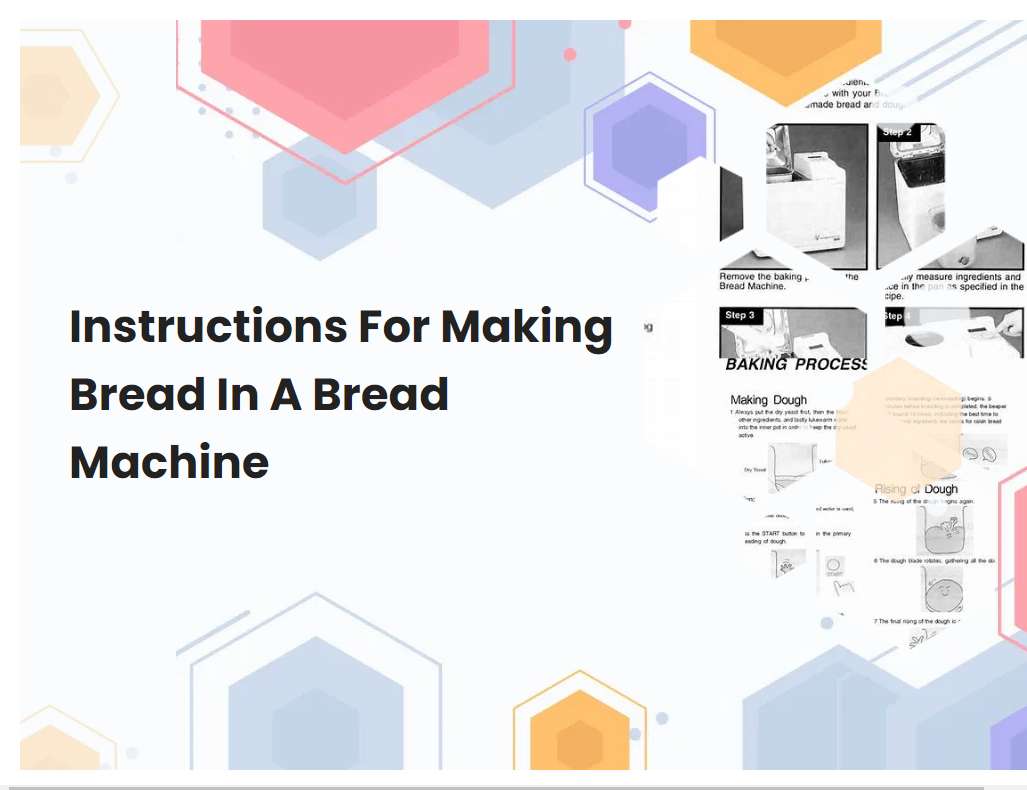
Read the manufacturer's instructions for your specific model of bread machine.
The manufacturer's instructions for my specific model of bread machine are comprehensive and easy to follow. First, all ingredients should be measured accurately and placed in the bread pan in the order listed in the instruction manual. Next, the bread pan should be gently inserted into the bread machine, making sure that it is locked securely into place.
The lid should then be closed and the desired settings should be selected on the control panel. Once all of the settings have been chosen, the "Start/Stop" button should be pressed to begin the bread-making process. During the process, the kneading blade should be checked periodically to ensure that it is spinning properly and that it is not clogged with dough. The time remaining until completion will be displayed on the LCD screen. Lastly, when the baking cycle is complete, the "Start/Stop" button should be pressed again to turn off the machine and the bread should be removed immediately from the bread pan to prevent over-baking.
Measure the ingredients accurately.
Measuring ingredients accurately is an essential step in any recipe. Precise measurements ensure that the dish will turn out as intended and will have the desired flavor profile. When measuring, use a measuring cup or spoon that is appropriate for the ingredient and quantity.
For example, when measuring a small quantity of an ingredient such as spices, a teaspoon should be used. For larger amounts, such as flour or sugar, a measuring cup should be used. Additionally, when measuring ingredients like flour, lightly spoon it into the measuring cup instead of scooping it out of the container to get an accurate measurement. Finally, it is important to level off the measurement with a knife or straight edge when necessary. Accurately measuring ingredients allows you to replicate the intended flavor profile and texture of the dish and is essential for a great finished product.
See also: How To Make Pizza Dough Using Bread Machine
Place the ingredients into the machine in the correct order.
When making a smoothie in a blender it is important to add the ingredients in the correct order. To begin, add any type of liquid such as water, juice, or milk to the blender. This will help blend the other ingredients and give your smoothie a smooth texture.
Next, add any fruits or vegetables you are using to the blender, followed by any type of yogurt or other dairy products. If you are using ice, add it now as well. Finally, add any protein powders or supplements you are using, then secure the lid on your blender and blend the ingredients until they are completely mixed together. Once blended, your smoothie is ready to enjoy.
See also: Bread Machine Tips For Lighter Higher Loaves
Adjust the settings for the type of bread you are making.
When making bread, it is important to adjust the settings for the type of bread you are making. Depending on the style of bread, the settings can vary greatly. For instance, if you are making a basic white bread, you will want to use the basic bread setting on the bread machine.
This setting will use a medium kneading cycle and a medium rising cycle. The temperature should be set at the medium setting, and the crust should be set to light. If you are making a more complex type of bread such as a French loaf or a sourdough, you will want to use a longer kneading cycle and a longer rising cycle. You may also want to adjust the temperature up or down according to the recipe. Additionally, you may need to adjust the crust setting to dark or light depending on the recipe. By adjusting the settings for the type of bread you are making, you will ensure that your bread turns out just right.
See also: Bread Mix Instructions For Bread Machine Panasonic
Choose the cycle that best suits what you are making.
If I am making a cake, the best cycle to use would be the Mix cycle. This cycle is designed for mixing ingredients together for cakes, breads, and other batters. It will start with a low-speed setting to combine the wet ingredients, then move onto a higher speed to mix in the dry ingredients.
The cycle will then transition to a higher speed for a few minutes to ensure a thorough mix. This cycle is ideal for creating a homogenous batter that will bake evenly in the oven. Additionally, its timed settings can be adjusted to fit the specific recipe and desired texture of the finished product.
See also: How To Clean A Bread Machine For Gluten Free Bread
Allow the machine to run until it beeps or signals that it is done.
When a machine is done running, it will usually beep or signal that it is complete. This usually happens when the machine has finished its task or when it needs additional input from the user. Depending on the type of machine, the beep or signal may vary and can range from a short beep or a light flashing to a more noticeable noise or signal.
It is important to pay attention to the signal given and ensure that all instructions are followed as necessary. Once the machine has beeped or signaled that it is done, it is safe to turn it off and the task should be completed.
See also: How To Repair A Bread Machine Paddle
Check for doneness by using a toothpick or cake tester.
Checking for doneness is an important part of baking. The easiest way to check if a cake or other baked good is done is to use a toothpick or cake tester. Insert the tester into the center of the cake and remove it.
If the tester is dry, with no wet batter clinging to it, then the cake is done. If wet batter clings to it, the cake needs more baking time. It is also important to check multiple spots in the cake as different parts of the cake may cook at slightly different rates. The toothpick or cake tester should come out clean when the cake is done. If you do not have a toothpick or cake tester, you can also use a knife to check for doneness. This method is less reliable, however, so it is best to use a tester to make sure the cake is done.
Let the bread cool completely before slicing or storing it.
It is important to let the bread cool completely before slicing or storing it. Allowing the bread to cool not only helps maintain the structure of the bread, but also prevents it from becoming soggy. Hot bread can steam and cause the bread to become soft and unappetizing.
To ensure that the bread retains its texture and flavor, it must be allowed to cool completely. Cooling the bread can take anywhere from 30 minutes to an hour, depending on the size and ingredients of the bread. It is best to let the bread cool on a wire rack so that air can circulate around it evenly and help it cool more quickly. Once the bread is cool enough to touch, it can then be sliced or stored. When slicing the bread, use a sharp serrated knife so that you don't smash the loaf. If you are storing the bread, make sure it is completely cooled before wrapping it in plastic wrap or placing it in a bag. Storing warm bread can lead to mold growth and spoilage.
Grease the pan before adding ingredients to avoid sticking.
Greasing a pan before adding ingredients is an important step in avoiding sticking. Start by lightly coating the entire surface of the pan with cooking oil or nonstick cooking spray. Using a paper towel or brush, spread the oil evenly over the entire surface, including the sides.
Once the pan is greased, it is ready for the ingredients to be added. Greasing the pan will help prevent food from sticking and make cleanup easier. It is also important to use enough oil to ensure that everything cooks evenly and nothing burns. When finished cooking, the pan can be wiped down with a damp cloth or paper towel to remove any excess oil. Greasing a pan before adding ingredients is a simple and effective way to ensure that food doesn't stick and that cleanup is quick and easy.
Clean and maintain your machine according to the manufacturer's instructions.
It is essential to keep your machine clean and maintained to ensure its longevity and optimal performance. Before cleaning and maintenance, always make sure to consult the manufacturer's instructions for the best practices. Depending on the type of machine, the instructions may vary.
For example, some may require regular lubrication or a specific cleaning agent to be used. Additionally, when cleaning and maintaining, it is important to make sure all components are properly assembled, and that any debris or dust is removed from the surface and internal parts. If necessary, any worn or damaged parts should also be replaced. In addition to this, checking the machine regularly for any signs of wear or damage is recommended. This could help prevent any potential problems from arising in the future. Finally, never attempt to service or repair the machine without the proper knowledge or equipment. It is always best to leave this to a qualified technician who has the experience and expertise. Following these basic steps can help you keep your machine in good condition for years to come.


