Whost Bread Machine Recipesat Kind Yeast In M
Bread machines are a great way to make delicious homemade bread with minimal effort. Not only are they convenient and easy to use, but they also provide the perfect environment to experiment with different types of yeast. In this article, we will explore the different kinds of yeast that can be used in a bread machine, as well as provide some delicious bread machine recipes.
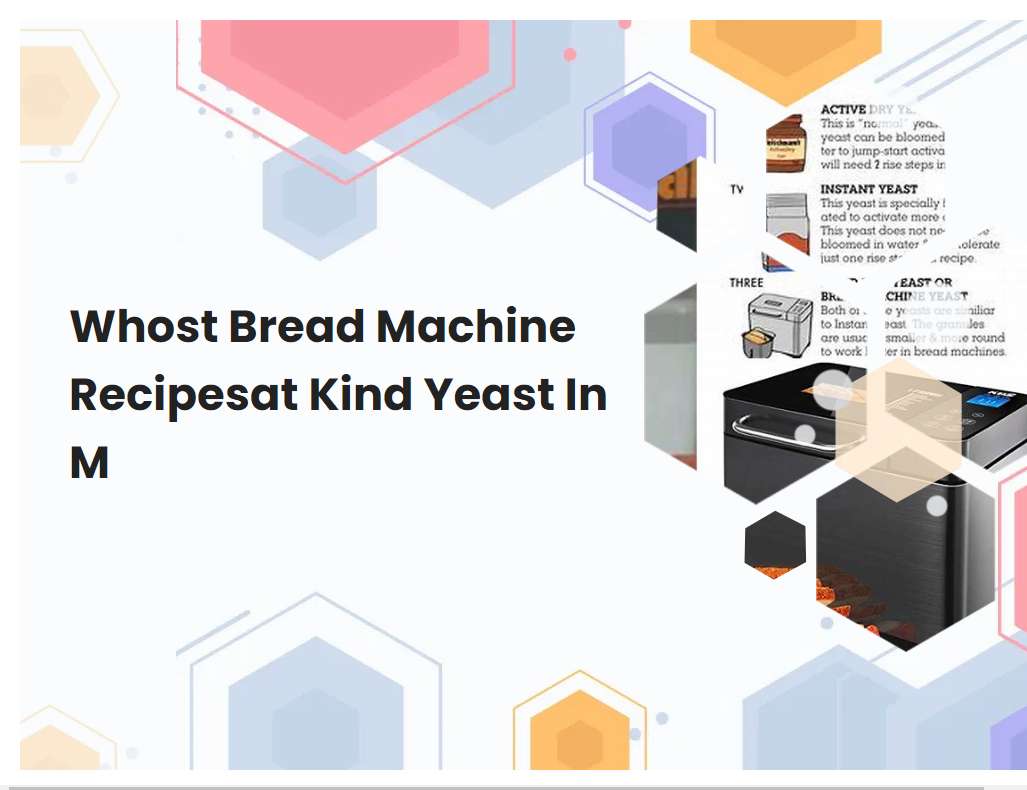
Different types of yeast Depending on the recipe, different types of yeast may be required. Common types include active dry yeast, rapid-rise yeast, instant yeast, and bread machine yeast.
Yeast is an essential ingredient in many recipes, from breads and cakes to pizza dough and beer. There are several different types of yeast available, each of which is best suited to a specific recipe and purpose. Active dry yeast is the most common type of yeast used in home baking and brewing.
It's sold in granular form and requires rehydration before use. Rapid-rise yeast is a highly active form of yeast that works quickly and is often used in bread-making machines. Instant yeast is similar to rapid-rise yeast but is even faster-acting and can be added directly to the dry ingredients. Finally, bread machine yeast is a special type of instant yeast formulated specifically for use in bread machines. Each type of yeast works differently, so it's important to choose the right one for your recipe to ensure that you get the best possible results.
Room temperature Before using the yeast, check that the ingredients are at room temperature.
When using yeast in any recipe, it is important to check that all of the ingredients are at room temperature. Yeast will not function properly if the ingredients are too cold and can cause the dough to not rise properly. Cold ingredients can also cause the yeast to be killed off, resulting in a flat and dense dough.
To ensure that the yeast is active and working correctly, it is best to use ingredients that are at room temperature. Room temperature ingredients should be between 70-80°F, and can be brought to this temperature by leaving out on the counter for a few hours or by microwaving for a few seconds. Once you have confirmed that all of the ingredients are at room temperature, you can move onto the next step in your recipe.
See also: Order Of Ingredients In Zojirushi Bread Machine
Liquid temperature Before adding the yeast to the other ingredients, make sure the liquid ingredients are warm but not hot to the touch (105-115°F).
When making bread, it is important to make sure the liquid ingredients, such as water and milk, are at the right temperature before adding the yeast. The liquid should be warm but not hot to the touch, at a temperature of 105-115°F. If the liquid is too hot, it will kill the yeast and prevent the bread from rising.
If the liquid is too cold, the yeast will not be activated and will not cause the dough to rise. Therefore, it is essential to make sure the liquid ingredients are at the right temperature before adding the yeast to ensure a successful loaf of bread.
See also: Big Sky Cracked Wheat Bread Machine Mix Vegan
Proofing the yeast If needed, you can proof the yeast by combining it with the warm liquid and a teaspoon of sugar. Let it sit for 10 minutes until it is foamy.
Proofing the yeast is a way to ensure that the yeast is still active and ready to be used in baking. To proof yeast, you can combine it with warm liquid, such as water or milk, and a teaspoon of sugar. Let it sit for 10 minutes until it starts to foam.
This indicates that the yeast is alive and active and can be used in your recipe. If the yeast does not foam, it is likely that it has gone bad and needs to be replaced. Proofing the yeast is a simple process that helps guarantee the success of your baked goods.
See also: Can You Makr German Black Bread In A Bread Machine
Kneading the dough Depending on the recipe, you may need to knead the dough by hand or with a machine.
Kneading dough is an important step in bread-making, as it helps to develop the gluten that gives bread its texture. Kneading helps to evenly distribute the ingredients, and also helps to make the dough more pliable and easier to work with. Hand-kneading is usually done on a flat surface, such as a countertop or cutting board.
The dough should be lightly dusted with flour before kneading. Begin by pressing down into the dough with the heel of your hands and then pushing away from you. Fold the dough in half and repeat the process. Some recipes may call for kneading the dough for a specific amount of time or number of repetitions. Alternatively, kneading can also be done with a machine. Stand mixers are commonly used for this purpose, as they are able to help knead the dough with less effort. Place the ingredients in the bowl of the mixer and use the kneading' setting to help evenly combine all of the ingredients for a few minutes. The kneading time will vary depending on the recipe, but it is usually between 3-5 minutes. The dough should feel soft and elastic when it is ready to be shaped.
See also: Using Honey Instead Of Sugar In Bread Machine
Rising time Make sure to give the dough enough time to rise before baking.
Rising time is an important step in baking bread. It is the period of time required for the dough to expand due to the activity of the yeast in the dough. During this time, the dough will significantly increase in size and become light, fluffy, and full of flavor.
This process releases gas bubbles, giving the bread its characteristic texture and flavor. Rising time varies depending on the type of dough, temperature, humidity, and other factors. Generally, bread dough should be given ample time to rise, typically around 1-2 hours at room temperature. However, this time can vary greatly depending on the recipe and the environment. If the dough is rising too quickly or slowly, it is best to adjust the temperature, humidity, or other factors to ensure a successful rise. If a recipe does not specify a rising time, it is best to err on the side of caution and allow for an extra hour or two of rising. Doing so will ensure that the bread is light and fluffy and has a full flavor.
See also: Bread Machine French Bread All Purpose Flour
Punching down the dough After rising, you may need to punch down the dough to remove air bubbles and redistribute the yeast.
Punching down the dough is an important step in the bread-making process. After the dough has risen, it is important to remove any air bubbles and redistribute the yeast. This can be done by pressing the dough down with your fists.
You should take care not to deflate the dough too much, as this can cause the bread to be dense and heavy. Once the air bubbles are removed and the yeast is redistributed, the dough should be kneaded again to form a smooth texture. Punching down the dough also helps to strengthen the gluten network, which is necessary for proper rising and texture. If done properly, punching down the dough can lead to a light, airy loaf of bread that is full of flavor.
Baking temperature Make sure your oven is preheated to the correct temperature before baking your bread.
Baking temperature is an essential factor in baking bread. It is important to make sure your oven is preheated to the correct temperature before baking your bread. If the oven is not preheated to the right temperature, your bread could turn out either too dry or too doughy.
For most types of bread, the optimum baking temperature is between 350°F and 375°F. If you are baking a specialty bread, like a sourdough, the temperature may vary. Make sure to double check the recipe for the suggested temperature. Once you have preheated your oven, use an oven thermometer to double check the temperature. This will ensure your bread is cooked evenly and to perfection!
Checking for doneness To check for doneness, insert a toothpick into the center of the loaf and see if it comes out clean.
To check if a loaf is fully cooked, insert a toothpick into the center of the loaf. If the toothpick comes out clean, with no wet dough or crumbs on it, then the bread has finished baking and is done. If there are wet dough or crumbs on the toothpick, then the loaf needs to bake for a few more minutes.
It is important to make sure that the bread is completely cooked before taking it out of the oven, as undercooked bread can be dense, gummy, and may not rise properly. Additionally, it is possible to overbake bread, which will result in a dry and hard texture. Therefore, it is best to use a toothpick to check for doneness in order to ensure that the bread is cooked to perfection.
Cooling time Allow your bread to cool before slicing or serving.
Cooling your bread is an important step before slicing or serving. It is important to let the bread cool before cutting it so that the dough is able to set and the crumb structure can become firm. This ensures that the slices will be even and neat.
Allowing the bread to cool also allows for the moisture that was released during baking to be reabsorbed into the bread, making it moister and more flavorful. Additionally, cooling your bread prevents it from crumbling when sliced, ensuring that it will be easier to eat and enjoy. Therefore, it is essential to give the bread enough time to cool before slicing or serving it. Depending on the size of your bread, cooling time can range from 10 minutes to an hour or more. If you want to be sure that your bread is completely cooled, you can check the internal temperature with a food thermometer. Once the internal temperature is below 180 degrees Fahrenheit, your bread is ready to be served or sliced.


