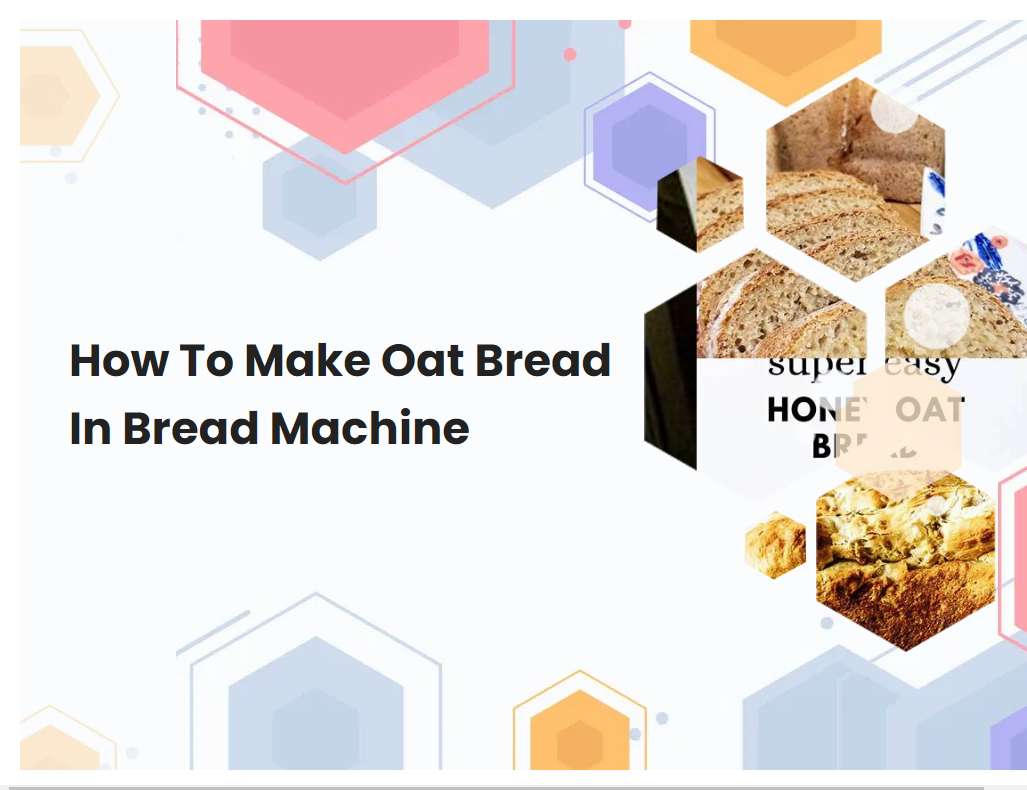
How To Make Oat Bread In Bread Machine
Baking bread in a bread machine is a convenient way to make delicious homemade bread. Oat bread is a hearty and wholesome option for those looking for a healthy alternative to white and wheat bread. Making oat bread in a bread machine is easy, and can be accomplished with the right ingredients and a few simple steps.
Gather all the ingredients: whole wheat flour, rolled oats, salt, active dry yeast, butter or oil, honey or sugar, and water.
To make your own homemade bread, you'll need a few basic ingredients. First, there's whole wheat flour, which provides structure and a nutty flavor to the bread. You'll also need some rolled oats, which add a subtle sweetness and texture to the bread.
To give the bread flavor and help it rise, you'll need a teaspoon of salt and a package of active dry yeast. For extra flavor and richness, you'll need either butter or oil, plus either honey or sugar. Finally, you'll need some warm water to help activate the yeast and bring everything together. Once you've gathered all the ingredients, you can mix them together and knead the dough until it's nice and smooth. Then simply let it rise, shape it into a loaf, and bake it in the oven until it's golden brown and delicious!
Measure out the ingredients according to your bread machine's instructions.
When measuring out ingredients for a bread machine, it is important to follow the instructions closely. Start by measuring out the dry ingredients in the order listed in the recipe: usually flour, sugar, salt, and yeast. Flour should be lightly spooned into a measuring cup and leveled off with a knife.
Sugar can be measured with a spoon or scooped into a dry measuring cup. Salt should also be measured with a spoon and added carefully, as too much can make the bread too salty. Yeast should be added last and should not come into contact with any of the other ingredients until after the dough has been mixed. Once all dry ingredients have been measured out, add the wet ingredients, such as oils and eggs, in the order listed in the recipe. If a recipe calls for other liquids such as milk, water, or beer, they should be added last. Once all ingredients have been measured out, add them to the bread machine according to the manufacturer's instructions.
See also: How Is Bread Machine Flour Different From Regular Flour
Place the ingredients in the order specified by your bread machine's instructions.
When preparing a bread machine recipe, the ingredients should first be added following the order specified by the bread machine's instructions. This is important as the order of ingredients affects how the dough is kneaded and risen. The typical order of ingredients is as follows: liquid ingredients such as water, milk, and eggs; dry ingredients such as flour and sugar; yeast; and any additional ingredients such as dried fruits or nuts.
The liquid ingredients should be added first, followed by the dry ingredients, then the yeast and any additional ingredients. By adding the ingredients in the correct order, it ensures that the dough is kneaded and risen properly for an optimal end result.
See also: King Arthur Flour Puzza Dough Bread Machine
Select the correct setting on your bread machine. For oat bread, use the "Whole Wheat" setting.
The "Whole Wheat" setting on a bread machine is ideal for baking oat bread. This setting will allow the bread machine to adjust the kneading, rising, and baking cycles to suit the specific needs of making oat bread. The whole wheat setting is designed to knead the dough more slowly, which will help to ensure that the oats are evenly distributed throughout the bread.
It will also help to ensure that the bread rises evenly, so that it will have a consistent texture throughout. The baking cycle will also be adjusted to accommodate the different baking requirements of oat bread. After the bread has finished baking, it will have a delicious, hearty texture and be full of flavorful, nutritious oats.
See also: Is Bread Machine Yeast The Same As Rapid Rise
Allow the bread machine to complete the baking cycle.
Once the bread machine has been set up with the dough ingredients, it will begin the baking cycle. First, the bread machine will mix the ingredients together and knead the dough. This process usually takes around 10 minutes.
After that, the dough will be allowed to rise. The bread machine will monitor the temperature of the dough and adjust the amount of time that the dough is allowed to rise accordingly. Once the dough is ready, the bread machine will shape and place the dough in a preheated oven. The bread machine will then bake the dough until it is golden brown and a toothpick can be inserted into it and come out clean. Finally, the bread machine will sound an alarm and shut off once the baking cycle is complete. The freshly baked loaf of bread can then be removed from the bread machine and enjoyed.
See also: Jellies In Bread Machine Without Lemon Juice
When the baking cycle is complete, immediately remove the oat bread from the pan and place it on a wire rack to cool.
Once the baking cycle is complete, it is important to remove the oat bread from the pan right away in order to prevent it from continuing to cook. To do this, use oven mitts to lift the pan and gently turn it upside down to release the loaf onto a wire rack. This will allow the oat bread to cool evenly and stop the cooking process.
Leaving the bread in the pan for too long can cause it to become soggy and not rise properly. Be sure to allow the oat bread to cool completely before slicing or serving. It is also important to clean the pan soon after removing the loaf in order to prevent any burning or sticking.
See also: Margarine Instead Of Butter For Bread Machine
Once cooled, slice and enjoy your freshly baked oat bread!
Once the oat bread has finished baking, it's time to enjoy the fruits of your labor. Let the bread cool slightly before slicing, as it will be too hot to enjoy right out of the oven. The oat bread should have a nice golden-brown crust and a soft, chewy interior.
Slice off a thick piece and spread some butter or jam on top for an extra delicious treat. With each bite, you'll get a hint of sweetness from the oats, as well as a nutty flavor and chewy texture. Enjoy your freshly baked oat bread with a cup of coffee or tea for a delicious breakfast or snack.
If desired, you can also freeze any leftover oat bread for future use.
Freezing leftover oat bread is an easy and convenient way to save it for future use. To freeze, wrap the bread tightly in plastic wrap or aluminum foil. This will help to prevent freezer burn and maintain the freshness of the bread.
If the bread is not tightly wrapped, then the moisture from the bread can escape and cause a decrease in quality. Place the wrapped bread in a freezer-safe container or bag, label it with the date, and freeze for up to 3 months. When ready to use, allow the oat bread to thaw overnight in the refrigerator before using. Oat bread can also be thawed at room temperature but is best when warmed in the oven or toaster before serving. Freezing oat bread is an excellent way to preserve leftovers and keep it delicious for future use.
Make sure to adjust the ingredients and settings if you plan to make a larger or smaller loaf of oat bread.
When making oat bread, it is important to adjust the ingredients and settings depending on the size of the loaf you are making. For example, if you are making a larger loaf of oat bread, you should increase the amount of ingredients, including oats, yeast, sugar, and salt. You should also adjust the settings on your oven or bread machine to accommodate the larger loaf.
For instance, you might need to increase the temperature or cooking time. Additionally, make sure to pay attention to the size of the pan you are using to bake the bread. A larger loaf of oat bread will require a larger pan in order to bake properly. By adjusting these ingredients and settings, you can ensure your larger loaf of oat bread comes out just right.
Always read and follow the instructions that come with your bread machine for the best results.
Using a bread machine is a great way to make fresh, delicious bread without having to do all the work manually. The first step in making the perfect loaf of bread is to read and follow the instructions that come with the bread machine. These instructions are written specifically for the model of bread machine you purchased, so it is important to read and understand the instructions before beginning your baking project.
The instructions will usually include information about ingredients, such as the types of flour and yeast that should be used and how much of each should be added to the dough. It will also include information about kneading and rising times, as well as baking temperatures and how long the bread should be cooked for. Following the instructions carefully will help ensure you get the best possible results from your machine.


