Sourdough Yeast Packet Bread For Bread Machine
Baking homemade bread with a bread machine is a convenient way to make fresh and delicious loaves of bread. A sourdough yeast packet bread is a type of bread that uses a sourdough starter to create an even richer flavor. With the right ingredients and a few simple steps, you can easily make a delicious sourdough yeast packet bread for your bread machine.
Make sure to use a specific type of yeast designed for a bread machine.
Using the right type of yeast is essential when baking in a bread machine. Bread machine yeast, also known as rapid-rise or fast-acting yeast, is specially formulated for use in bread machines. It is a granulated, free-flowing yeast that can be added directly to the dry ingredients of the bread machine recipe.
This type of yeast is designed to act rapidly, allowing the dough to rise quickly and produce a light, airy texture. It is also formulated to be more tolerant of variations in temperature and humidity than other types of yeast. Bread machine yeast eliminates the need for proofing the yeast prior to use. When using bread machine yeast, make sure to follow the recipe instructions carefully, as different recipes may require different amounts of yeast.
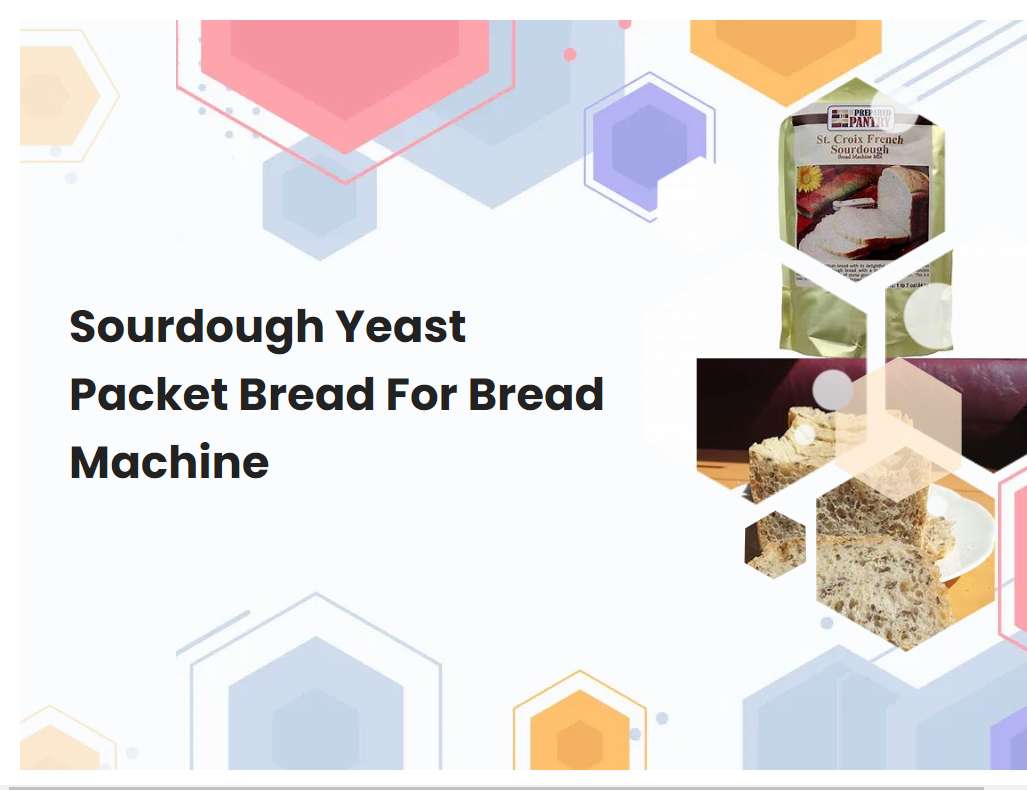
Read the directions on the packet carefully, as the amount of yeast required will vary from machine to machine.
When using yeast for bread-making in a bread machine, it is important to read the directions on the packet carefully. Different bread machines will require different amounts of yeast, and this must be taken into account when measuring out the ingredients. Generally, bread machine yeast is more powerful than regular active dry yeast, and therefore, less of it needs to be used.
The packet should specify the exact amount of bread machine yeast required for the particular bread machine being used. If the amount of yeast is not specified, it is recommended to start with half of what would be used for active dry yeast, then make adjustments as needed. This will help ensure the best possible results when baking bread in a bread machine.
See also: Quick Garlic Bread From Scratch Bread Machine
Ensure that the yeast is active and alive before using.
To ensure that the yeast is active and alive before using, it is important to check the expiration date on the package and make sure that it is still within its use-by period. Additionally, it is good practice to proof the yeast before using, which involves combining the yeast with warm water and a small amount of sugar. If the yeast is still active, you should see a foamy or bubbly reaction on top of the water within 5-10 minutes.
If this does not occur, the yeast has likely gone bad and should be discarded before use. If the yeast is alive and active, you can now proceed with using it in your recipe.
See also: Bread Machine Substitute White For Brown Sugar
Use lukewarm water as hot water can kill the yeast.
Using lukewarm water is essential when making yeast-based doughs such as pizza dough, bread dough, and other pastry doughs. Hot water can kill the yeast and make your dough dense and heavy. Lukewarm water, on the other hand, is the perfect temperature for activating the yeast.
The ideal temperature for activating yeast is between 105-115°F. Anything higher than this temperature can kill the yeast, preventing your dough from rising. To ensure that you are using the correct temperature of water, test it by placing some on your wrist. It should feel neither hot nor cold. Additionally, when activating yeast in water, it is important to not let it sit too long as this can also kill the yeast. After a few minutes, the mixture should start to become foamy and bubbly, which indicates that the yeast is activated and ready to use.
See also: Transfer Baking Temperature For Bread Machine To Oven
If a recipe calls for butter or oil, add it after the yeast has been added.
When baking with yeast, it is important to add the butter or oil at the right time. Adding it too soon can inhibit the growth of the yeast, and delay the rising process. Therefore, it is best to wait until after the yeast has been added to the other ingredients before adding butter or oil.
Once the yeast is in the dough, you can then add butter or oil, and knead the mixture until it is fully incorporated into the dough. This will ensure that the butter or oil does not come in contact with the yeast and interfere with its ability to rise. Kneading the dough for a few minutes after adding the butter or oil will also help to create an even distribution of fat throughout the dough. Following these steps will help to ensure that your baked goods turn out perfectly every time.
See also: How To Make Homemade Pretzel Bread Bread Machine
Follow the order of ingredients specified in the recipe.
When following a recipe, it is important to follow the order of ingredients specified. This ensures that all ingredients are properly combined and that the desired outcome is achieved. For example, when baking a cake, it is important to add the wet ingredients such as eggs, oil, and milk before adding the dry ingredients such as flour, baking powder, and sugar.
This will ensure that the dry ingredients are evenly distributed throughout the batter. Additionally, it is important to measure out the ingredients correctly, as this will affect the outcome of the recipe. After all of the ingredients have been added in the specified order, they should be combined thoroughly until a homogenous mixture is achieved. Following the order of ingredients and measuring them correctly can make all the difference in achieving the desired results.
See also: Do You Need Bread Machine Yeast For Your Bread Machine
For best results, use freshly milled flours rather than pre-ground flours.
Using freshly milled flours rather than pre-ground flours will result in the best possible results when baking or cooking. Freshly milled flours provide a higher level of nutrition, flavor, and texture to the finished product, as opposed to pre-ground flours which can often be lacking in these aspects. Freshly milled flour also has a higher moisture content than pre-ground flour, which means that it absorbs liquid more easily and produces a more consistent dough or batter.
The increased surface area of freshly milled flour also creates more air pockets in the finished product, resulting in a lighter and fluffier bread or cake. Additionally, freshly milled flour has a shorter shelf life than pre-ground flour, so it is important to use it as soon as possible after milling in order to get the best results.
Allow the dough to rest for a few minutes after kneading.
Allowing the dough to rest for a few minutes after kneading is an important step in the bread-making process. This rest period gives the gluten in the dough time to relax and distribute evenly throughout, resulting in a softer and more elastic dough. During this rest time, the dough will also become easier to work with and shape.
The amount of time that the dough should rest depends on several factors, including the type of flour used, the hydration level of the dough, and the temperature of the room. Generally, a rest period of 10-20 minutes is sufficient. After the rest period, the dough will be ready to shape and rise before baking. Allowing the dough to rest is an essential step in ensuring that your bread has a light, airy texture and delicious flavor.
Bake on the setting specified in the recipe or check the bread's progress at the halfway point before deciding if it needs more baking time.
When baking bread, it is important to follow the instructions detailed in the recipe. This will ensure that the bread comes out perfectly cooked. Generally, recipes suggest a specific baking time and temperature, which should be followed for best results.
However, it is also important to check the bread's progress halfway through baking in order to determine if additional baking time is required. If the bread is browning too quickly, it is important to lower the oven temperature slightly. If the bread is not browning at all, it may require more time in the oven. If the recipe does not specify a time or temperature, it is best to check the bread's progress halfway through baking and adjust the temperature or baking time accordingly. By monitoring the bread throughout the baking process, it is possible to achieve a perfectly cooked loaf of bread every time.
Let the finished loaf cool completely before slicing, as this will help maintain its structure and shape.
Slicing a freshly baked loaf of bread can be an exciting experience, but it is important to make sure that the loaf has cooled completely before doing so. The cooling process allows the bread to set and helps to maintain its structure and shape. When slicing, it is best to use a sharp, serrated knife as this will help the cuts to be neat and even.
To ensure that the bread does not become dry or stale, be sure to store it in an airtight container or in a bread box. Taking the time to properly cool the loaf before slicing will help it to last longer and taste better.


