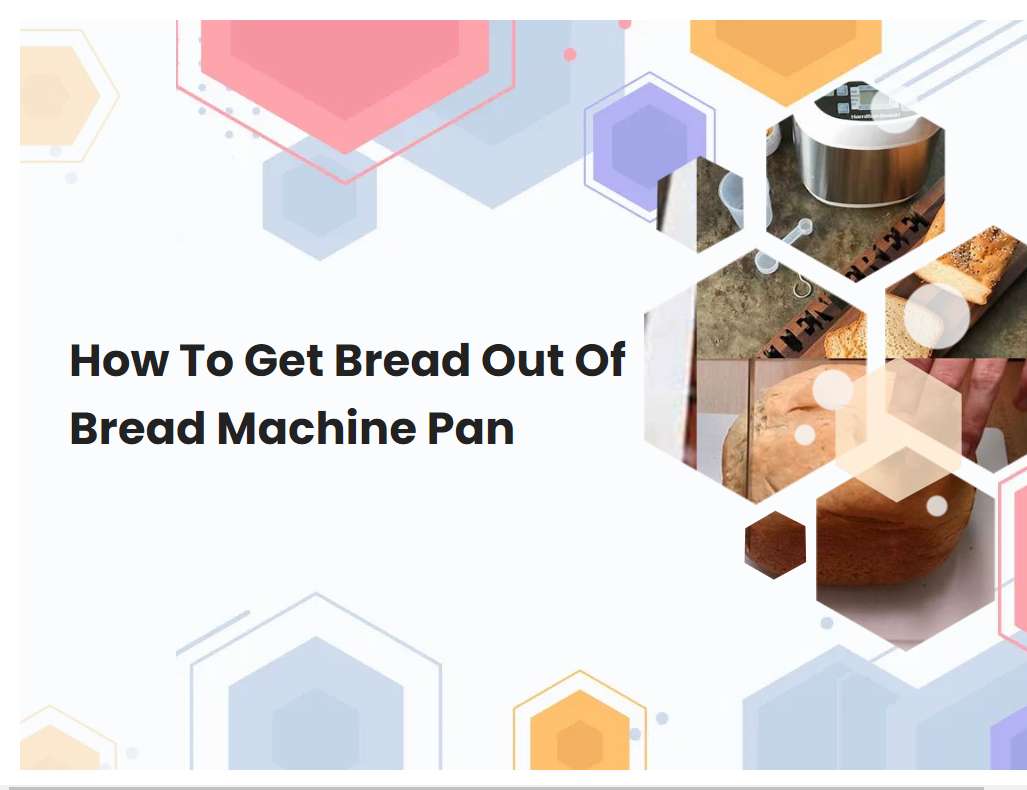
How To Get Bread Out Of Bread Machine Pan
Baking bread in a bread machine is a convenient way to bake fresh, homemade bread. But when it[sq]s done baking, getting the bread out of the pan can be tricky and intimidating. Fortunately, with a few simple tips and tricks, you can easily remove freshly baked bread from your bread machine pan.
Make sure to allow the bread to cool before attempting to remove it from the pan.
When baking bread, it is important to remember to allow the bread to cool before attempting to remove it from the pan. This step is essential, as it allows the loaf to fully set and prevents the bread from tearing or crumbling when it is removed. If too much heat is still present in the bread, the heat can cause the loaf to stick to the pan, resulting in a ruined loaf.
Additionally, allowing the bread to cool down can help enhance the flavor of the bread by allowing the flavors to fully develop. For best results, allow the bread to cool for at least 5-10 minutes before attempting to remove it from the pan.
Make sure to use an oven mitt or kitchen towel to protect your hands while removing the bread.
When removing bread from the oven, it is important to use an oven mitt or kitchen towel to protect your hands. This is because the bread might still be hot and can burn your skin if handled improperly. To remove the bread, first turn off the oven and open the oven door.
Then, using the oven mitt or kitchen towel, carefully lift the bread out of the oven and onto a heat-safe surface. Make sure to hold the bread away from your body while doing so. After the bread has been safely removed, use the oven mitt or kitchen towel to hold the bread while it cools before slicing or serving. Following this procedure will ensure that you do not suffer any burns while handling hot bread.
See also: Bread Machine Banana Bread Black And Decker
Locate the release lever on the side of the bread machine pan and press it down to unlock the pan.
The bread machine pan is equipped with a release lever located on the side of the pan. To unlock the pan, press down firmly on the release lever and the pan will unlock from the machine. This will allow you to remove the pan from the machine and take out the freshly baked bread.
Before removing the pan, ensure that the bread has had enough time to cool down in order to prevent any burns or injuries. When removing the pan, be sure to handle it with care as the non-stick coating on the pan can easily be scratched or damaged.
See also: How To Make Multigrain Bread In A Bread Machine
Carefully tilt the pan and gently shake the bread out onto a cooling rack.
Carefully tilting the pan and gently shaking the bread out onto a cooling rack is an important step in baking the perfect loaf. It requires a steady hand and knowledge of how the bread is feeling as it cooks. Before attempting to tilt the pan and shake the bread out, ensure that the bread has cooled slightly and that it is no longer sticking to the pan.
To do this, lightly shake the pan and observe if the bread moves. If it does not, wait a few more minutes before attempting to tilt the pan. When the time is right, slowly tilt the pan and carefully shake the bread out onto a cooling rack. This will help ensure that it does not break and allows air to circulate around the bread, helping it cool quickly and evenly. Once on the rack, leave it to cool for at least 20 minutes before slicing and serving.
See also: Whole Wheat Hamburger Buns For Bread Machine
If the bread is stuck to the bottom of the pan, use a rubber spatula to loosen it.
If the bread is stuck to the bottom of the pan, a rubber spatula is a useful tool for loosening it. Rubber spatulas are ideal for this task because the flexible material is able to reach into the crevices of the pan and gently pry the bread away from the surface. It is important to be careful when removing the bread so as not to tear it or damage the pan.
Start by running the spatula around the edges of the bread, slowly working it underneath the loaf. Continue to work the spatula along the bottom of the pan, gently loosening any bits of bread that are stuck. With patience and care, the bread should come away from the pan easily and without damage.
See also: Gluten Free Bread Dough In Bread Machine
Be careful not to damage the pan while removing the bread.
When removing bread from a pan, it is important to be careful to avoid damaging the pan. Start by running a knife along the edges of the pan to loosen the bread. If necessary, lightly tap the edges of the pan with a spoon handle or other utensil to help loosen the bread.
Before attempting to lift it out of the pan, make sure the bread is completely separated from the bottom of the pan and that all pieces have been removed. Once you have verified this, use a spatula to carefully lift the bread from the pan and transfer it to a plate or cutting board. Gentle pressure should be used when lifting the bread and it should be done slowly and carefully to ensure that the edges of the pan are not scratched or damaged.
See also: What Is The Temperature Reached In A Panasonic Bread Machine
If necessary, use a butter knife to help loosen the edges of the bread from the pan.
Using a butter knife to help loosen the edges of the bread from the pan can be a helpful step when removing bread from a pan. When removing the bread, first use a butter knife to gently run around the edges of the bread in the pan to help release it. Gently press the butter knife against the edges of the bread to separate it from the sides of the pan.
This will help to loosen the bread and make it easier to remove. Be careful not to press too hard or you may damage the bread. Once the edges have been loosened, you can then use a spatula to carefully remove the bread from the pan. With a bit of patience and care, you can easily remove the bread from the pan with a butter knife.
If there is still residue from the dough or baking process in the pan, it can be wiped out with a damp cloth.
When cleaning a baking pan after making bread or other baked goods, it is important to make sure that all residue from the dough or baking process is removed. A damp cloth can be used to wipe out any remaining residue. Start by moistening the cloth with warm water and then gently wipe the inside of the pan.
If necessary, use a bit of dish soap to help remove any stubborn bits of dough. Be sure to rinse the pan thoroughly afterwards to remove all traces of soap. Once the pan is dry, it is ready for its next use. Properly cleaning a baking pan after each use will help ensure that the pan is in good condition for future baking endeavors.
After removing the bread, clean the pan with warm water and a mild dish soap.
To clean a pan after removing the bread, start by running warm water over the pan and using a gentle, mild dish soap. Gently scrub the surface of the pan with a soft sponge or microfiber cloth to remove any remaining pieces of bread or crumbs. Rinse the pan thoroughly to ensure that all soap residue is gone.
If there are any stubborn bits of bread stuck to the pan, use a wooden spoon or spatula to scrape them away. Finally, dry the pan with a clean towel to prevent any streaks or water spots. With this simple method, your pan will be as good as new!
Allow the pan to dry completely before storing or using again.
After each use, it is important to thoroughly clean and dry the pan before storing or using it again. Begin by wiping the pan with a damp cloth or sponge to remove any food residue. Rinse the pan with warm water and scrub with a non-abrasive brush or scrub pad to remove any stubborn food particles.
Finally, rinse the pan with hot water and allow it to air dry completely. Store the pan in a dry place, away from direct heat or sunlight, to ensure that the pan stays in good condition. If the pan is not completely dry, moisture can seep into the surface of the pan, causing rust or discoloration. Taking the time to thoroughly dry the pan after each use will help to maintain its quality and extend its lifespan.


