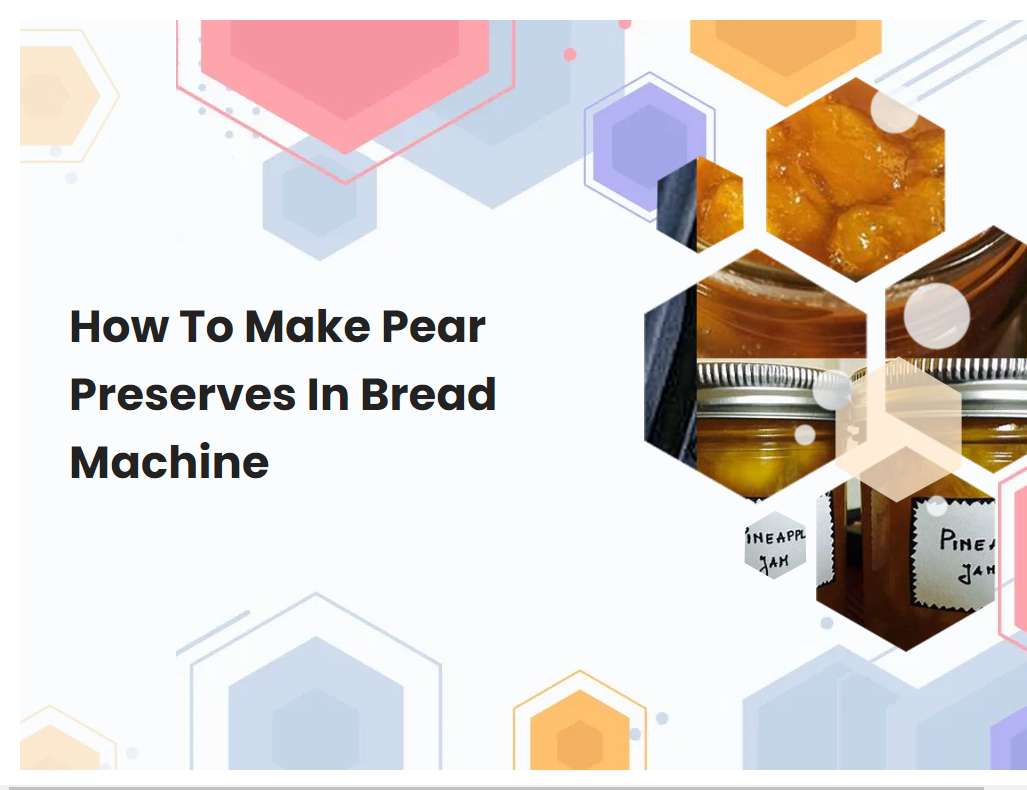
How To Make Pear Preserves In Bread Machine
Making pear preserves in a bread machine is an easy way to enjoy the sweet and tangy taste of homemade preserves. Using a bread machine to make preserves eliminates the need of monitoring a pot on the stove and also allows you to make larger batches at once. With just a few simple ingredients, you can create delicious pear preserves to use over toast, pancakes, or ice cream.
Select ripe, fresh pears for your preserves.
When selecting pears for your preserves, look for ripe, fresh fruit that has a deep, uniform color and is free of blemishes. Choose pears that are firm, yet yield to gentle pressure when pressed. Avoid fruits that have soft spots or bruises, as this indicates that the pear is overripe and may have a mealy texture.
If possible, select pears with stems still attached, as this indicates that the fruit was recently picked. If the pears don't have a stem, look for a pleasant aroma and glossy skin as an indication of freshness. When choosing pears for preserves, it is important to select fruits that are ripe but not too ripe, as overripe fruits will not hold their shape during the preservation process.
Peel and core the pears before adding them to the bread machine.
To prepare the pears for use in the bread machine, begin by washing them under cold running water. Once clean, use a paring knife to peel the skin from the fruit, taking care to remove any remaining blemishes or spots. Next, cut the pear in half lengthwise and use a spoon or melon baller to scoop out the core and seeds from the center.
Cut the pear into small cubes and add them to the bread machine. If desired, a tablespoon of sugar can be added to the machine along with the pears to help enhance the flavor of the finished product.
See also: How To Make Noodle Dough Using Bread Machine
Add the peeled and cored pears, the desired amount of sugar, lemon juice and water to the bread machine pan.
Add the peeled and cored pears to the bread machine pan, followed by the desired amount of sugar, lemon juice and water. The sugar will help to sweeten the pears while the lemon juice will add a nice tartness and depth of flavor. The water helps to ensure the ingredients mix together evenly, and also helps to give the pears a soft texture.
Once all of the ingredients are added, select the appropriate setting on the bread machine and start the cycle. The pears will be cooked to perfection in no time.
See also: Bob's Red Mill Gluten Free Bread Mix In Bread Machine
Select the jam setting on your bread machine.
The jam setting on a bread machine is specifically designed to make a variety of jams, jellies, and preserves with ease. It typically consists of a pre-programmed cycle that includes an extended kneading time, slower rising time, and a low temperature cooking cycle. This is to ensure that the mixture thickens and sets properly.
Depending on the model, there may also be a separate cycle for adding fruit or nuts. The jam setting can also be used to make chutneys and compotes, as it allows for the slow cooking of fruits and vegetables in a sugar and vinegar syrup. The extended cooking time also helps to bring out the flavours of the ingredients and gives the jam a thicker consistency. Once the cycle is complete, the jam can then be poured into sterilized jars and processed in a water bath canner if desired.
See also: Bánh Mì Rice Flour Rexipe Bread Machine
Allow the machine to mix and cook the ingredients.
The machine is able to mix and cook the ingredients with ease. It starts by combining all the ingredients that are placed in the bowl, stirring them together until they are evenly distributed. Once the ingredients are thoroughly mixed, the machine begins to cook them.
It uses the heat from its heating element to slowly cook the ingredients until they reach the desired temperature. The machine also monitors the temperature of the ingredients to ensure that they are not overcooked or undercooked. After the desired temperature is reached, the machine will turn off and the ingredients will be fully cooked and ready for consumption. The machine is an efficient and easy way to mix and cook ingredients, saving time and energy for the chef.
See also: Macademia Nut Flour Bread Receipe For Bread Machine
Stir the mixture occasionally as it cooks.
When cooking a mixture, stirring occasionally is a key step in the process. This is because stirring helps to evenly distribute heat throughout the mixture and allows the ingredients to cook evenly. It also helps to prevent ingredients from sticking to the bottom of the pan or pot, which can cause burning or uneven cooking.
Additionally, stirring helps to incorporate all of the ingredients together, creating a more uniform flavor and texture. Stirring every few minutes or so is generally recommended; however, depending on the recipe and the heat level, stirring more or less often may be necessary. In any case, keeping a close eye on the mixture and stirring occasionally will help to ensure that the ingredients are cooked evenly and that the flavors are properly mixed.
See also: Water Or Flour First In Bread Machine
Test the preserves to make sure they are done.
Testing the preserves to ensure they are done is an important step before taking them off the stove. To test, you can take a spoonful and allow it to cool on a plate or in a bowl. If it has reached the desired consistency, the preserve will cool and thicken and no longer be runny.
You can also take a spoonful and place it on a cool plate. If the preserve remains in place without running or separating, it is done. It should not be too thick or pasty, but should be a jam-like consistency. If the preserve is not yet done, you can return it to the stove for a few additional minutes. Testing the preserves is key to ensuring that you have cooked them properly and that your preserves are of the highest quality.
Allow the preserves to cool before transferring to jars or containers.
After the preserves have finished cooking, it is important to allow them to cool before transferring them to jars or containers. This helps to ensure that the preserves will retain their shape and texture, as well as preventing any potential mess that could occur by transferring the preserves while they are still hot. It is also important to allow the preserves to cool so that it is safe to handle them.
The ideal cooling time for preserves is typically around 30 minutes or so, but this may vary depending on the size and type of preserve. Once the preserves have cooled, they can then be carefully transferred into airtight jars or containers for storage.
Refrigerate or freeze the preserves for future use.
Preserves are a great way to add flavor, texture and nutrition to your meals. They can also be a great way to extend the shelf life of fresh fruits and vegetables. To ensure their freshness over a longer period of time, it is important to store them properly.
Refrigerating or freezing preserves is the best way to do this. When stored in the refrigerator, preserves will last up to two months. If you plan on keeping it longer, freezing is the best option. To freeze preserves, first pour them into a freezer-safe container. Make sure to leave at least one inch of space at the top of the container to allow for expansion during freezing. Label the container and the date it was frozen, and place it in the freezer. Preserves can be stored for up to a year in the freezer. When you are ready to use the preserves, thaw them in the refrigerator overnight before using.
Enjoy your homemade pear preserves!
Making homemade pear preserves is a great way to enjoy the sweet taste of pears all year round. To make your own pear preserves, you'll need ripe pears, sugar, water, lemon juice, and pectin. Begin by peeling and coring the pears and then slicing them into small pieces.
Place the pears in a large pot with the water and lemon juice, and bring to a boil. Once boiling, reduce heat and simmer for about 10 minutes until the pears are soft. Next, add the sugar and pectin, stirring until dissolved. Increase the heat and bring to a boil again, stirring constantly for about 10 minutes. Finally, ladle the mixture into jars and seal tightly with lids to store. Your homemade pear preserves can last up to a year in the refrigerator. Enjoy your homemade pear preserves as a topping on toast or yogurt, or simply enjoy them straight out of the jar!


