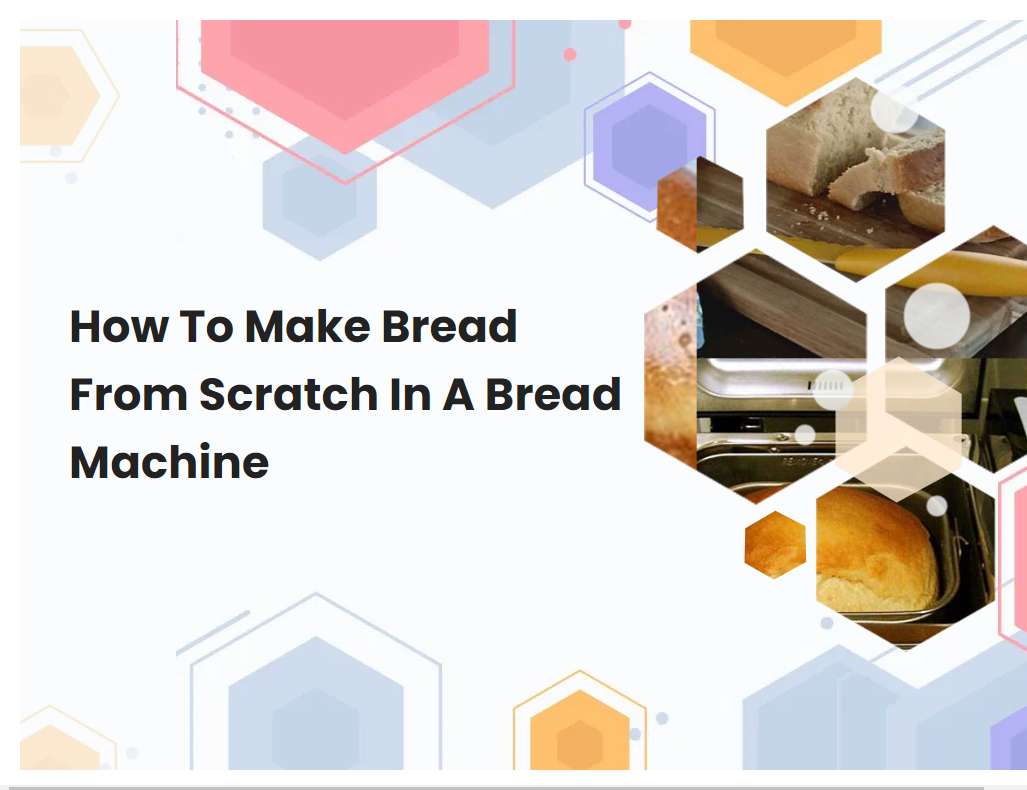
How To Make Bread From Scratch In A Bread Machine
Making bread from scratch in a bread machine is a rewarding experience. It takes some patience and practice but the end result of a warm, delicious, home-baked loaf is worth the effort. With the right ingredients and a bit of know-how, you can make a great loaf of bread right in your own kitchen.
Understand the different types of bread machines available, and select one that best suits your needs.
There are several types of bread machines available that provide convenience and flexibility in baking homemade bread. The most popular type is a standard bread machine, which makes a single-loaf, two-pound loaf of bread. This type of machine is ideal for everyday baking and is a great choice for those who are new to bread making.
For larger families or those who like to bake multiple loaves at once, a double-loaf bread machine is a great option. It bakes two one-and-a-half pound loaves at the same time and is perfect for large gatherings or special occasions. Another popular type is the express bake bread machine, which bakes a single one-pound loaf in just one hour for a quick and delicious snack. For more advanced bakers, there are also specialty bread machines that offer options for different loaf sizes, crust colors, and custom settings to suit any recipe. To select the best bread machine for your needs, consider what type of bread you'll be baking, the size of the loaves you need, and any special features you may require.
Read the instructions for your bread machine carefully before attempting to use it.
Using a bread machine is a great way to make delicious, fresh bread without having to knead and shape dough by hand. However, it is important to read the instructions for your bread machine carefully before attempting to use it. This will ensure that you are familiar with the settings, operations, and safety features of the machine.
Additionally, the instructions will provide detailed recipes for different types of breads, so you can choose the one that best suits your tastes. Once you have read the instructions, it is important to follow them closely in order to ensure that the bread turns out as expected. This includes measuring ingredients precisely, setting the machine correctly, and selecting the appropriate settings for the desired type of bread. Depending on the specific model, there may be additional steps or tips for optimizing the bread-making process. Following the instructions for your bread machine carefully will ensure that you can enjoy tasty, freshly-made bread with ease.
See also: Bread Machine Low Carb Bread Almond Flour
Measure out ingredients accurately for best results.
Measuring out ingredients accurately for best results is an essential step in any recipe. Whether you are baking a cake or cooking a simple stir fry, precision and accuracy are key to achieving the desired outcome. Taking the time to properly measure out ingredients will not only save time in the kitchen, but it will ensure that all of the flavors and textures of the dish come together as intended.
It also helps to avoid any major errors or disappointments in the finished product. Using measures such as cup, tablespoon, teaspoon, or milliliter allows you to be precise in how much of each ingredient you are adding, helping you to achieve your desired results. Taking the time to measure accurately will not only give you the best results, but it will also help to improve your cooking skills and allow you to create delicious dishes in the future.
See also: Does Bread Machine Yeast Work For Regular Bread
Ensure that you use the correct type and amount of yeast for the best rise.
Using the correct type and amount of yeast is essential for achieving the desired rise in your baked goods. Different types of yeast, such as active dry yeast, instant yeast, and cake yeast, have varying levels of activity and thus should be used based on the recipe's specific instructions. Generally, active dry yeast and instant yeast are used interchangeably, with the latter needing to be dissolved in warm liquid before use.
Cake yeast should be proofed in warm liquid before it is added to a recipe. The amount of yeast used is also important for achieving the desired rise in your baked goods. Generally, 1 teaspoon of active dry yeast or 1/4 teaspoon of instant yeast is equal to one package of cake yeast. Too much yeast can result in dense, over-risen dough, while using too little can result in under-risen dough. For best results, always use the amount of yeast specified in the recipe.
See also: Big Sky Cracked Wheat Bread Machine Mix Vegan
Adjust the kneading, rising, and baking times to suit your desired results.
Kneading is an important step in baking as it helps to develop the gluten in the dough, which gives the finished product its structure and texture. The kneading time should be adjusted according to the type of dough being made and the desired final product. Generally, a longer kneading time will result in a chewier texture and a shorter kneading time will result in a softer texture.
Additionally, the kneading time should be adjusted to accommodate any additional ingredients that are added to the dough. Rising is another important step in baking and allows yeast to work its magic, resulting in a lighter and airier final product. The rising time should also be adjusted according to the type of dough being made and the desired results. A longer rising time will result in a lighter texture, while a shorter rising time will result in a denser texture. Additionally, the rising time should be adjusted to accommodate any additional ingredients that are added to the dough. Finally, baking time can also be adjusted to achieve the desired results. A longer baking time will result in a darker, crispier crust, while a shorter baking time will result in a lighter, softer crust. Additionally, the baking time should be adjusted to accommodate any additional ingredients that are added to the dough. By adjusting the kneading, rising, and baking times appropriately, bakers can achieve their desired results from any recipe.
See also: Making Greek Pita Bread In Bread Machine
Preheat the machine before adding ingredients to ensure even cooking.
Before adding ingredients to a cooking machine, it is important to preheat the machine. Preheating the machine prior to cooking helps ensure that the ingredients are cooked evenly throughout. Preheating also helps to preserve the flavor of the food and prevents burning.
To preheat the machine, first set the desired temperature and wait for the machine to reach the desired temperature. Once the temperature is reached, the machine is ready to start cooking. Preheating the machine before adding ingredients is a crucial step in cooking as it helps ensure that the ingredients are cooked evenly and preserve the flavor of the food.
See also: West Bend Bread Machine And Cough Maker
Use warm, not hot, liquids in the dough to prevent killing the yeast.
When making dough, it is important to use warm liquid rather than hot liquid, as hot liquids can kill the yeast. Yeast is a key ingredient in dough because it helps the dough to rise and gives the dough a nice texture. To ensure that the yeast is still alive and active when you add it to the dough, you should use a liquid that is warm, not hot.
The temperature of the liquid should be around 110 degrees Fahrenheit, or no more than 115 degrees Fahrenheit. If the liquid is too hot, it will kill the active yeast and the dough will not rise correctly. Once the liquid has cooled slightly, you can then add the yeast and begin to prepare the dough. Using warm liquids in the dough will help ensure that your dough rises correctly and tastes delicious.
Use a thermometer to check the internal temperature of the finished loaf.
Using a thermometer to check the internal temperature of the finished loaf is an essential step for ensuring that your bread is fully cooked. Using a thermometer will help you determine if the loaf has been cooked through without having to cut into it and risk ruining its shape. The ideal internal temperature for a finished loaf of bread should be between 190 and 210 degrees Fahrenheit, depending on the type of bread.
If the internal temperature of the loaf is below 190 degrees Fahrenheit, it is likely undercooked and needs to be returned to the oven for further baking. On the other hand, if the internal temperature exceeds 210 degrees Fahrenheit, it is likely overcooked and may have a dry, crumbly texture. By using a thermometer to check the internal temperature of the finished loaf, you can ensure that your bread has been cooked to perfection every time.
Cool the loaf completely before slicing for best texture and taste.
Cooling a loaf of bread completely before slicing is essential for the best texture and taste. The cooling process allows the loaf to finish cooking fully and helps to set the dough, preventing a crumbly texture. Allowing the loaf to cool also helps to lock in the flavor and moisture.
It is important to allow the loaf to cool for at least an hour before slicing, as this will help to ensure that the bread does not become dry or stale. If the loaf is still warm when sliced, it will be more prone to mold and bacteria growth. Therefore, it is important to take the time to cool the loaf before slicing for optimal flavor and texture.
Clean and maintain your bread machine regularly for optimum performance.
Regular maintenance of your bread machine is essential for optimal performance. Depending on the make and model of your bread machine, the cleaning instructions may differ, so it is important to follow the manufacturer's instructions closely. You should clean the exterior of your bread machine with a damp cloth and a mild detergent, taking care not to get any moisture inside the machine.
Inside the bread machine, you should use a soft brush to clean any residue that has built up on the sides and bottom. If your machine has a removable pan, you should remove it and clean it separately. Make sure to use warm water and a mild detergent to clean the pan and wipe it dry before returning it to the machine. Additionally, if your machine has a kneading blade, you should remove it and clean it under running water with a soft brush. Finally, you should regularly check for any build-up of flour or yeast in the corners of the machine, and if found, use a soft brush to clean out the residue. With regular cleaning and maintenance, your bread machine will remain in excellent condition and provide you with many delicious loaves of home-made bread.


