How To Use A Bread Machine Welbilt
Bread machines are a great way to make homemade bread with very little effort. With a bread machine, you can make breads of all varieties in the convenience of your own home. Using a bread machine is surprisingly simple and straightforward, making it a great way to make delicious homemade bread.
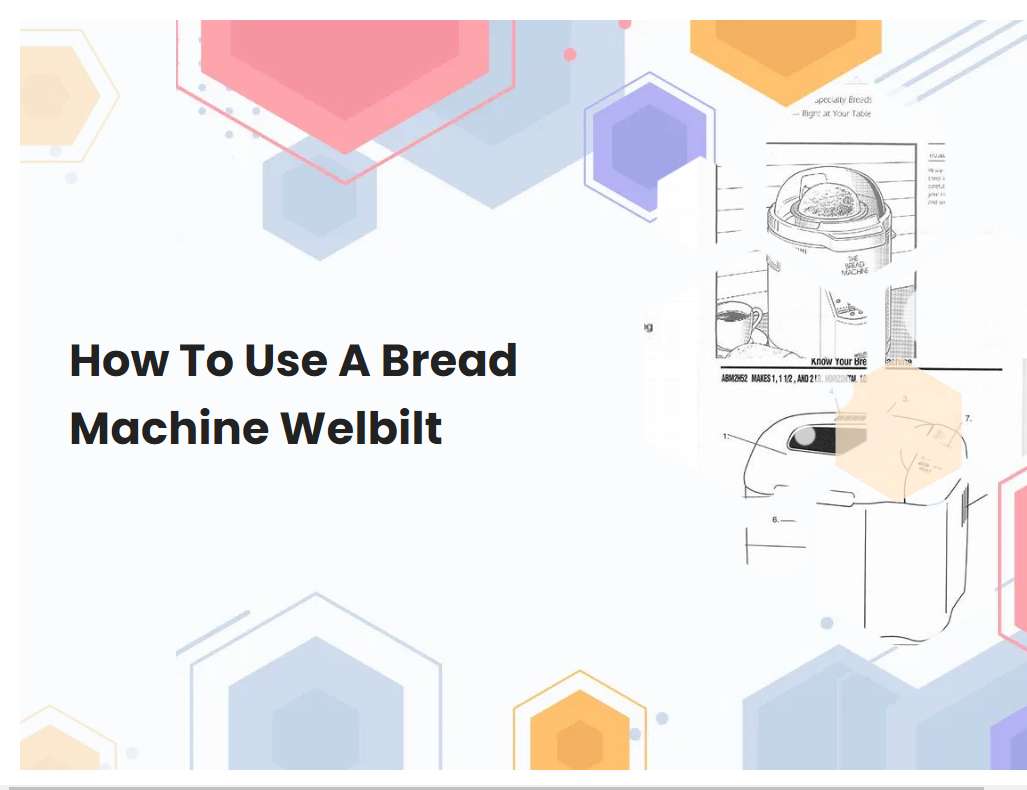
Read through the instruction manual: Before using your bread machine, it is important to make sure you read through the instruction manual and understand what the different settings mean and how to use them.
Reading through a bread machine instruction manual is essential before using the appliance. It is important to understand the individual settings and how they work in order to create the desired loaf of bread. The manual will guide you through the different settings, such as the type of flour to use, the temperature and rising time, and the size and shape of the loaf.
It will also explain the various functions such as kneading and baking. Moreover, it will provide information on how to properly maintain the machine, such as cleaning and troubleshooting tips. Furthermore, it will provide helpful hints about how to add extra ingredients for a more flavorful loaf, such as nuts, seeds, and dried fruit. Taking the time to read through the instruction manual before using the bread machine will ensure that you get the most out of the appliance and enjoy freshly-baked bread every time.
Choose the right flour: Different types of flour work better for different types of breads. Make sure you choose a flour that is specifically made for bread machines.
When it comes to bread machines, it is important to choose the right flour. Different types of flour work better for different types of breads, so make sure you choose a flour that is specifically made for bread machines. Bread flour is the most commonly used type of flour for bread machines as it contains more protein and gluten than all-purpose flour.
This helps to create a strong structure and chewy texture in the bread. Whole wheat flour can also be used to make bread in a bread machine, but it has a lower protein content than bread flour and can produce a denser loaf. For lighter, fluffier breads, try using cake or pastry flour, which can create an airy texture. For a more flavorful loaf, use rye or spelt flour both of which have a higher proportion of bran and germ than other types of flour. Whatever kind of flour you choose, make sure it is fresh and stored properly to ensure the best results when you bake with your bread machine.
See also: Okay To Hand Mix Dough For Bread Machine
Use the right amount of ingredients: Too little or too much of an ingredient can cause your bread not to turn out as expected. Refer to the instruction manual for the exact measurements of each ingredient.
It is important to use the right amount of ingredients when making bread. Too little or too much of an ingredient can cause the bread to not rise properly, have a poor texture, or not have the desired flavor. The instruction manual that comes with the bread-making machine should provide the exact measurements of each ingredient, taking all of the guesswork out of the equation.
When measuring out the ingredients, be sure to use a measuring cup or spoon that is specifically designed for dry ingredients; standard kitchen measuring cups and spoons will not give you the same accuracy. Adding too much of an ingredient can cause the dough to be overly wet and difficult to knead, while too little can lead to a dry and crumbly texture. Following the instructions carefully and using the right amount of each ingredient will ensure that your bread turns out perfectly every time.
See also: Sour Dough Bread In A Bread Machine
Preheat your bread machine: Most bread machines have a preheat setting that should be used before adding ingredients.
Using the preheat setting on a bread machine is an essential step in ensuring your bread turns out perfectly. Before adding any ingredients, it is important to preheat your bread machine for the best results. This will allow the bread machine to reach the optimal temperature for kneading and rising, which will result in a light and airy loaf.
To preheat your bread machine, select the preheat setting on the control panel. The machine will move the paddle and start to heat up. The time it takes to reach the desired temperature can vary depending on the type of bread machine you are using, but it typically takes between five and ten minutes. Once the preheat setting is complete, your bread machine is ready for the next step in the baking process.
See also: Why Didnt My Welbilt Bread Machine Mix
Check the kneading blades: Make sure the kneading blades are attached properly and are secure before you begin.
Before you begin using your kneading machine, it is important to check the kneading blades. Make sure the blades are securely attached and properly aligned. Inspect the blades for any signs of damage, such as cracks or chips.
If the blades are not properly attached, they may become loose during use, creating a safety hazard. Additionally, if the blades are not properly aligned, they may not mix the dough efficiently and could cause uneven rising or texture. If you notice any signs of damage or improper attachment, replace the blades before you begin kneading. Taking the time to check the blades can help ensure you get the best results from your dough.
See also: Bread Machine Garlic Bread Without Dry Milk
Follow the instructions for adding ingredients: The order in which you add ingredients can affect how your bread turns out. Refer to the instruction manual for the correct order.
When baking bread, it is important to follow the instructions in the instruction manual for the correct order of adding ingredients. This is because the order in which you add ingredients can significantly affect how your bread turns out. For example, if you add liquid ingredients too early before adding dry ingredients, it can cause the dough to become overly wet, which can result in an overly dense and heavy loaf.
On the other hand, if you add dry ingredients too early before adding liquid ingredients, it can cause the dough to become too dry, resulting in a crumbly and dry loaf. Therefore, following the instructions in the manual for the correct order of adding ingredients is essential for ensuring that your bread turns out perfect.
See also: Gluten Free Chocolate Bread In A Bread Machine
Set the timer: Depending on the type of bread you are making, you may need to set a timer so that your bread will be done when you want it to be.
When setting a timer for baking bread, it is important to consider the type of bread you are making as well as the desired outcome. For example, if you are making a light and airy white bread, you will want to set the timer for a shorter amount of time than if you were making a denser whole-wheat bread. Another factor to consider is the size of the loaf; smaller loaves will require less baking time than larger loaves.
You may also need to adjust the baking time depending on your oven, as different ovens may require different amounts of time for the same recipe. Once you have determined the desired outcome for your loaf, you can set the timer accordingly. Knowing when to remove the bread from the oven is critical for achieving the perfect loaf of bread, so it is important to set the timer accurately.
Monitor the baking process: Most bread machines have a window that allows you to monitor the baking process. Keep an eye on it and make sure your bread is baking correctly.
Monitoring the baking process of bread in a bread machine is essential for getting the perfect loaf. To do this, make sure to keep an eye on the window of the machine. This will allow you to see how your bread is progressing and if there are any issues that need to be addressed.
You can also check the temperature of the bread as it bakes to make sure it is not too hot or too cold. Additionally, it is important to make sure that your machine is not over-mixing or under-mixing the dough. Over-mixing can cause the bread to become dense and heavy while under-mixing can create a dense, dry loaf. It is also important to check the texture of your bread while it bakes, as it should be light, fluffy, and have an even texture throughout. With a few simple steps, you can easily monitor the baking process of bread in your bread machine and be sure to get the perfect loaf every time.
Let the bread cool: After your bread is finished baking, it is important to let it cool on a wire rack before slicing.
After baking bread, it is important to let it cool before slicing. Leaving the bread in the oven or on a hot surface can cause it to become soggy or dry out. To ensure that the bread retains its texture and flavor, it should be cooled on a wire rack.
This allows air to circulate around the bread, cooling it evenly and preventing any moisture from being trapped near the surface. Allowing the bread to cool on a wire rack also helps to prevent it from becoming too hard and crusty. Keeping the bread on the wire rack for at least 30 minutes will ensure that it has cooled completely. Once cooled, the bread can be sliced and served.
Clean your bread machine: After each use, make sure to clean your bread machine thoroughly so that it is ready for next time.
It is important to clean your bread machine after each use to ensure it remains in good working condition and produces the best possible results. Start by unplugging the machine from the power source and removing the bread pan. Wipe down the exterior of the bread machine with a damp cloth, paying attention to any areas where food may have splattered.
Next, brush away any crumbs or particles from inside the machine with a soft brush. Use a toothbrush to get into hard-to-reach places. Use a damp cloth or moistened paper towel to wipe down the interior, being careful to not get any water in the electrical components. Finally, thoroughly dry the interior before replacing the bread pan and plugging the machine back in. Cleaning your bread machine after each use will help extend its lifespan and ensure delicious bread every time.


