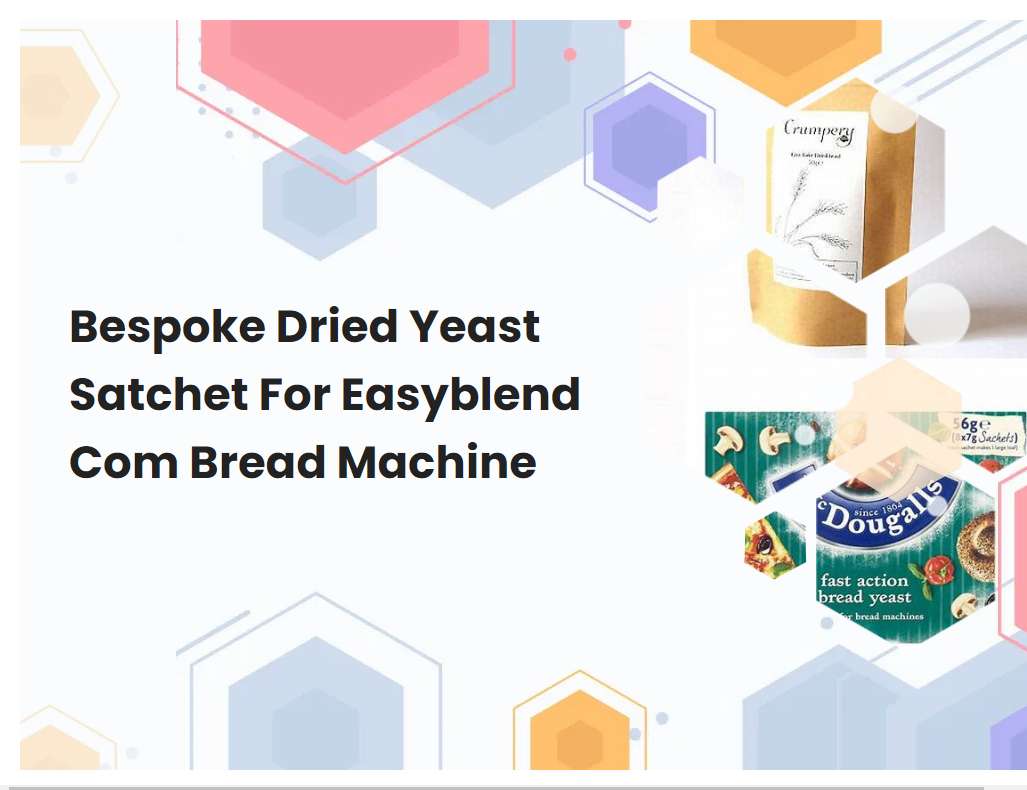
Bespoke Dried Yeast Satchet For Easyblend Com Bread Machine
Welcome to the world of easyblend com bread machines! Our bespoke dried yeast satchet is the perfect addition to help you make delicious, homemade bread. Our satchet contains a special blend of high-quality, active dried yeast to give you the perfect rise and texture every time. We are confident that our product will help you make the perfect loaf of bread, every time.
What type of bread machine you are using (e.g. Easyblend Com bread machine).
I am using the Easyblend Com bread machine. This bread machine is extremely easy to use and has a variety of useful features that make baking bread a breeze. The Easyblend Com has a large, intuitive control panel, which allows you to select the type of bread you want to make, the size of the loaf, the crust color and texture, and the timing.
It also has an automatic delay start function, allowing you to program the machine to begin baking at a later time. The Easyblend Com also has a preset menu with pre-programmed recipes, so you can make a variety of breads without having to measure out all the ingredients. The bread machine also features a viewing window, so you can monitor the progress of your bread as it bakes. The Easyblend Com is a great choice for anyone looking for an easy-to-use bread machine with all the features needed to make delicious homemade bread.
How much dried yeast is required for your bread machine (as specified in the recipe).
The amount of dried yeast required for a bread machine will vary depending on the recipe. Generally, you will need one tablespoon of active dry yeast per two and a half cups of all-purpose flour in the recipe. If your recipe calls for a higher amount of flour, you may need to use a bit more yeast.
It's important to accurately measure out the amount of yeast specified in the recipe; if you use too much, the dough may over-rise, and if you use too little, the dough may not rise enough. If your recipe calls for instant yeast, you can usually use half the amount of active dry yeast as a substitution. Be sure to read the instructions for your particular bread machine to ensure that you're using the correct amount of yeast for your recipe.
See also: Do You Need Special Flour For Bread Machine
How to activate the yeast prior to adding it to your bread machine.
To activate the yeast before adding it to your bread machine, start by combining the yeast with the warm liquid, such as water or milk. Make sure the liquid is between 105 and 115 degrees Fahrenheit before adding the yeast. Then stir the mixture until the yeast is dissolved and let it sit for about 5 minutes.
This process gives the yeast time to activate, making it easier for it to perform its job in the bread machine. Once the yeast is activated, add it to the bread machine along with the rest of the ingredients, following the instructions in your bread machine's manual. This process should result in a delicious, fluffy loaf of bread.
See also: Fleischmann's Bread Machine Yeast Buy Online
What type of flour to use in your bread machine, as some bread machines require a special type of flour (e.g. bread flour).
The type of flour you use in your bread machine will depend on the type of bread you are making. Most bread machines require bread flour, which has a higher protein content than all-purpose flour. Bread flour has more gluten in it, which helps the bread rise and gives it a chewy texture.
Whole wheat flour is also sometimes used in bread machines, as it adds nutrition and fiber to the bread. For sweeter breads, like cinnamon raisin or banana bread, you can use all-purpose flour. Generally, it's best to stick with bread flour for yeast breads and all-purpose flour for sweeter quick breads. Different recipes may call for different types of flour, so be sure to read the instructions carefully before you begin.
See also: Free Download Of Oster Bread Machine Resape Book
How much water and other liquid ingredients are required for the recipe.
The amount of liquid ingredients required for a recipe will depend on the specific recipe. Generally, water is the primary ingredient used in recipes, and the amount can range from a few tablespoons to several cups. Other liquid ingredients such as milk, cream, vegetable broth, and wine may also be included in some recipes, and the amount will vary depending on the recipe.
For example, in a soup recipe, you may need several cups of broth or stock, while you may only need a few tablespoons of cream in a dessert recipe. For dishes such as macaroni and cheese, you will likely need a cup or two of milk. When it comes to alcoholic beverages, recipes typically only call for a small amount, usually no more than a few tablespoons. It's important to measure out the liquids carefully when following any recipe to ensure that the dish turns out properly.
See also: Zojirushi Bread Machine Temperature Of Rest Cycle
How long to set the bread machine timer for.
The amount of time you need to set the bread machine timer for will depend on the type of bread you are making. The instructions that come with your bread machine should contain information on how long to set the timer for specific types of bread. Generally speaking, most white bread recipes will require a timer setting of 3-4 hours, while whole wheat and other specialty breads may require a longer setting of 4-5 hours.
It is important to note that the timer setting will also depend on the size of the loaf you are baking. For example, a 1-pound loaf will usually take less time than a 2-pound loaf. Many bread machines also have a delay timer feature that allows you to start the machine at a later time. This is especially useful if you want to have freshly-baked bread in the morning. You can set the timer to start the machine first thing in the morning so that you can enjoy a warm loaf of bread when you wake up. When setting the timer, it is important to make sure that you follow the instructions in your bread machine manual carefully. This will help ensure that your bread turns out perfectly every time.
See also: Black And Decker All In One Bread Machine Reviews
How to store the dried yeast once it has been opened and used.
Once opened, dried yeast should be stored in an airtight container in a cool and dry place. It is important to make sure that the container is well sealed to protect the yeast from moisture, oxygen, and other contaminants. If the yeast is stored in a warm environment, it may become less active and lose its potency.
It is also important to ensure that the container is labeled with the date of purchase or opening, as well as the expiration date. The expiration date should be clearly written on the container so that it is easy to tell when it should be discarded. If properly stored, dried yeast can last for up to two years. However, it is best to use the yeast within six months of opening in order to ensure that it has not become inactive.
Whether the yeast needs to be stored in a cool, dry location away from direct sunlight.
Yes, yeast needs to be stored in a cool, dry location away from direct sunlight. The ideal temperature for storing yeast is between 35-46°F (2-8°C). Direct exposure to sunlight can cause the yeast to spoil and become inactive.
To prevent spoilage, it should be stored in an airtight container in a dark, dry place such as a cupboard or pantry. If kept in the refrigerator, it should be kept in the coldest part away from the door. Freezing yeast can also be done but it should be placed in an airtight container to prevent freezer burn. Yeast should also be checked for expiration date and discarded if expired. Properly stored yeast can last up to two years.
How often to check on the bread while it is baking.
When baking bread, it is important to check on it regularly to ensure that it is not over-baked or under-baked. It is best to check the bread every 10-15 minutes during the baking process. During this time, you should look for signs that the bread is done such as a golden-brown color, a hollow sound when tapping the top of the loaf, and an internal temperature of 190°F.
If the bread appears to be done, remove it from the oven and let it cool completely before slicing. Keep in mind that the baking time can vary depending on the size and type of bread you are baking, so it is important to keep an eye on it. Additionally, if your oven tends to run hot, you may need to check the bread even more often.
How to tell when the bread is finished baking.
When baking bread, the best way to tell when it is finished is by using a thermometer. Insert the thermometer into the center of the loaf and if the internal temperature reads between 190-210°F, the bread is finished baking. Additionally, you can also look for visual cues to determine the doneness of the bread.
If the bread appears golden brown and the crust feels firm to the touch, the bread is likely finished baking. To ensure the bread is cooked through, remove it from the oven and tap the bottom of the loaf. If it sounds hollow, the bread is done.


