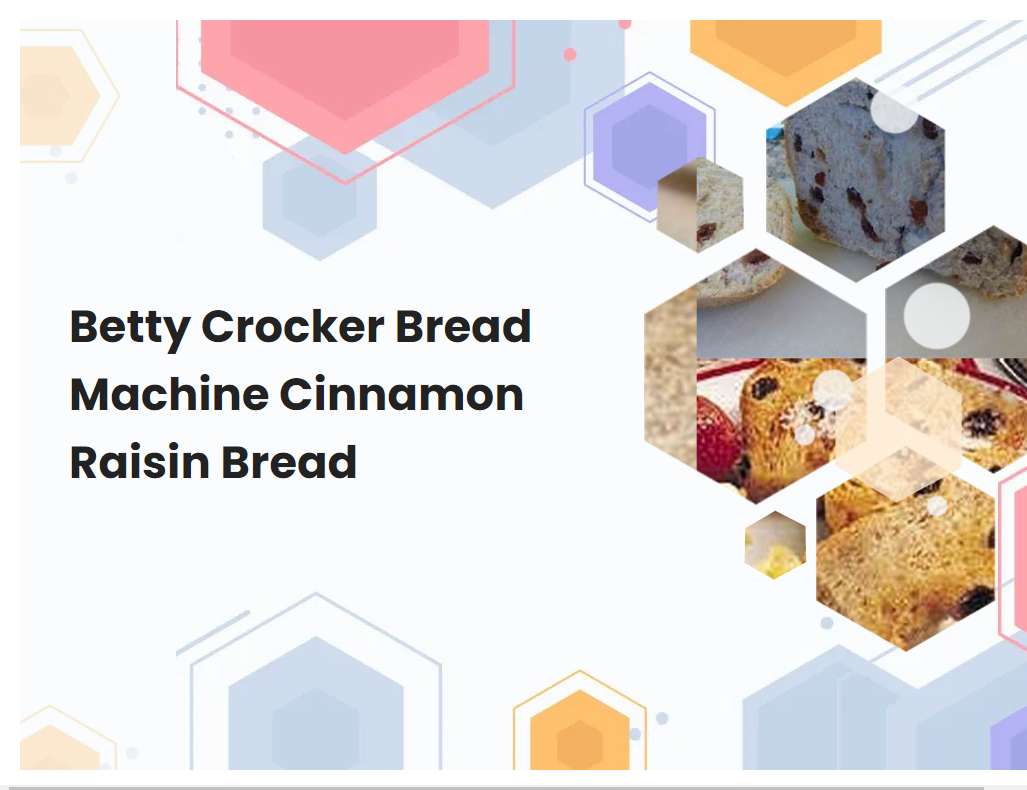
Betty Crocker Bread Machine Cinnamon Raisin Bread
This Betty Crocker Bread Machine Cinnamon Raisin Bread is a delicious, homemade bread that you can easily make in the comfort of your own home. It is made with simple ingredients and uses a bread machine to make the process hassle-free. The end result is a delicious, moist loaf of cinnamon raisin bread that is sure to be a hit with the whole family!
Check that you have all the necessary ingredients for the recipe.
Before starting any recipe, it is important to check that all of the necessary ingredients and equipment are on hand. This helps to ensure that the dish turns out as intended and that no time is wasted in the middle of cooking due to missing ingredients. For this particular recipe, it is important to make sure that all of the necessary ingredients are present.
This includes any specific spices or herbs, as well as other ingredients such as flour, sugar, butter, eggs, milk, and any other specific ingredients noted in the recipe. Additionally, it is important to check that any necessary equipment is available, such as a mixing bowl, measuring spoons and cups, a whisk or electric mixer, and any other tools mentioned in the recipe. Having all of the necessary ingredients and equipment on hand before starting the recipe will help make the preparation process smooth and stress-free.
Grease and flour the bread machine pan.
Greasing and flouring the bread machine pan is an important step in baking bread. It helps the bread to rise properly and also prevents it from sticking to the pan. To grease and flour the bread machine pan, start by lightly coating the pan with butter or cooking spray, then sprinkle a thin layer of flour over the butter.
Make sure the flour is evenly distributed over the entire surface of the pan, including the sides. Shake out any excess flour, then tap the pan lightly on the counter to remove any additional flour. This ensures that the bread will not stick to the pan and will be able to come out of the bread machine easily after baking. Greasing and flouring the bread machine pan is an essential part of making perfect bread.
See also: Bread Machine Bread That Looks Like Store Bought Bread
Measure the ingredients according to the recipe instructions.
It is important to measure the ingredients accurately when following a recipe. To do this, it is helpful to have measuring cups and spoons of varying sizes, as well as an accurate kitchen scale. For dry ingredients, such as flour and sugar, it is important to spoon the ingredients into the measuring cup and level them off with a flat edge, such as a butter knife.
For wet ingredients, such as milk and oil, it is important to use a liquid measuring cup, which should be filled to the desired level indicated in the recipe. To measure smaller amounts of ingredients, such as spices and baking powder, it is best to use measuring spoons. It is important to be precise with measurements and not guess or estimate. Doing so will ensure that the recipe comes out correctly.
See also: How To Make Garlic Bread In A Bread Machine
Place ingredients into the bread machine in the correct order.
When using a bread machine, it is important to follow the manufacturer's instructions for the order of ingredients. Generally, the order for adding ingredients is liquids first, dry ingredients second, and yeast last. Start by adding the liquid ingredients such as water, milk, butter, oil and honey into the bread machine pan.
Then add the dry ingredients such as flour, sugar, salt and other seasonings. Make a small indentation in the center of the dry ingredients and add the yeast. Close the lid and select the desired settings on the machine. Finally, press the start button to begin the baking process. Following this order will ensure that the ingredients are properly mixed and provide a delicious loaf of bread.
See also: Bread Machine Sweet White Bread With Raisins
Select the correct cycle for your recipe.
The recipe I am using calls for a specific baking cycle. Depending on what type of recipe I am making, this will determine the cycle I choose. For example, if I am making muffins or quick breads, I would select a medium or light baking cycle.
This cycle is designed to provide a gentle rise and structure to the finished product. During this cycle, the oven temperature will be lower than other cycles to help maintain moisture in the batter. The bake time is also shorter than other cycles to help keep the texture light and fluffy. For cakes or other more intricate recipes, I would select a full baking cycle. This cycle is designed to provide a thorough bake through and through. The temperature will be higher during this cycle, which will help the batter set up nicely and create a more even crumb. The bake time will also be longer to ensure everything is cooked properly. Ultimately, selecting the correct cycle for the recipe is important to achieve the desired results. Experimenting with different cycles can help you find the perfect one for your recipe.
See also: Can You Use Normal Yeast In A Bread Machine
Monitor the dough during kneading and make adjustments as needed.
When kneading dough, it is important to monitor the dough's consistency to ensure that it is coming together correctly. The dough should become more elastic as kneading continues and should also form a cohesive ball. If the dough is too wet or too dry, adjustments can be made to achieve the correct texture.
If the dough is too wet, adding more flour can help to thicken it up. If the dough is too dry, adding a few drops of water can help to loosen it. Additionally, kneading for the correct amount of time is important - too much kneading can make the dough tough, while too little can make it dense. By monitoring the consistency of the dough and making adjustments as needed, you can ensure that your dough will be perfectly textured for baking.
See also: Rosemary Olive Oil Dinner Rolls Bread Machine
Preheat the oven to the recommended temperature.
Before baking your dish, preheating the oven is a very important step. Preheating the oven helps the oven reach the desired temperature for the recipe and helps ensure the food is cooked evenly. To preheat an oven, first check the recipe for the recommended temperature, then set the oven to that temperature.
Many ovens have a preheat setting; if not, set it to the desired temperature manually. Once the oven is set, allow it to heat up for 10-15 minutes. You will know when it's ready when the oven indicator light turns off or when the oven has reached the desired temperature.
Bake the bread according to the instructions.
Baking bread is a simple and rewarding process. After gathering all the necessary ingredients, and preheating the oven to the temperature indicated in the recipe, it is time to mix the dough. Depending on the recipe, this involves combining the wet ingredients such as milk, eggs and oil, with the dry ingredients such as flour, sugar, and yeast.
Once the dough has been kneaded and allowed to rest, it is time to shape it into a loaf and place it in a greased loaf pan. The pan should then be covered with a damp cloth and placed in a warm spot until the dough has doubled in size. When the dough has risen enough, the pan should be placed in the preheated oven. The amount of time needed to bake the bread varies depending on the recipe, but generally, it should take about thirty minutes for a loaf to be fully baked. Once finished baking, the bread should be removed from the oven and allowed to cool before being served.
Let the bread cool before slicing.
It is important to let the bread cool before slicing. Baking bread produces a lot of steam, and this steam needs to escape before attempting to slice the bread. If you try to slice the bread while it is still warm, it will be too soft to cut and will likely fall apart.
Additionally, the flavor of the bread will not be as good if it is sliced while it is still warm. To ensure that your bread is cooked evenly, let it cool in the pan for about 10 minutes before transferring it to a cooling rack. Once the bread has cooled completely, it will be much easier to slice and will taste much better.
Enjoy your freshly baked cinnamon raisin bread!
Eating freshly baked cinnamon raisin bread is a delicious treat. The aroma of the cinnamon and raisins waft through the air and fill the room with a warm and welcoming scent. The bread itself is perfectly soft and fluffy, with a slightly crunchy crust that gives way to the sweetness of the raisins and the warmth of the cinnamon.
The combination of the two flavors is truly unique, creating a one-of-a-kind experience in each bite. The raisins provide a delightful and juicy burst of flavor that pairs perfectly with the warmth of the cinnamon. This combination creates a delicious and comforting snack that can be enjoyed anytime. Whether it's a quick snack or an addition to a meal, this cinnamon raisin bread will always be a hit.


