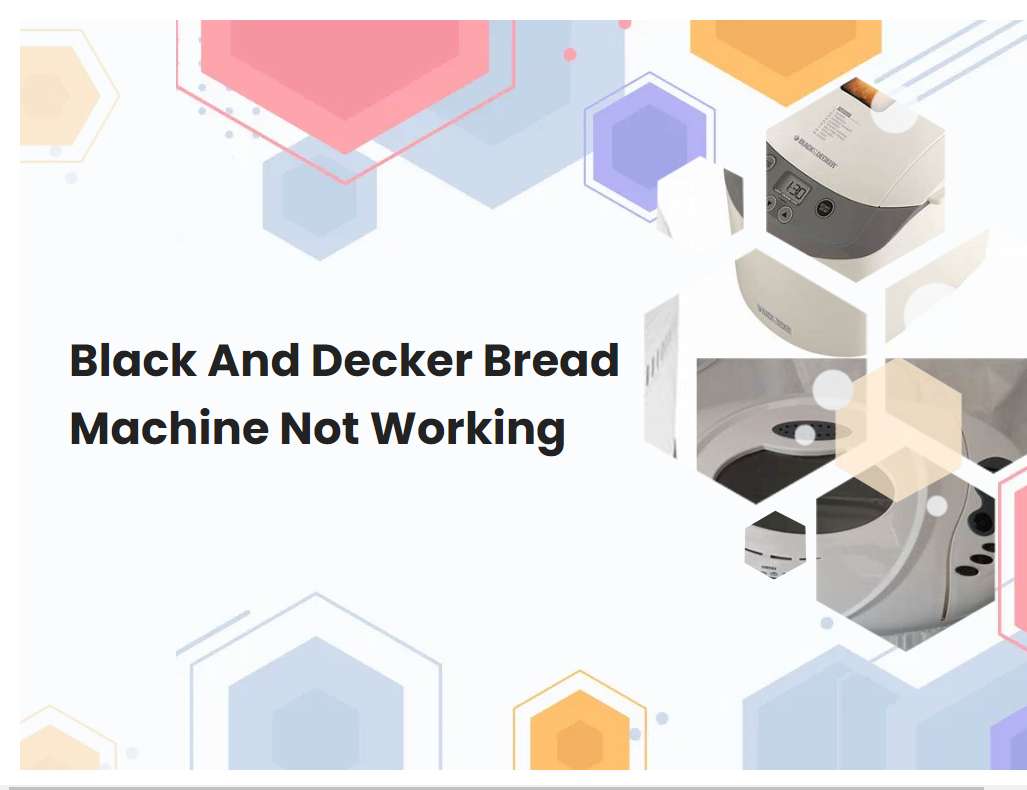
Black And Decker Bread Machine Not Working
Bread machines are a convenient way to quickly and easily make a delicious loaf of bread in the comfort of your own home. Unfortunately, when a bread machine stops working, it can be extremely frustrating. Black and Decker has been making bread machines for many years, so when something goes wrong, it is important to know how to troubleshoot the problem in order to get your bread machine up and running again.
Check the power supply - make sure the machine is plugged in and the outlet is working properly.
It is important to make sure that the power supply for any electronic device is functioning properly in order to ensure that the device is working correctly. To check the power supply of a machine, make sure that the machine is plugged into an appropriate outlet and that the outlet is receiving power. If the machine does not appear to be functioning properly, it is important to check that the outlet is working correctly.
This can be done by testing the outlet with another device or by using a voltage tester. If the outlet is functioning properly and the machine still does not appear to be working, it may be necessary to check the power cord of the machine for any visible signs of damage, such as frayed or exposed wires. It is also possible that the power supply of the machine has failed, in which case a professional should be consulted for further assistance.
Check the bread pan - make sure it is inserted properly and securely into the machine.
The bread pan is a crucial part of the bread making process and should be checked before each use. Make sure it is inserted properly and securely into the machine. To do this, start by ensuring the baking pan is dry and clean.
Then, insert the bread pan snugly into the bread machine, making sure it fits properly and is aligned with the machine. The bread pan should click into place when it is inserted correctly. Once it is in, you can ensure it is secure by giving it a gentle tug to see if it is firmly secured within the bread machine. If there are any problems with the bread pan not fitting or not being secure, you should contact the manufacturer for assistance. Taking the time to check the bread pan is important for a successful bread-making experience.
See also: What Department Store Carries Zo Virtuoso Bread Machine
Check the kneading paddle - make sure it is inserted properly and securely into the bread pan.
The kneading paddle is an important part of the bread making process as it helps knead the dough and ensure that all the ingredients are evenly combined. To ensure that the paddle works properly, it must be installed correctly and securely into the bread pan. To do this, first make sure that the paddle is aligned with the holes in the bottom of the bread pan.
Make sure the paddle is inserted all the way into the pan and that it is securely fastened. If the paddle is not inserted correctly, it can cause problems during the kneading process, resulting in an unevenly mixed dough. To be sure that the paddle is correctly in place, gently shake the bread pan to check that the paddle does not move or come loose. If everything is correctly installed, you can then begin the bread making process.
See also: Quincy's Yeast Rolls Without Bread Machine
Check the settings - make sure the bake settings are correct for the type of bread being made.
When baking bread, it is important to make sure the bake settings are correct for the type of bread being made. Depending on the type of bread being baked, the temperature, duration, and other settings may need to be adjusted. For example, if baking a quick-rising dough like pizza dough, the oven should be preheated to a high temperature of 450°F and the bake time should be kept short, around 10-15 minutes.
On the other hand, if baking a slow-rising dough like a crusty artisan loaf, the oven should be preheated to a lower temperature of 350°F and the bake time should be kept longer, around 25-30 minutes. Additionally, when baking any type of bread, it is important to make sure that the oven has been preheated sufficiently before putting the dough in. This will ensure that the oven is hot enough to create a golden crust and cook the dough evenly. Checking the bake settings for the type of bread being made is a crucial step in making sure that the finished product is delicious and satisfying.
See also: Bread Machine For Gluten Free Bread Reviews
Check the ingredients - make sure all ingredients are fresh and measured correctly.
When checking ingredients, it is important to make sure that all ingredients are fresh and measured correctly. This is especially important when baking, as even small variations in measurements can have an impact on the texture, flavor, and appearance of the finished product. When measuring, use a dry measuring cup for dry ingredients and a liquid measuring cup for wet ingredients.
This ensures that the exact amount is being used. Additionally, check the expiration dates on any ingredients that are close to expiration, as these will not provide the same results as fresher ingredients. Lastly, take a look at the ingredients to ensure that nothing has gone bad or been contaminated. Taking the time to check each ingredient before beginning a recipe will ensure that the best possible results are achieved.
See also: Leave Loaf In Bread Machine To Cool Down
Check the timer - make sure the timer is set correctly for the type of bread being made.
The timer is an important aspect of bread-making and needs to be set correctly for the type of bread being made. Different breads require different amounts of time for kneading, rising, baking and cooling. For example, traditional white bread requires a longer kneading time than a quick bread, such as banana bread.
Additionally, whole wheat bread generally requires a longer rising time than white bread. Once the type of bread has been determined, the timer should be set accordingly to ensure that the bread is given adequate time to achieve the desired texture and flavor. If the timer is not set correctly, the bread may not rise properly, the crust could be too hard or too soft, or the finished product could be dense and heavy. Setting the timer correctly will help ensure that the bread turns out perfectly every time.
See also: Bread Machine Yeast Instead Of Instant Yeast
Check for blockages - make sure there are no obstructions preventing the dough from rising properly.
When making dough, it is important to check for blockages that could prevent the dough from rising properly. Blockages can occur in many places, such as the pipes of your stand mixer, the mixing bowl, and even the dough itself. If the dough is too thick or dense, it will not be able to rise as well as it should.
Furthermore, if there is anything in the pipes or bowl of your stand mixer, such as flour or bits of dough, this can prevent the dough from rising properly. If there is a blockage, it is important to remove it and ensure that the bowl and pipes are completely clear. Additionally, if you are using a bread machine, be sure to check for any blockages in the kneading blade or pan before beginning to mix the ingredients. Taking the time to check for blockages can save you time and frustration in the long run.
Check for leaks - make sure there are no leaks in the machine that could be causing problems.
It is important to check for leaks in a machine in order to ensure that it is functioning properly. Leaks can cause a variety of problems, from decreased performance to even physical damage to the machine. To check for leaks, start by visually inspecting the machine for any areas where fluid may be escaping.
Look for any puddles or wet spots underneath the machine, and around any pipes or hoses connected to it. If you find any, try to trace the source of the leak and determine the type of fluid leaking. Additionally, check for any unusual noises coming from the machine that could indicate a leak. Finally, you should also check for any strange smells coming from the machine that could indicate a leak. If you identify a leak, it is important to take steps to fix it as soon as possible in order to prevent further damage or performance issues.
Check the lid - make sure the lid is closed correctly and securely.
The lid is an important component of any container, and it's essential to ensure it's closed correctly and securely. Before using a container, it's important to check the lid to make sure it's closed tightly and securely. Start by inspecting the lid for any signs of damage or wear and tear.
If any is found, replace the lid or the entire container before use. When closing the lid, make sure to press firmly on all sides. This will help ensure the lid is properly sealed and prevent any leakage of the contents. Additionally, it's important to regularly check the lid to make sure it's still secured and not loose. This will help keep the contents of the container safe and secure. Taking the time to check the lid when opening and closing a container can go a long way in keeping its contents safe and secure.
Check for worn parts - make sure there are no worn or defective parts that may need to be replaced.
When inspecting any piece of machinery, it is important to check for worn or defective parts. Worn parts can cause a variety of issues, including decreased efficiency, increased noise, and even safety hazards. When checking for worn parts, it is important to look for signs of cracking, fraying, or other signs of wear.
For example, check drive belts for cracks, frayed wires, or worn spots. Additionally, check for any loose screws or bolts that may need to be tightened. If any parts are found to be significantly worn or defective, they should be replaced as soon as possible. Even small signs of wear can increase the risk of failure, so it is important to be thorough when inspecting any machinery.


