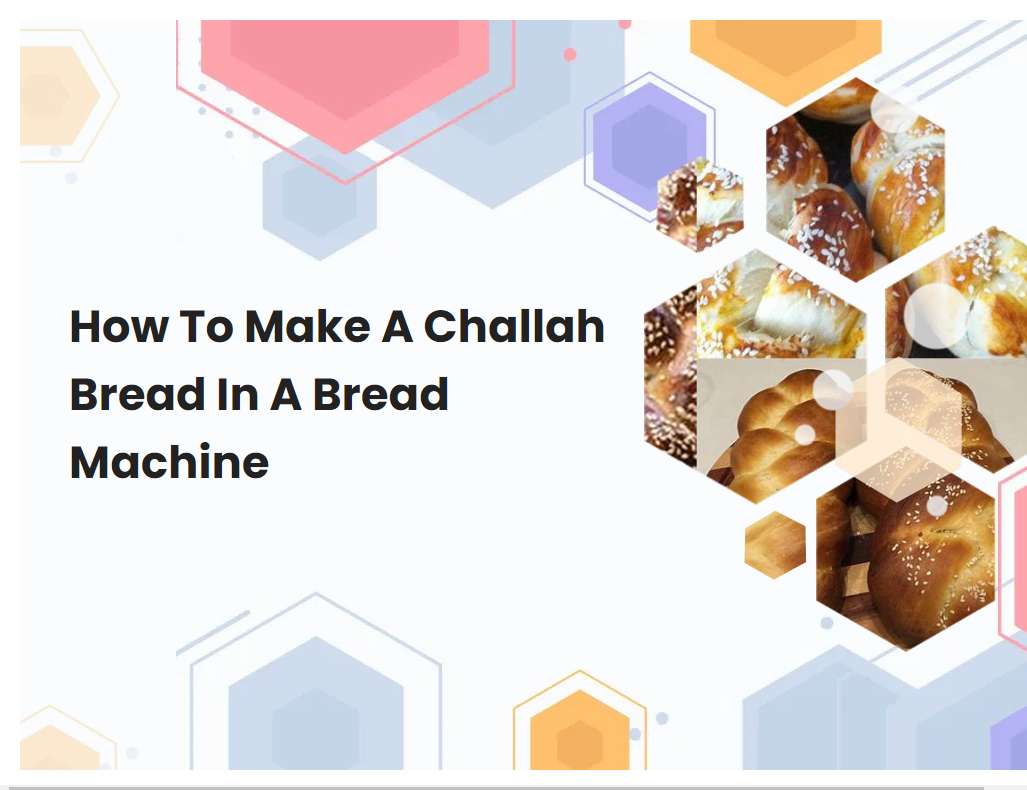
How To Make A Challah Bread In A Bread Machine
Baking a challah bread in a bread machine is an easy way to enjoy this traditional and delicious bread. By using your bread machine, you can have a freshly baked challah ready in no time. With a few simple ingredients, you can make a delicious challah that your family and friends can enjoy.
Make sure to use a bread machine that is specifically designed for baking Challah bread.
A bread machine specifically designed for baking Challah bread is key to achieving the perfect Challah loaf. These machines come equipped with specialized settings that are tailored to the unique requirements of baking this special type of bread. The dough cycle will ensure that the dough is properly kneaded, while the rise cycle helps the dough to rise to the desired consistency.
Additionally, the baking cycle helps to evenly cook the Challah, resulting in a beautifully shaped loaf with a golden-brown crust. Many of these machines also come with a timer and an adjustable temperature setting, allowing you to customize the baking process for your desired results. All in all, using a bread machine specifically designed for baking Challah bread is the best way to guarantee a perfect Challah loaf every single time.
Use only high-quality ingredients, such as bread flour and extra-virgin olive oil.
When it comes to making the perfect dish, it is important to use only the highest quality ingredients. For baking, bread flour is essential for achieving the desired texture and flavor. This type of flour has a higher protein content than all-purpose flour and is ideal for making breads, pizza dough, and other baked goods.
Extra-virgin olive oil is also essential for creating flavorful dishes. This type of oil is made from the first cold pressing of olives, which results in a higher quality oil that is more flavorful and has a lower acidity than other varieties. When used in cooking, extra-virgin olive oil will impart a rich flavor and aroma to dishes that can't be duplicated with other oils. Using only the finest ingredients will ensure that your recipes turn out perfectly every time.
See also: Setting For Pizza Dough In Bread Machine
Make sure to measure the ingredients correctly in order to get the best results.
Measuring ingredients accurately is key to achieving the best results when cooking and baking. When measuring dry ingredients like flour, sugar, and baking powder, the most accurate way to do so is by using a kitchen scale. This will ensure that the right amount of each ingredient has been added, which is especially important when dealing with small amounts like teaspoons and tablespoons.
For more liquid ingredients like oil, milk, and honey, it is best to use measuring cups or spoons. It is important to fill the cup or spoon to the correct level and not overfill, as this can lead to a dish that is too wet or dry. When making a recipe for the first time, it is best to measure out all of the ingredients before beginning in order to ensure accuracy. Following these tips will help to guarantee the best results for your dish.
See also: Salt Yeast Sugar Ratio White Bread Machine
Follow the specific instructions for your particular model of bread machine.
When using a bread machine, it is important to follow the instructions for your particular model. Each machine is different, so it's important to read the manual and instructions that came with your machine to ensure the best results. For starters, pay attention to how much liquid, flour, and other ingredients your machine requires for a particular recipe.
Additionally, make sure you understand which cycle to select for the type of bread you are making. Once you've added the appropriate ingredients to the machine, set the timer to the desired baking time, select the cycle, and press start. During the baking process, it is important to ensure that your machine is not overfilled with ingredients as this can cause overflow and a mess. Additionally, if your bread machine has a delay cycle, use it to time when you want your bread to be done so that you can enjoy it at its peak freshness. Finally, be sure to clean the bread pan and kneading blade after each use so that your machine stays in good condition.
See also: Cinnamon Bread Bread Machine Taste Of Home
Allow the dough to rise for the recommended amount of time before baking.
Allowing the dough to rise for the recommended amount of time before baking is an important step in creating delicious homemade bread. During the rising process, the yeast activates and works its magic. This fermentation process creates gas bubbles which cause the dough to expand or rise.
The amount of time required for the dough to rise will vary depending on the yeast used, humidity levels, and temperature of the dough. Generally, it's recommended to allow the dough to rise until it has doubled in size. If you are using instant yeast, it's best to let it rise for about an hour. With active dry yeast, it's best to let the dough rise for two hours or until it has doubled in size. Allowing the dough to rise for the recommended amount of time will ensure that your bread has a light, fluffy texture and full flavor.
See also: Homemade Honey Wheat Bread For Bread Machine
Use a non-stick baking sheet or parchment paper when baking the Challah bread in the oven.
Using a non-stick baking sheet or parchment paper when baking Challah bread is an important step to ensure the bread comes out of the oven perfectly cooked and with a beautiful golden color. Non-stick baking sheets provide a smooth surface that can help the bread form a uniform shape as it bakes and can prevent it from sticking to the bottom of the pan. Parchment paper is also a great option when baking Challah bread as it helps to absorb any excess moisture as the bread cooks, ensuring that it is not soggy.
Additionally, parchment paper also helps to prevent the bread from sticking to the pan, so that you can easily remove it when it's done baking. By using a non-stick baking sheet or parchment paper, you can guarantee that your Challah bread will be cooked evenly and look beautiful when it comes out of the oven.
See also: How To Make White Bread Using Bread Machine
When braiding the Challah, make sure to use a light touch so that the dough does not tear.
Properly braiding a Challah can be difficult and requires the baker to have a light touch. Before braiding, make sure the dough has been divided into three equal parts. Use a rolling pin to flatten each part into a long rectangle, then cut each rectangle into three even strips.
Then, begin braiding the Challah by taking the outside strip of the left side and crossing it over the middle strip. Take the outside strip of the right side and cross it over, alternating between the left and right sides until all of the strips are braided together. Remember, to avoid tearing the dough, use a light and gentle touch when braiding the Challah. When finished, pinch the ends together and tuck underneath. Finally, let the Challah rise for at least an hour before baking.
Brush the Challah with an egg wash before baking in order to get a golden brown crust.
An egg wash is a simple mixture of beaten eggs and a liquid, such as water or milk, used to brush over the top of breads and pastries before they are baked. This egg wash helps to give the breads or pastries a golden brown crust, making them look more appealing. Applying an egg wash to Challah bread before baking is a great way to add a delicious golden color and shine to the finished loaf.
To create the egg wash, simply whisk together one egg with a tablespoon of water or milk until combined. Dip a pastry brush into the egg wash and gently brush it over the entire surface of the Challah. Make sure to apply the egg wash evenly to ensure an even crust. Once the Challah has been brushed with an egg wash, it is ready to be baked in the oven according to the recipe instructions.
Allow the Challah to cool completely before slicing, in order to maintain its shape.
It is important to allow challah bread to cool completely before slicing, in order to maintain its shape. The cooling process helps to ensure that the bread holds its structure while slicing. After baking, the bread should be left out on a cooling rack or baking sheet for at least an hour.
This will allow the heat to dissipate and the bread to firm up. During the cooling process, the bread's exterior will become firm and the crumb will become more structured. Once the bread is cool, it can then be sliced with a sharp knife or serrated bread knife. If the bread is sliced too soon, it may become too soft and difficult to slice properly. Allowing the challah bread to cool also helps to preserve its flavor and texture. Therefore, it is important to wait until the challah bread has cooled completely before slicing.
Enjoy your delicious homemade Challah bread!
Eating homemade Challah bread is a delectable treat! This traditional Jewish bread is made with enriched dough that is perfectly golden and lightly sweet. The dough is braided by hand before being baked to a warm, fluffy, and lightly crisp consistency.
When served fresh, the Challah bread has a soft and creamy texture that melts in your mouth and leaves a subtle hint of sweetness. Its rich flavor will pair perfectly with a variety of dishes, making it an ideal choice for any occasion. Enjoying a slice of homemade Challah bread is sure to be an unforgettable experience!


