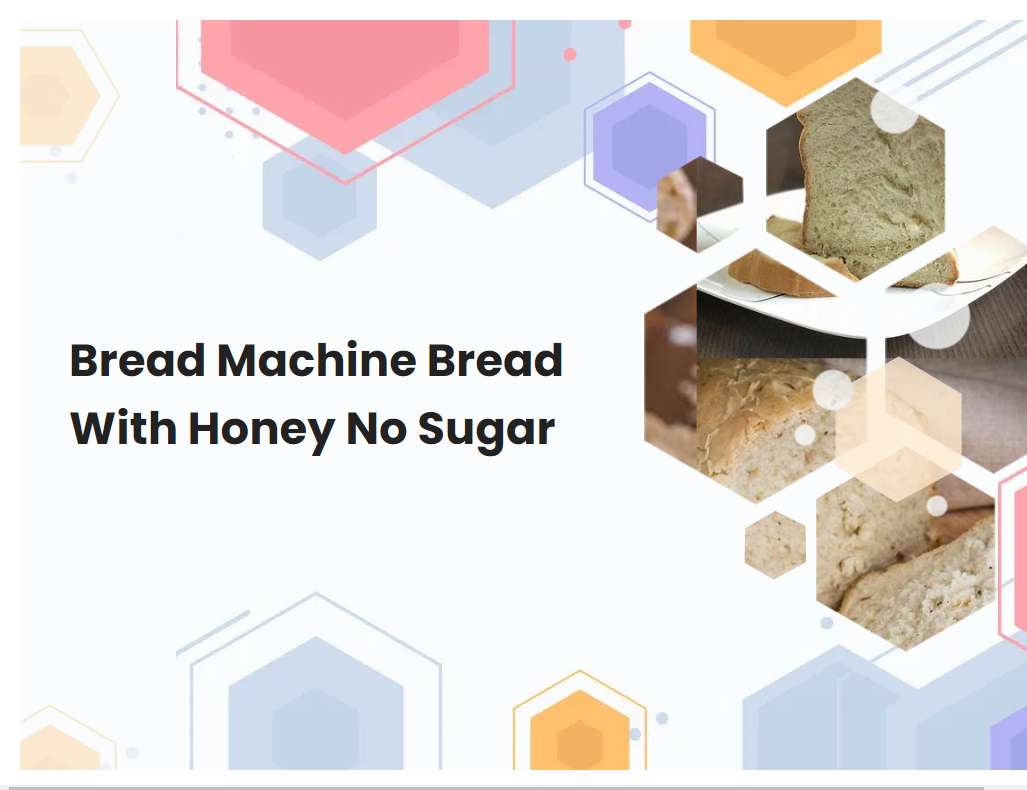
Bread Machine Bread With Honey No Sugar
Bread is a staple of many diets around the world, and it[sq]s easy to make your own at home with a bread machine. Making bread with honey can add a natural sweetness to the dough, and itâs a great way to reduce sugar while still creating delicious and nutritious bread. With a few simple adjustments to traditional bread recipes, you can use your bread machine to make bread with honey but no sugar.
Ensure the bread machine you are using is suitable for baking bread with honey and no sugar.
When baking bread with honey and no sugar, it is important to ensure that the bread machine you are using is suitable for this type of recipe. Generally, bread machines are designed to work best with recipes that contain both honey and sugar, so it is important to check the manufacturer's instructions to make sure that your specific machine can handle a recipe without sugar. Some bread machines may not be able to handle the added moisture from honey, so it is important to check the manufacturer's instructions to make sure that your specific machine is suitable for baking bread with honey and no sugar.
Additionally, it is important to check the capacity of your bread machine to make sure it can handle the additional ingredients in a recipe without sugar. If the machine is too small for the amount of ingredients, the bread may not bake evenly and could end up undercooked or burnt. Knowing the specific capabilities of your machine will help you create the best possible result when baking bread with honey and no sugar.
Choose a yeast that can be used for honey-only recipes, such as rapid-rise or instant yeast.
Rapid-rise or instant yeast is a great choice for baking recipes that use honey as the primary sweetener. This type of yeast works quickly and is ideal for recipes that require a fast rise. Instant yeast is a dry yeast that is milled finer than active dry yeast and is mixed directly into the dry ingredients, eliminating the need for pre-dissolving or proofing.
It is also more tolerant of variations in temperature and can be added directly to dough with no pre-soaking required. Rapid-rise or instant yeast is also ideal for honey-only recipes because it does not require any added sugar for fermentation, making it an ideal choice for recipes that use honey as the primary sweetener. This type of yeast will help to ensure that the desired texture and flavor of the recipe are achieved without compromising the sweetness of the honey.
See also: Keto Bread In Bread Machine No Yeast
Use lukewarm water for the recipe as too much heat can kill the yeast.
Lukewarm water is an essential ingredient for many yeast recipes. It is important to use lukewarm water, as opposed to hot or cold water, when making breads, pizza doughs and other yeast-based recipes. Too much heat can kill the yeast, resulting in a failed recipe.
Lukewarm water should be between 90-110°F (32-43°C). To ensure that the water is at this temperature, you can use a digital thermometer or test it with your elbow. The water should feel neither hot nor cold. If the water feels too hot, cool it down by adding some cold water to it. If the water feels too cold, warm it up by adding some hot water to it. Once the desired temperature is achieved, you can add the yeast and continue with the recipe.
See also: Bread Machine Apricot And White Chocolate Bread
Measure the ingredients accurately for best results.
Measuring ingredients accurately is key to achieving the best results in any recipe. Inaccurate measurements can produce dishes that are too salty or too sweet, or with an unappetizing texture. To ensure your dishes turn out as expected, use measuring cups and spoons for dry ingredients and liquid measuring cups for wet ingredients.
Be sure to level off the top of the measuring cup with a knife or other flat utensil to get an exact measurement. When measuring a dry ingredient such as flour, use a light hand and don't pack it into the measuring cup. Instead, spoon the flour into the cup until it is overflowing, and then level it off. For wet ingredients like oil or milk, use a glass or plastic liquid measure that has a spout and handle. Fill the measure to the desired line and check the accuracy of the measurement by looking at it at eye level. Following these simple guidelines will help you achieve consistent results when cooking or baking.
See also: Does Rye Dough Rise In A Bread Machine
Use clear, light-colored honey for a better color and flavor.
Clear, light-colored honey offers a superior color and flavor compared to darker varieties of honey. The lighter color is indicative of a higher quality honey, as it has been processed less and contains fewer impurities. The lighter color also ensures a more pleasant flavor, as darker honey can be bitter or overly sweet due to higher concentrations of minerals and other compounds.
Furthermore, the light color helps preserve the delicate floral notes that give honey its unique flavor, making it perfect for baking or adding to tea and other beverages. When selecting honey, always look for clear, light-colored varieties for the best color and flavor.
See also: Chocolate Chip Cookie Dough In Bread Machine
Use bread flour for a chewier texture and better rise.
Bread flour is a type of flour that is specifically formulated to produce a chewier texture and better rise in yeast breads. It is made from hard wheat, which contains more protein than all-purpose flour. The higher protein content of bread flour helps to form gluten strands, creating the chewier texture and holding the gas bubbles produced by the yeast, which causes the bread to rise.
Bread flour also contains more ash content than all-purpose flour, which helps to produce a browner crust and a better flavor. Due to its high gluten content, bread flour is not suitable for cakes, cookies, or other pastries. For these recipes, it is best to use all-purpose flour. When making yeast breads, however, bread flour is the best choice for producing a chewy, flavorful loaf with a good rise.
See also: Bread Machine Quick Bread Whole Grain Sweet
Add the honey and other wet ingredients first, then the dry ingredients.
When making a recipe that calls for both wet and dry ingredients, it's important to add them in the correct order. First, you should add the wet ingredients, such as honey, eggs, vegetable oil, and any other liquids. This allows the wet ingredients to mix together and incorporate more easily into the recipe.
Once the wet ingredients are added, you can then add the dry ingredients, such as flour, baking powder, and sugar. Adding the dry ingredients after the wet ingredients helps to ensure that the dry ingredients are evenly distributed throughout the batter. This will help create a consistent texture and flavor throughout the finished product. When combining wet and dry ingredients in a recipe, it is important to always add the wet ingredients first.
Knead the dough gently by hand to form a smooth ball.
Kneading dough by hand is an important step in the baking process that requires both skill and patience. To begin, you will need to make sure your hands are clean and dry. Start by lightly dusting the surface of the dough with flour to keep it from sticking to your hands.
Then, using the palms of your hands, press down on the dough with a circular motion and push it away from you. Next, fold the dough back towards you and give it a quarter turn. Repeat this process for at least five minutes or until the dough becomes smooth and elastic. You should be able to roll out the dough without it sticking to your fingers. Once the dough has reached the desired consistency, shape it into a ball and place it in a covered bowl so that it can rise. Kneading the dough by hand will help create a light and fluffy finished product, ensuring that your baked goods are as delicious as possible!
Allow the dough to rise in a warm, draft-free area until doubled in size.
In order to allow the dough to rise and double in size, it is important to find a warm, draft-free area. The ideal temperature for the dough to rise is between 75 and 85 degrees Fahrenheit. Drafts can cause the dough to not rise properly, so it should be in a place away from any fans or windows that may create a breeze.
The dough should also be covered with plastic wrap or a damp cloth so that the surface does not dry out. Depending on the type of dough, the rising process can take anywhere from one to four hours. After the dough has doubled in size, it is ready to be used.
Bake the bread in a preheated oven and allow to cool completely before slicing.
Baking the bread in a preheated oven is an important step in getting the desired results. Start by preheating the oven to the desired temperature. If your recipe doesn't specify an oven temperature, a general rule of thumb is to bake the bread at 350°F.
Place the bread in the oven and bake for the duration specified in the recipe. Keep an eye on the bread as it bakes, as oven temperatures can vary and may require adjustments in baking time. Once the bread is golden brown and a toothpick inserted into the center comes out clean, it's ready. Remove the bread from the oven and allow it to cool completely before slicing. This ensures that the bread will be easier to slice, as well as helps to prevent crumbs from flying everywhere when you cut into it. To cool the bread, transfer it to a wire rack and let it sit for at least an hour before slicing. Once cooled, you can enjoy your freshly baked bread!


