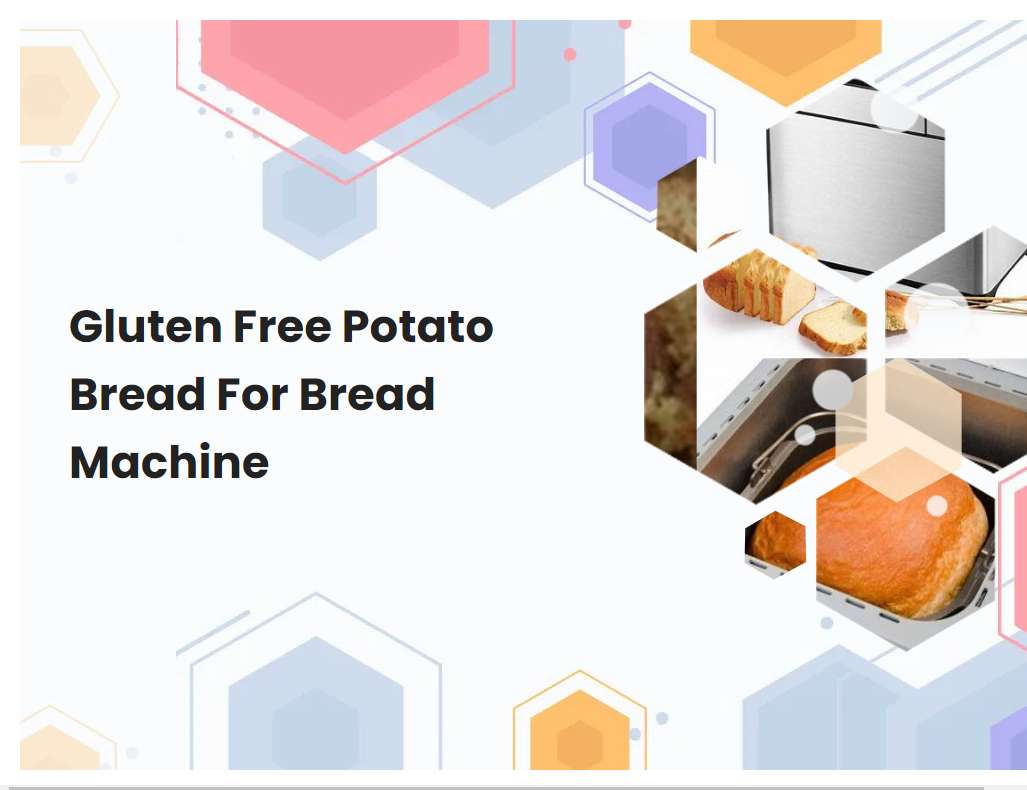
Gluten Free Potato Bread For Bread Machine
Gluten free potato bread is a delicious and healthy alternative to regular bread. It is made with potatoes and a combination of gluten free flours that provide an enjoyable texture and taste. This recipe is specifically designed for use in a bread machine, making it an easy and convenient way to enjoy this delicious treat.
Choose gluten-free flours that are designed for baking such as almond flour, tapioca starch, coconut flour, buckwheat flour, or sorghum flour.
Gluten-free flours are becoming increasingly popular for those with dietary restrictions due to allergies or sensitivities to gluten. When it comes to baking, these flours can be just as versatile and delicious as traditional flours. Almond flour is a great gluten-free option for baking, and it is made from finely ground blanched almonds.
It has a slightly nutty flavor, and works well for cakes, muffins, and cookies. Tapioca starch is made from the root of the cassava plant, and is an excellent gluten-free thickening agent for sauces and gravies. Coconut flour is made from dried and ground coconut meat, and it has a sweet flavor that can be used to make pancakes, muffins, and breads. Buckwheat flour is derived from the seed of the buckwheat plant, and is a popular choice for gluten-free pancakes and flatbreads. Finally, sorghum flour is made from the whole grain of sorghum, and it can be used to make delicious cakes, muffins, and cookies. With these gluten-free flours, you can easily create delicious baked goods that everyone can enjoy!
Check the labels of any other ingredients to ensure they are gluten-free.
When shopping for gluten-free ingredients, it is important to check the labels of all ingredients to ensure that they are indeed gluten-free. Many ingredients contain hidden forms of gluten, such as maltodextrin, modified food starch, hydrolyzed vegetable protein, and wheat germ oil. Additionally, some ingredients may be processed in facilities that also process wheat, barley, and rye, so it is important to look for a Gluten-Free label on each ingredient.
Furthermore, some common food additives such as monosodium glutamate (MSG) and caramel color may contain hidden forms of gluten. It is important to check the labels of any other ingredients to ensure that they are gluten-free. It is also important to read the labels of any condiments or sauces that may be used in the recipe to ensure they are gluten-free as well. Finally, when cooking with gluten-free ingredients, it is important to use separate cutting boards, utensils, and cooking surfaces to prevent cross-contamination. By following these steps, you can ensure that your meals are gluten-free and safe for those with gluten sensitivities or allergies.
See also: How To Make Oatmeal Bread In A Bread Machine
Use xanthan gum as a gluten-free substitute for traditional wheat-based binders in your recipes.
Xanthan gum is a popular gluten-free binder that can be used as a substitute for wheat-based binders in recipes. It is a natural carbohydrate polymer derived from the bacteria Xanthomonas campestris, and is composed of glucose, mannose, and glucuronic acid. It is a thickening agent and stabilizer that can be used to improve texture and consistency in recipes, especially those with gluten-free flours.
The gum has a neutral taste and odor, and it can be used to replace the binding properties of wheat flour in baking. In addition to baking, xanthan gum is also used to create dressings, sauces, and frozen desserts. It helps to thicken and stabilize these products, preventing them from separating or becoming runny. When using xanthan gum as a gluten-free binder, it is important to remember to use much less than what is called for in the recipe when using wheat-based binders. Too much xanthan gum can lead to an unpleasant slimy texture.
See also: How To Make Bread In A White Westinghouse Bread Machine
Make sure all of your ingredients are at room temperature before combining them for your recipe.
When making any recipe, it is important to ensure that all of the ingredients are at room temperature before combining them. This is especially true with baking recipes, as ingredients at room temperature blend together more easily and evenly. If you use cold ingredients, your batter or dough may not mix properly and the texture of your finished product may be affected.
To bring ingredients to room temperature quickly, remove them from the refrigerator about an hour before you plan to use them. If you are short on time, you can put the ingredients in a bowl of warm (not hot) water for 10-15 minutes. Egg whites can be brought to room temperature by whisking them with a wire whisk or electric mixer until they are no longer cold. Once all of your ingredients are at room temperature, they can be combined according to your recipe. Using room temperature ingredients will help ensure that your recipes turn out perfectly every time.
See also: How To Make A French Baguette Using A Bread Machine
Follow the recipe exactly as it is written, making sure to measure each ingredient accurately.
When following a recipe, accuracy is key to ensure that you get the best tasting results. To ensure accuracy, begin by measuring out each ingredient using measuring cups and spoons as specified in the recipe. It is important to be precise when measuring; use level measurements for dry ingredients and heaping measurements for wet ingredients.
Make sure that any dry ingredients are well-mixed before measuring in order to get more accurate measurements. If the recipe calls for a certain type of ingredient, such as salted or unsalted butter, make sure to use the specified type. Additionally, be sure to read the entire recipe before beginning so that you can prepare all of your ingredients ahead of time. Once all of the ingredients are measured, follow the steps in the recipe as written, paying close attention to temperature and cooking times. Taking these steps will help ensure that you get the best tasting results from your recipe.
See also: How To Add Mix-Ins To Bread Machine
Preheat the oven before baking your potato bread.
When baking potato bread, preheating the oven is an essential step. Before you begin prepping your ingredients and dough, it is important to preheat the oven to the desired temperature. To preheat the oven, turn the oven on, select the desired temperature, and wait for the oven to reach that temperature.
Depending on the model of your oven, this could take anywhere from 10-20 minutes. It is important to wait until your oven reaches the desired temperature before placing your bread in it to ensure it bakes evenly and thoroughly. If you attempt to bake your potato bread before preheating the oven, it could result in an unevenly cooked or undercooked finished product. Preheating the oven is a crucial step in the baking process and it should not be overlooked.
See also: Do I Need Special Yeast For Bread Machine
Grease the pan before placing the dough in the pan to ensure it doesn't stick.
It is important to grease the pan before placing the dough in it to ensure that the dough does not stick to the pan. Greasing the pan will create a layer between the dough and the pan preventing it from sticking. There are a few different ways to grease a pan, depending on what type of pan is being used.
For metal pans, butter, shortening, or oil can be used to grease the pan. For nonstick pans, cooking spray is the preferred option. When greasing the pan, make sure to cover the entire surface of the pan with the oil, butter, or cooking spray. This will ensure that the dough does not stick to any part of the pan when it is baking. Greasing the pan correctly will also help to ensure that your baked goods come out of the oven with a crisp and golden crust.
Bake the bread until it's golden brown on the outside and cooked through in the middle.
Baking bread is a simple yet rewarding process. Begin by preheating your oven to the desired temperature. Then, place your bread dough on a lightly oiled baking sheet or in a greased loaf pan.
If making a shaped loaf, score the dough to create a pattern on the top before baking. Bake the bread for an estimated time, checking for doneness after about half of the estimated time has passed. To test for doneness, insert a toothpick or cake tester into the center of the bread. If it comes out clean, then the bread is done. The bread should be golden brown on the outside and cooked through in the middle. After baking, allow the bread to cool for at least 15 minutes before slicing or serving. Enjoy!
Allow the bread to cool completely before slicing it.
It is important to allow bread to cool completely before slicing it. This allows the bread to finish baking and prevent it from becoming gummy or dry. Allowing the bread to cool helps the texture and flavor, as well as the structure of the bread.
To properly cool the bread, take it out of the oven and place it on a wire cooling rack. This will keep the air circulating around the bread, which will help it to cool more quickly and evenly. The longer the bread is allowed to cool, the firmer the crust will be and the better the overall texture of the bread will be. Be sure to wait until the bread has cooled completely before slicing it, otherwise it could become gummy or crumbly.
Store any leftover bread in an airtight container to keep it fresh for longer.
It is important to store leftover bread in an airtight container to keep it fresh for longer. Airtight containers are the best way to store bread because they keep out moisture and oxygen, which are two of the main causes of bread going stale. When storing bread in an airtight container, make sure that the lid is on tight and that any excess air is removed from the container.
Additionally, it is best to store bread in a cool, dry place away from direct sunlight. If you plan to freeze your bread, make sure to wrap it in plastic wrap or aluminum foil and label it with the date so it can stay fresh for up to 6 months in the freezer. Storing bread in an airtight container will ensure that it stays fresh and delicious for longer.


